P
OSITION
I
T
PI-150
AND
PI-75
TP-5129001-J
2-7
January 2022
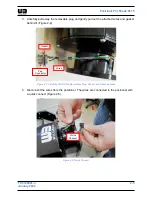
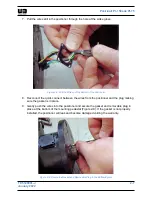
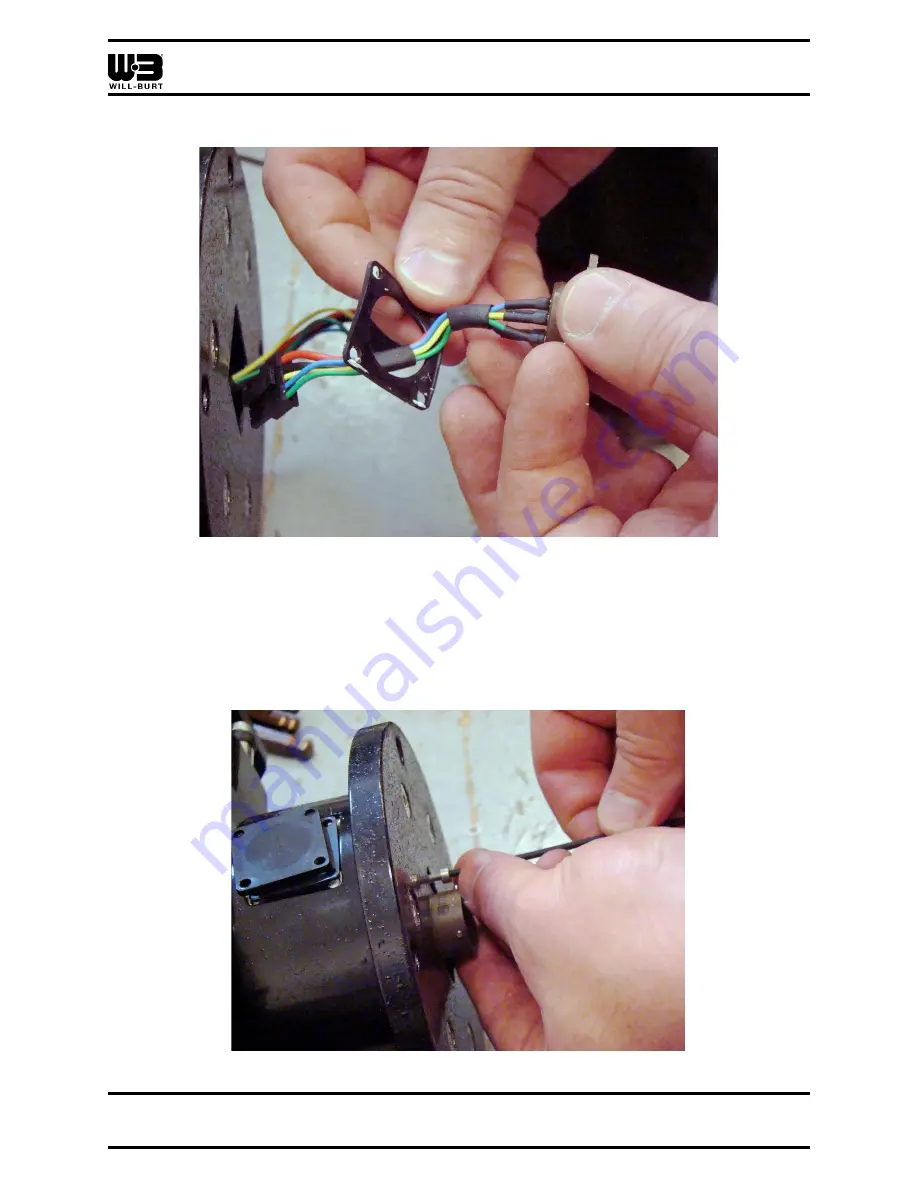
7. Pull the wires still in the positioner through the hole at the side egress.
Figure 2-8 Pull the Wires out the Bottom of the Positioner
8. Reconnect the quick connect between the wires from the positioner and the plug making
sure the gasket is in place.
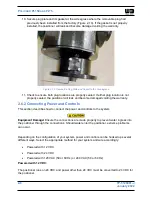
9. Gently push the wires into the positioner and secure the gasket and removable plug in
place at the bottom of the mounting pedestal (Figure 2-9). If the gasket is not properly
installed, the positioner will leak and become damaged voiding the warranty.
Figure 2-9 Secure the Gasket and Removable Plug to the Bottom Egress
Summary of Contents for 5061001
Page 2: ......
Page 8: ...POSITIONIT PI 150 AND PI 75 vi TP 5129001 J January 2022 ...
Page 34: ...POSITIONIT PI 150 AND PI 75 2 14 TP 5129001 J January 2022 ...
Page 44: ...POSITIONIT PI 150 AND PI 75 4 2 TP 5129001 J January 2022 ...
Page 50: ...POSITIONIT PI 150 AND PI 75 5 6 TP 5129001 J January 2022 ...
Page 56: ...POSITIONIT PI 150 AND PI 75 7 2 TP 5129001 J January 2022 ...
Page 57: ...POSITIONIT PI 150 AND PI 75 TP 5129001 J 7 1 January 2022 ...
Page 59: ...POSITIONIT PI 150 AND PI 75 TP 5129001 J 7 3 January 2022 ...
Page 61: ...POSITIONIT PI 150 AND PI 75 TP 5129001 J 7 5 January 2022 ...
Page 63: ...POSITIONIT PI 150 AND PI 75 TP 5129001 J 7 7 January 2022 ...
Page 65: ...POSITIONIT PI 150 AND PI 75 TP 5129001 J 7 9 January 2022 ...
Page 67: ...POSITIONIT PI 150 AND PI 75 TP 5129001 J 7 11 January 2022 ...

