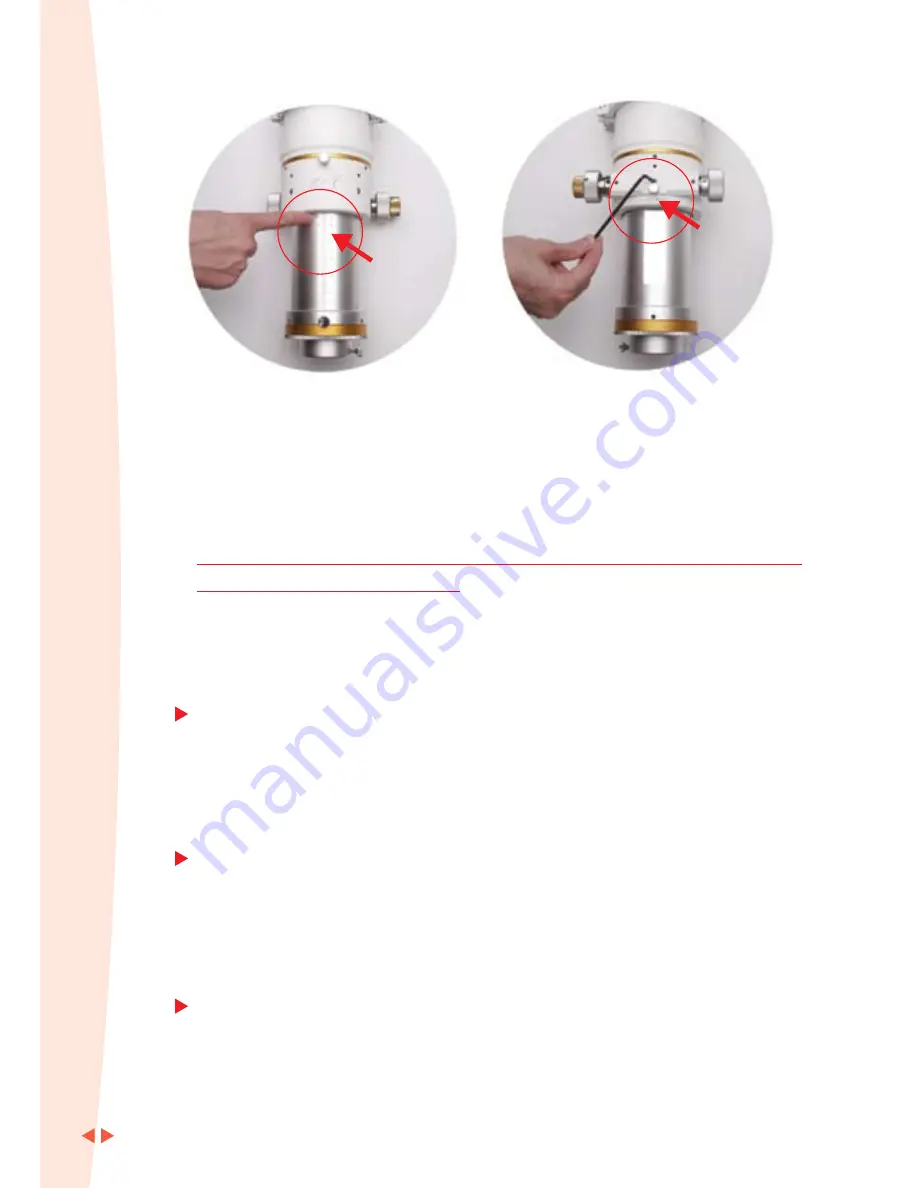
Important Notice
This focuser is designed to hold many pounds without problems. If nonetheless your setup
requires additional tension adjustment, please use the tension allen screw under the focuser.
In order to avoid sagging or denting of the focuser steel reinforcement, it is necessary to adjust
tension ONLY when the drawtube is FULLY EXTENDED.
Extend the focuser drawtube to its full 115 mm as in the picture here above
before performing adjustment.
William Optics warranty does not cover damage to the focuser due to inappropriate tension setting.
P09
w
w
w
.w
il
li
a
m
-o
p
ti
c
s
.c
o
m
Storage and Cleaning
We suggest placing all accessories inside an airtight container with desiccative control.
Secondly, remember to store the telescope in a non-humid environment, never leave it in
a hot heated environment. If not properly stored, it may develop mildew growth and other
preventable build up.
Be particularly careful after a night observation that the lens has no dew on it before
storing the telescope away.
In case the lens surface becomes dusty, smeared, or gets fingerprints or fungus build-up
on it, first of all, remove any surface particle by using an air blower, then carefully proceed
to wiping the lens gently with a lint-free proper soft cloth. Use a lens liquid cleaner to get
the best cleaning result. Make sure you change your cloth to a new one from time to time.
The above-mentioned indications are not necessary if you carefully protect your
telescope.
The multi-layer paint white finish of your Fluorostar 110 is easy to ruin. Please take care
of the exterior body tube by wiping it down with a slightly damp soft cloth from time to
time. Water should be enough to do the job. Please do not use any organic solvent on
your telescope, for example alcohol, benzene and other hazardous chemical as this
might ruin it.
P06
C
ra
ft
in
g
t
h
e
E
ar
th
's
F
in
es
t
A
st
ro
n
o
m
ic
al
I
n
st
ru
m
en
ts
Step-1
Extract the black plastic screw
and place the finder bracket on
FluoriteStar 110 focuser and
attach with lock screw.
Finder Bracket Lock Screw
Finder Bracket
Step-2
Insert finderscope into
finder bracket.
Step-3
Insert illuminator
into finderscope.
Unscrew the knob
of illuminator.
Remove the knob
from finderscope.
Step-4
Tighten the knob
on finderscope.
Adjust the alignment screws.
Connection point
for finderscope bracket.
Connection Instructions
( Finderscope )


