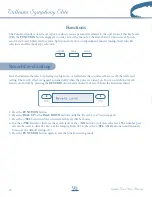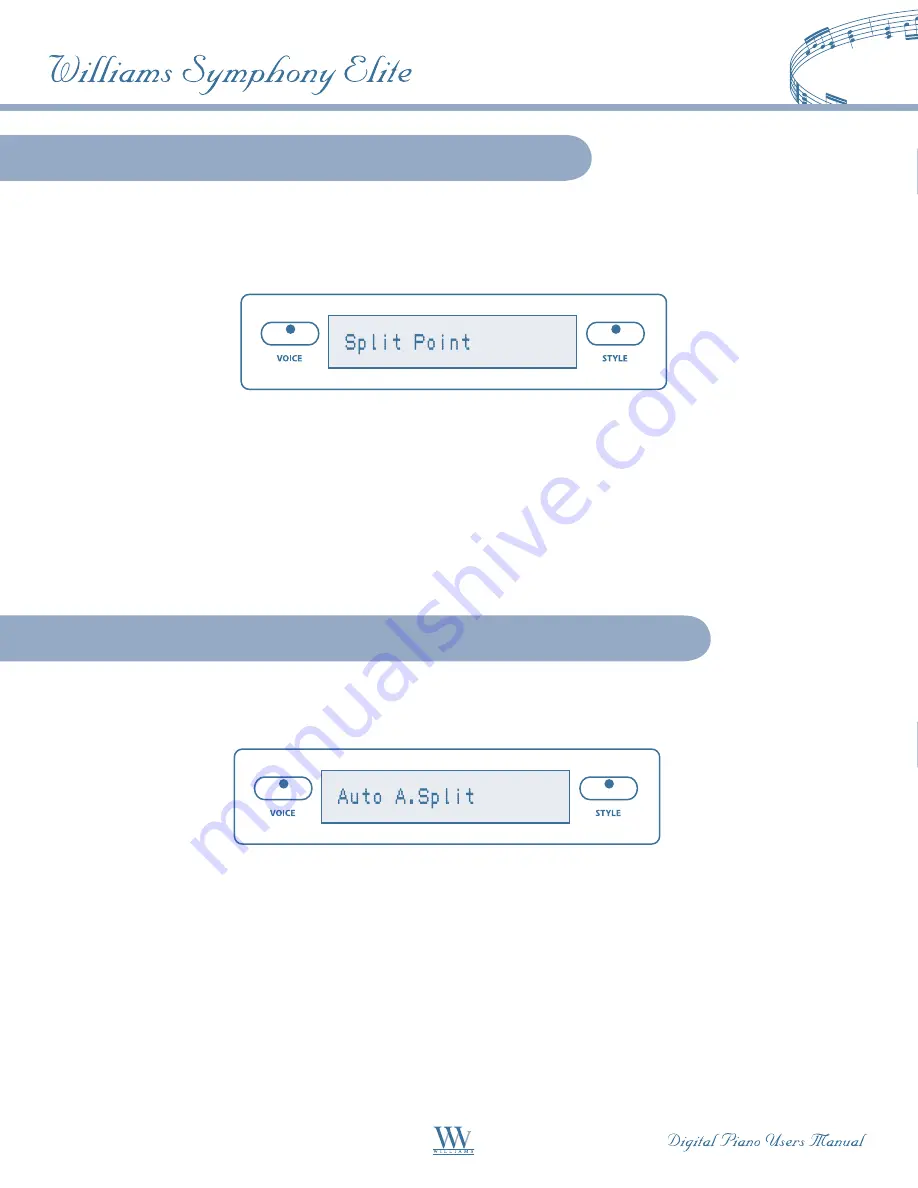
When the lower mode is engaged, the keyboard is divided into two parts at the split point. In the right-hand
section the original or (Upper voice) will sound. In the left-hand section, a new instrument voice can be
assigned. The split point for the Lower section can be changed in the Function menu.
1. Press the
FUNCTION
button.
2. Press the
PAGE UP
or the
PAGE DOWN
buttons until the “Split Point” menu appears.
3. Press the
+/YES
button to confirm your selection and the current voice split point will be shown.
4. Use the
+/YES
button to shift the split point up the keyboard to the right, and the
–/NO
button to shift
the split point down the keyboard to the left, from G1–C7. Press the
+/YES
,
–/NO
buttons simultaneously
to recover the default setting of C3.
5. Press the
FUNCTION
button again to exit the function setting mode.
Changing the Split Point for Lower Voice
The split point that defines the accompaniment section of the keyboard can also be changed in the
function menu.
1. Press the
FUNCTION
button.
2. Press the
PAGE UP
or the
PAGE DOWN
buttons until the “Auto A. Split” menu appears.
3. Press the
+/YES
button to confirm your selection and the current auto accompaniment split point
will be shown.
4. Use the
+/YES
button to shift the split point up the keyboard to the right, and the
–/NO
button to shift the
split point down the keyboard to the left, from AO–C3. Press the
+/YES
,
–/NO
buttons simultaneously to
recover the default setting of G1.
5. Press the
FUNCTION
button again to exit the function setting mode.
Changing the Split Point for Auto Accompaniment
24


