s
e C t I o n
3� 2—n
o t e s
f
roM
d
av I d
a� W
I l s o n
o n
t h e
t
e s t
Cd
27
W i l s o n A u d i o S p e c i a l t i e s
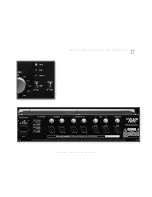
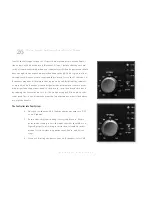
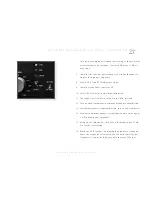
In,” and set the high pass frequency according to the acoustical
measurements you have taken. Start with HP at the 12 dB/oc-
tave slope.
7. Initially select the low pass frequency 10% lower than the set-
ting for the high pass frequency.
8. Select “LP In” and LP 18-dB/octave slope.
9. Initially set the Phase control at 90°.
10. Select “EQ Out” at this point in the calibration.
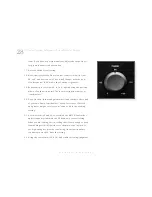
11. The output level control should be in the “Min” position.
12. Turn on the program source components and pre-amplifiction.
13. After two minutes of stabilization time, turn on your Controller.
14. After two additional minutes of stabilization time, turn on your
L & R channel power amplifiers.
15. Using track 2 (pink noise), turn the L & R speakers up to 75 dB-
C; note the level setting.
16. While the L & R speakers are playing the pink noise, slowly ad-
vance the output level control on the Controller until the low
frequencies seem to be in balance with the rest of the spec-
Summary of Contents for Subsonic
Page 1: ...In s t a l l a t i o n a n d C a r e G u i d e ...
Page 6: ......
Page 7: ...S e c t i o n 1 U n c r a t i n g W i l s o n A u d i o S p e c i a l t i e s ...
Page 10: ......
Page 11: ...S e c t i o n 2 I n i t i a l S e t u p W i l s o n A u d i o S p e c i a l t i e s ...
Page 18: ......
Page 36: ......
Page 37: ...S e c t i o n 4 F i n i s h i n g U p W i l s o n A u d i o S p e c i a l t i e s ...
Page 48: ......
Page 49: ...S e c t i o n 5 S p e ci f ic a t i o n s W i l s o n A u d i o S p e c i a l t i e s ...
Page 54: ......
Page 55: ...S e c t i o n 6 W a r r a n t y W i l s o n A u d i o S p e c i a l t i e s ...

