s
e C t I o n
4�1— s
P I k e
I
n s ta l l at I o n
, h
o r I z o n ta l
39
W i l s o n A u d i o S p e c i a l t i e s
Plinth and Spike Installation
Note: Wilson Audio Subsonic is extremely heavy. Three strong individuals are required to
safely lay Wilson Audio Subsonic on its side.
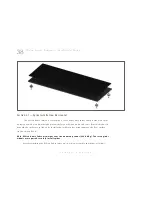
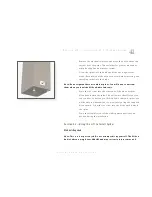
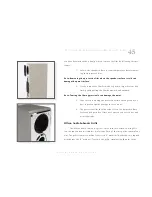
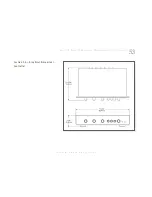
A separate accessory plinth is supplied in the event Wilson Audio Subsonic is placed on its
side. This plinth features a special padded surface on its upper that provides a degree of protec-
tion for Wilson Audio Subsonic’s painted surface. Determine the final position of Wilson Audio
Subsonic. Make sure to position the Wilson Audio Subsonic such that the binding posts are orient-
ed to the side most convenient to connection. Place the plinth in this location. Assemble spikes
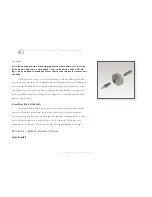
by first screwing the spike into the diode. Install the spikes into threaded holes in the bottom of
Summary of Contents for Subsonic
Page 1: ...In s t a l l a t i o n a n d C a r e G u i d e ...
Page 6: ......
Page 7: ...S e c t i o n 1 U n c r a t i n g W i l s o n A u d i o S p e c i a l t i e s ...
Page 10: ......
Page 11: ...S e c t i o n 2 I n i t i a l S e t u p W i l s o n A u d i o S p e c i a l t i e s ...
Page 18: ......
Page 36: ......
Page 37: ...S e c t i o n 4 F i n i s h i n g U p W i l s o n A u d i o S p e c i a l t i e s ...
Page 48: ......
Page 49: ...S e c t i o n 5 S p e ci f ic a t i o n s W i l s o n A u d i o S p e c i a l t i e s ...
Page 54: ......
Page 55: ...S e c t i o n 6 W a r r a n t y W i l s o n A u d i o S p e c i a l t i e s ...

