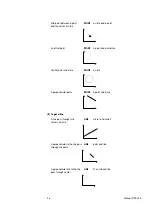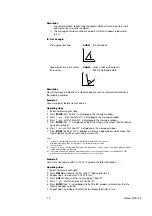
pressing
ENTER
each time);
4. Repeat step 3, during this operation, press
CANCEL
to delete the last sampled
point;
5. Press
FINISH
to end the measurement when the sampled points is enough, at the
same time, "a0 Offset X/Y" is displayed in the message window, the distance
feature's X axis' value is displayed in the X window, and it's Y axis' value is
displayed in the Y window.
Note:
(1)
Press
QUIT
to quit the operation.
(2) You can set to forward annotation mode or backward annotation mode in system setup.
Please refer to 7.9 and 7.10.
5.5 M
EASURING ANGLE FEATURE
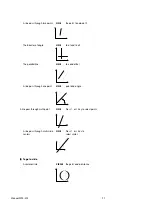
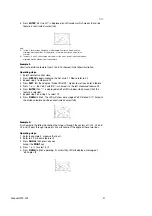
Measurement of angle feature refers to measuring the angle of two lines.
Operating steps:
1. Return to normal monitor state;
2. Press
ANGLE
;
3. Measure the first line feature (please refer to measuring line feature);
4. Measure the second line feature (please refer to measuring line feature);
5. "a0 Angle<12" is displayed in the message window after the measurement is over,
which indicates the measurement is over successfully.
5.6 M
EASURING WITH MEASURE EASY
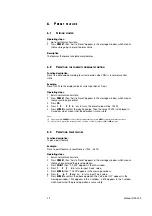
You can setup the Measure Easy in system setting if you want to measure features with
measure easy. (Please refer to 7.8).
Measure Easy allow you concentrate your energy on measuring the points of a
graphics. In lots of measurements, it can reduce your time and avoid many errors
because of your carelessness.
The following is the basic operating routine:
1. There is one point in need if you want to measure one point only.
2. There are two or more than two points to determine a line.
3. When more than two points is probed, the system would calculate the graphics
automatic base on the position of those points.
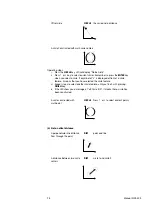
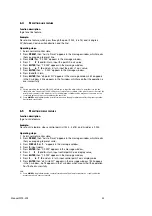
Operating steps:
1. Return to the normal monitor state.
2. Aim at the point you want to measure, and then press
ENTER
. "Measure Easy" is
displayed which means that the system has enter the Measure Easy function.
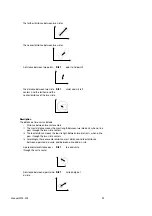
3. Aim at the second point and press
ENTER
. "2 Pts Probed" is displayed which means
two points probed.
4. Repeat the step 2 tile probing enough points and press
FINISH
.
5. "Measure Easy OK" is displayed which means the measurement is completed.
The system would calculate the graphics automatic based on your points and
display the graphics.
Note:
1.
You can use Measure Easy to measure point, line and circle but not angle and offset.
2.
There is one point probed when you press ENTER to enter Measure Easy.
It is wrong that thinking no point probed.
3.
When you find that the data input is wrong, you can press
CANCEL
to cancel the input.
4.
If you want to quit without completing, press
QUIT
.
5.
Pressing
POINT
after enter Measure Easy means that you want to measure only one point in spite of you
input some points. Pressing
LINE
or
CIRCLE
has the same effect as pressing
POINT
.
24
Manual WDC-300
Summary of Contents for WDC-300
Page 1: ...Manual WDC 300 COUNTER FOR WPP 300 ...
Page 54: ...W03 134 ...


