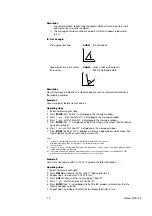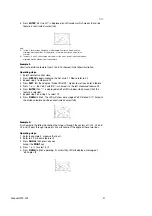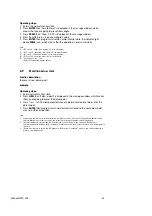
Operating steps:
1. Return the normal monitor state;
2. Press
ENTER
, then "Axis to Preset" is displayed in the message window, which
means that you are going to preset skew angle;
3. Press
SKEW
, then "Skew: 0.000" is displayed in the message window;
4. Press
1
and
5
in turns, input skew angle's value;
5. Press
ENTER
, then program will return normal monitor state, the indicator light
above
SKEW
is on, which means that the operation is over successfully.
Note:
(1) If
45°<
α
<90°, skew the Y-axis by (90°-a) in clockwise;
(2) If 135°>
α
>90°, skew the Y-axis by (
α
-90°) in anti-clockwise;
(3) If 45°>
α
>0°, skew the X-axis by (-
α
) in anti-clockwise;
(4) If 135<
α
<180°, skew the X-axis by (-
α
) in clockwise;
(5) The range of
α
is 0°~180°.
(Note:
α
=the inputted angle's value)
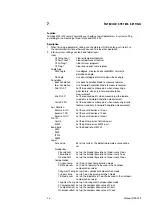
6.9 P
RESETTING DATUM POINT
Function description:
To preset a new datum point
Example:
Operating steps:
1. Return normal monitor state;
2. Press
ORG
, then "Select a point" is displayed in the message window, which means
that you are going to preset the datum point;
3. Press or
to find a temporary features or a permanent feature to be set as the
datum point;
4. Press
ENTER
, then program return normal monitor state and the new datum point
was set at the new position.
Note:
1.
Presetting a new datum point will cause the coordinate to move, which will change all the feature's value
that are relative to point value, such as the point, the circle center and the vertex of an angle.
2.
The selected feature must include the point feature, such as the point, the circle and the angle etc.
The line feature also includes the point feature, however, you can't use a line to preset a new datum point in
this case.
3.
If there is no feature to select, the LED window will show you "No feature". And you can't select a feature to
preset a new datum point.
Manual WDC-300
35
Summary of Contents for WDC-300
Page 1: ...Manual WDC 300 COUNTER FOR WPP 300 ...
Page 54: ...W03 134 ...

