background image

Operation Manual

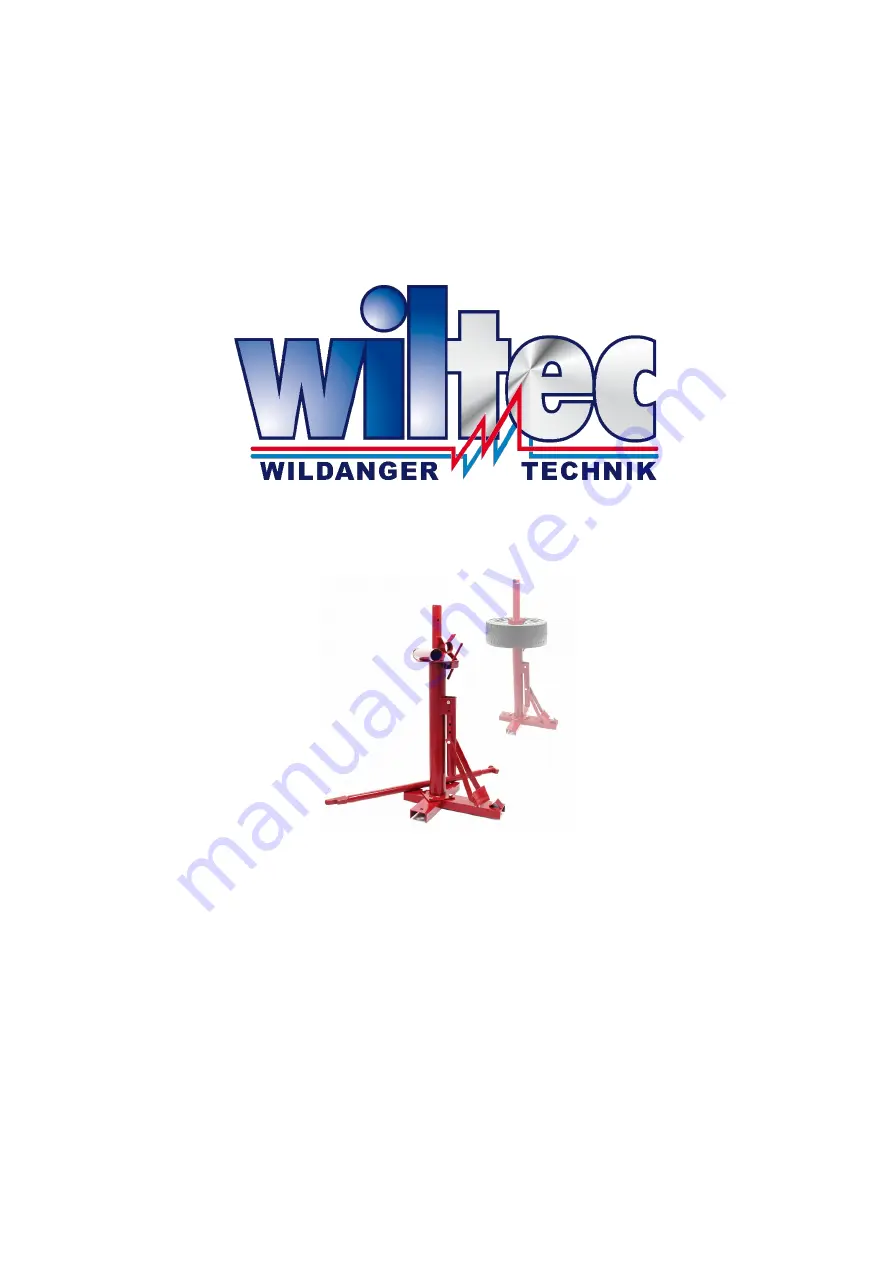
Manual Tyre Changer

61309 

Illustration similar, may vary depending on model

Read and follow the operating instructions and safety information before using for the first time. 

Technical changes reserved!
Due to further developments, illustrations, functioning steps and technical data can differ insignific-
antly.

Updating the documentation
If you have suggestions for improvement or have found any irregularities, please contact us.

Summary of Contents for 61309

Page 1: ...g instructions and safety information before using for the first time Technical changes reserved Due to further developments illustrations functioning steps and technical data can differ insignific antly Updating the documentation If you have suggestions for improvement or have found any irregularities please contact us ...

Page 2: ...anguages can be found in our online shop via https www wiltec de docsearch Our postal address is WilTec Wildanger Technik GmbH Königsbenden 12 52249 Eschweiler Germany Do you wish to pick goods up Our pick up address is WilTec Wildanger Technik GmbH Königsbenden 28 52249 Eschweiler Germany To shorten the waiting time and allow for a rapid on site transaction we ask you to call us previously or pla...

Page 3: ...ing and be cautious when using tools and machinery Do not use tools and machinery if you are tired or under the influence of alco hol drugs or medicaments which can affect your consciousness A short moment of inattentiveness when handling a tool or machinery can lead to serious in jury Wear adequate clothing Do not wear any loose clothing or jewellery Tie long hair together Do not lean over too fa...

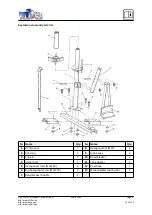
Page 4: ...s 2 3 Lug pin 1 10 Bead breaker 1 4 Spider post 1 11 Lock washer 4 5 Hexagonal screw M10 65 4 12 Post base 1 6 Big hexagonal screw M10 25 4 13 Mounting demounting bar 1 7 Bead breaker handle 1 by WilTec Wildanger Technik GmbH Item 61309 Page 4 http www WilTec de http www aoyue eu 02 2021 1 http www teichtip de ...

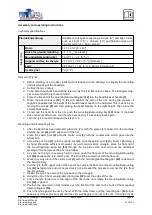
Page 5: ...alve stem upward on the machine and the lug pin 3 which pokes out of the rim 2 Place the spider post 4 onto the centre post 1 with the conical side which goes into the wheel hub 3 Screw the post cap 2 onto the centre post 1 Lock the spider post 4 by hand Tightening it by hand should be sufficient However if you do require more strength place the flat end of the mounting demounting bar 13 through t...

Page 6: ...so that it cannot sit on the top edge of the rim Note The bead which is located on the upper side of the mounting demounting bar 13 holds the bar hooked into the edge of the rim The tyre bead is on the upper side flat piece of the mounting end of the bar and against the bent lug pin 3 when you mount the tyre to the rim Important notice The reprint or reproduction even of excerpts and any commercia...

Reviews: