7.3
The chart below shows you some of the possible memory configurations for
your WinBook XL2:
Module 1
Module 2
Total
16MB
None
16MB
16 MB
16MB
32MB
32MB
None
32MB
32MB
16MB
48MB
32MB
32MB
64MB
64MB
None
64MB
64MB
16MB
80MB
64MB
32MB
96MB
64MB
64MB
128MB
To install memory modules:
1. Turn off the computer and disconnect the AC adapter.
Remove the main battery (see Chapter Three for instructions,
if needed).
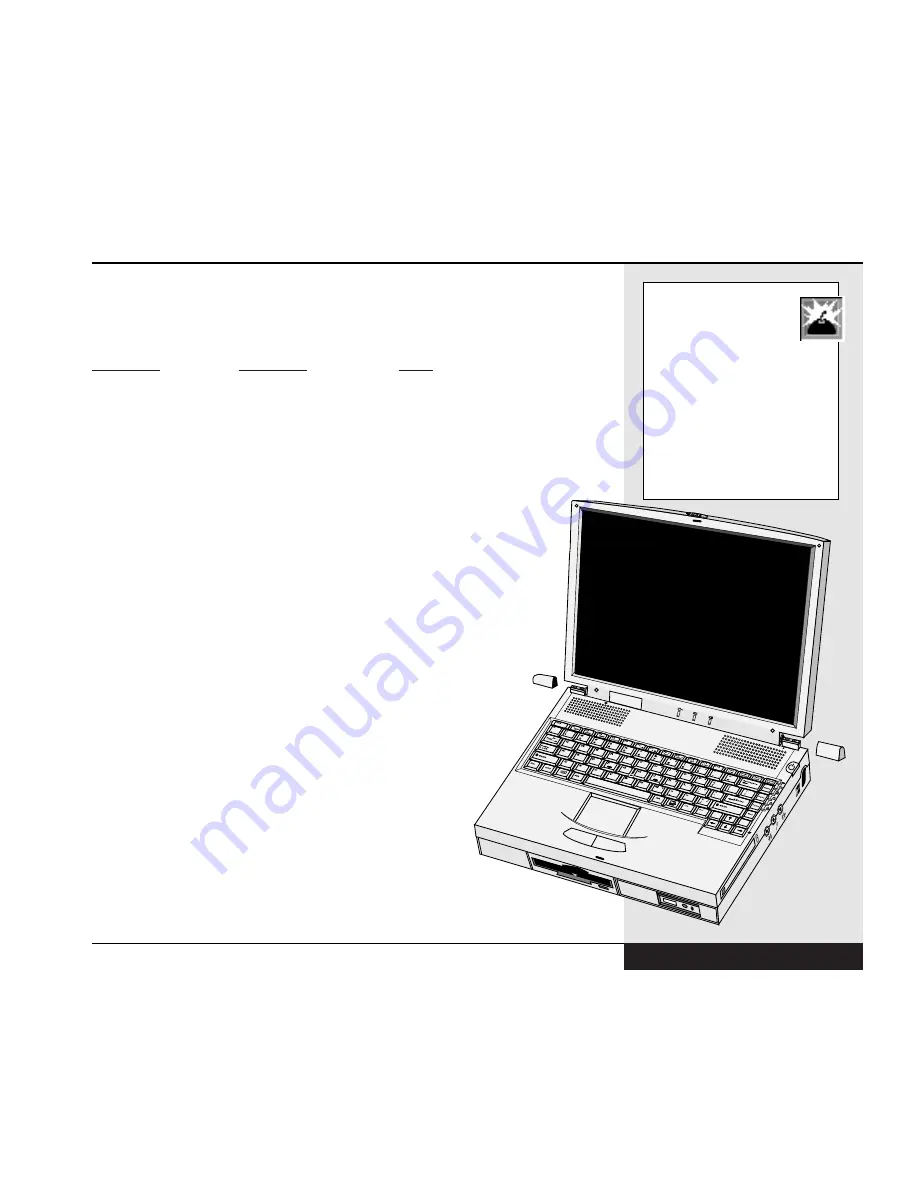
2. Open the LCD panel so that it is fully vertical.
3. Slide the end cap off each end of the LCD hinge.
Set the two caps in a safe place. (Figure 7.2)
Chapter 7: Upgrading
7.3
Electrostatic Discharge
can cause damage to SO-
DIMM modules (and other
computer components). Always
remember to (1) Keep the com-
ponent in its protective packaging
until you are ready to install it,
and (2) Wear a wrist grounding
strap attached to grounded metal
or, if a strap is not available, dis-
charge static before handling the
SO-DIMM module.
Figure 7.2: Removing LCD Hinges
Summary of Contents for XL2
Page 1: ...User s Manual for notebook computers ...
Page 6: ...Table of Contents 6 Table of Contents ...
Page 11: ...Preface v ...
Page 13: ...Chapter One Getting Started Chapter 1 Getting Started 1 1 ...
Page 40: ...Chapter Two Basic Computing Chapter 2 Basic Computing 2 1 ...
Page 60: ...Chapter Three Mobile Computing Chapter 3 Mobile Computing 3 1 ...
Page 80: ...Chapter Four Desktop Operation Chapter 4 Desktop Operation 4 1 ...
Page 98: ...Chapter 4 Desktop Operation 4 19 ...
Page 99: ...Chapter Five PC Cards PCMCIA Chapter 5 PC Cards PCMCIA 5 1 ...
Page 113: ...Chapter Six Video Settings Chapter 6 Video Settings 6 1 ...
Page 123: ...Chapter Seven Upgrading Chapter 7 Upgrading 7 1 ...
Page 135: ...7 13 Chapter 7 Upgrading ...
Page 160: ...Chapter Nine Troubleshooting Chapter 9 Troubleshooting 9 1 ...
Page 187: ...Glossary Glossary G 1 ...
Page 204: ...Index Index I 1 ...
Page 211: ...WinBook Corporation 2701 Charter Street Hilliard Ohio 43228 ...


