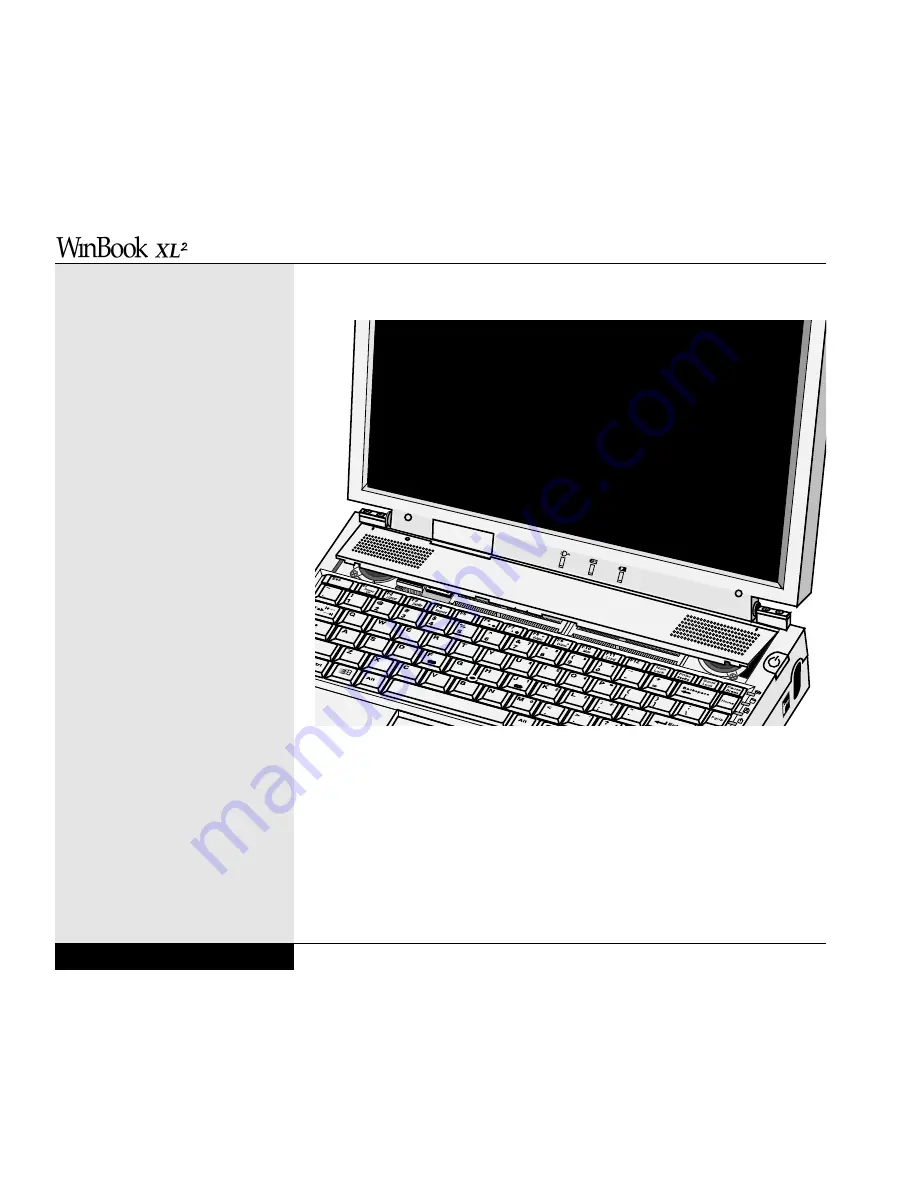
4. The RAM compartment is located under the panel just above the keyboard.
5. Gently slide the panel forward to loosen it.
6. Gently grip the side edges of the panel and angle it up and forward to
remove it from the compartment. Set it in a safe place. (Figure 7.3)
7. You will now see the two RAM slots, one or both of which might
already have SO-DIMM modules in place. If you will need to remove a
module or modules to complete your upgrade, push outward on the edge
clips to release the module, angle the card slightly upward and gently
User’s Manual
7.4
7.4
Figure 7.3: Removing the RAM compartment panel
Summary of Contents for XL2
Page 1: ...User s Manual for notebook computers ...
Page 6: ...Table of Contents 6 Table of Contents ...
Page 11: ...Preface v ...
Page 13: ...Chapter One Getting Started Chapter 1 Getting Started 1 1 ...
Page 40: ...Chapter Two Basic Computing Chapter 2 Basic Computing 2 1 ...
Page 60: ...Chapter Three Mobile Computing Chapter 3 Mobile Computing 3 1 ...
Page 80: ...Chapter Four Desktop Operation Chapter 4 Desktop Operation 4 1 ...
Page 98: ...Chapter 4 Desktop Operation 4 19 ...
Page 99: ...Chapter Five PC Cards PCMCIA Chapter 5 PC Cards PCMCIA 5 1 ...
Page 113: ...Chapter Six Video Settings Chapter 6 Video Settings 6 1 ...
Page 123: ...Chapter Seven Upgrading Chapter 7 Upgrading 7 1 ...
Page 135: ...7 13 Chapter 7 Upgrading ...
Page 160: ...Chapter Nine Troubleshooting Chapter 9 Troubleshooting 9 1 ...
Page 187: ...Glossary Glossary G 1 ...
Page 204: ...Index Index I 1 ...
Page 211: ...WinBook Corporation 2701 Charter Street Hilliard Ohio 43228 ...


