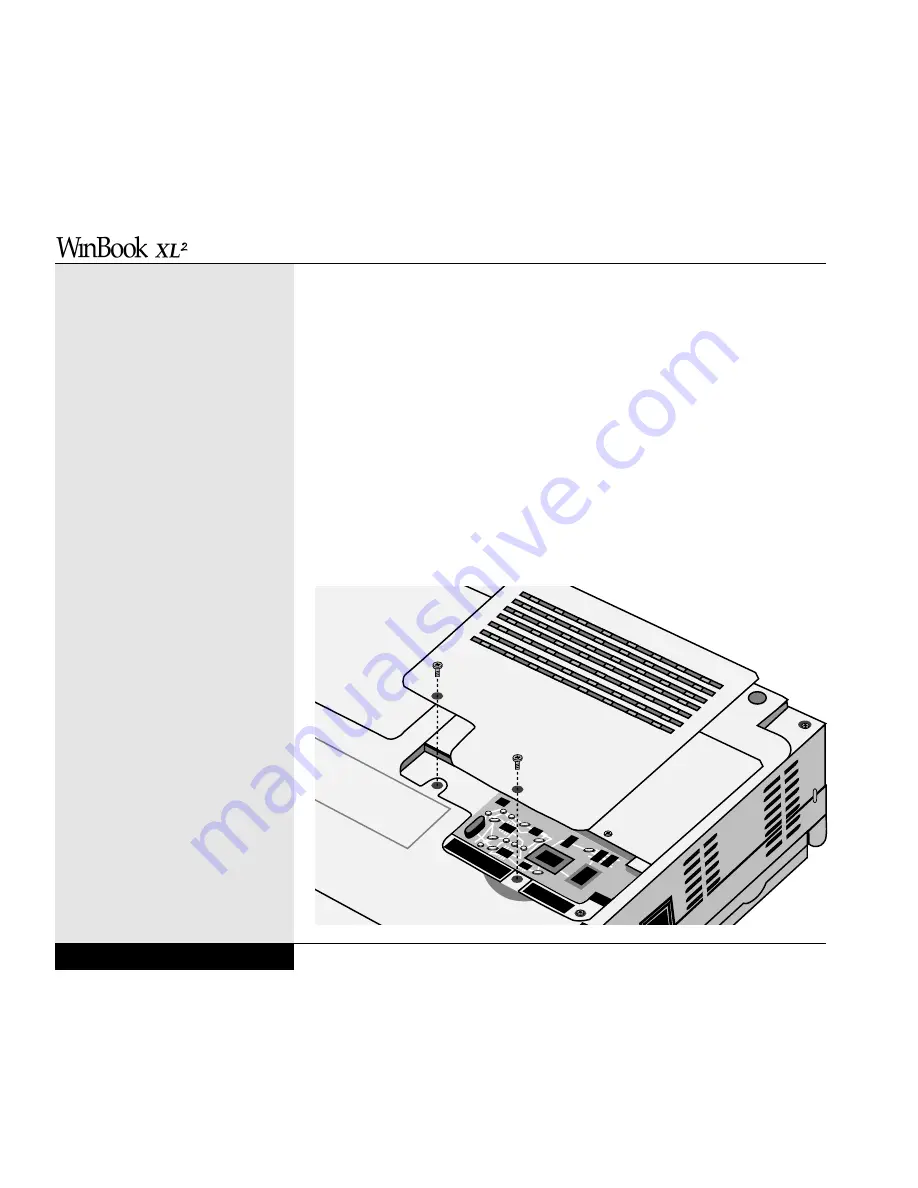
To upgrade your hard drive:
1. Back up the installed drive completely. Be sure that you have the bootable
CD-ROM that came with your WinBook XL2 if your new drive does not
come with an operating system (e.g. Windows 98) already loaded.
NOTE: This is the bootable WinBook CD-ROM that came with your
system, not the bootable Windows 98 program CD. The CD-ROM that
came with your system has all the proper drivers for the WinBook XL2
hardware and a disk image utility for just this kind of upgrade.
2. Power down the system completely. You should unplug the AC adapter
and remove the battery before removing the drive. Disconnect any
attached peripherals. (See Chapter Three for instructions for removing
the battery, if needed.)
3. Turn the system over.
User’s Manual
7.8
7.8
Figure 7.8: Removing the Compartment Cover
Summary of Contents for XL2
Page 1: ...User s Manual for notebook computers ...
Page 6: ...Table of Contents 6 Table of Contents ...
Page 11: ...Preface v ...
Page 13: ...Chapter One Getting Started Chapter 1 Getting Started 1 1 ...
Page 40: ...Chapter Two Basic Computing Chapter 2 Basic Computing 2 1 ...
Page 60: ...Chapter Three Mobile Computing Chapter 3 Mobile Computing 3 1 ...
Page 80: ...Chapter Four Desktop Operation Chapter 4 Desktop Operation 4 1 ...
Page 98: ...Chapter 4 Desktop Operation 4 19 ...
Page 99: ...Chapter Five PC Cards PCMCIA Chapter 5 PC Cards PCMCIA 5 1 ...
Page 113: ...Chapter Six Video Settings Chapter 6 Video Settings 6 1 ...
Page 123: ...Chapter Seven Upgrading Chapter 7 Upgrading 7 1 ...
Page 135: ...7 13 Chapter 7 Upgrading ...
Page 160: ...Chapter Nine Troubleshooting Chapter 9 Troubleshooting 9 1 ...
Page 187: ...Glossary Glossary G 1 ...
Page 204: ...Index Index I 1 ...
Page 211: ...WinBook Corporation 2701 Charter Street Hilliard Ohio 43228 ...


