background image

10

9

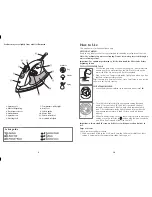
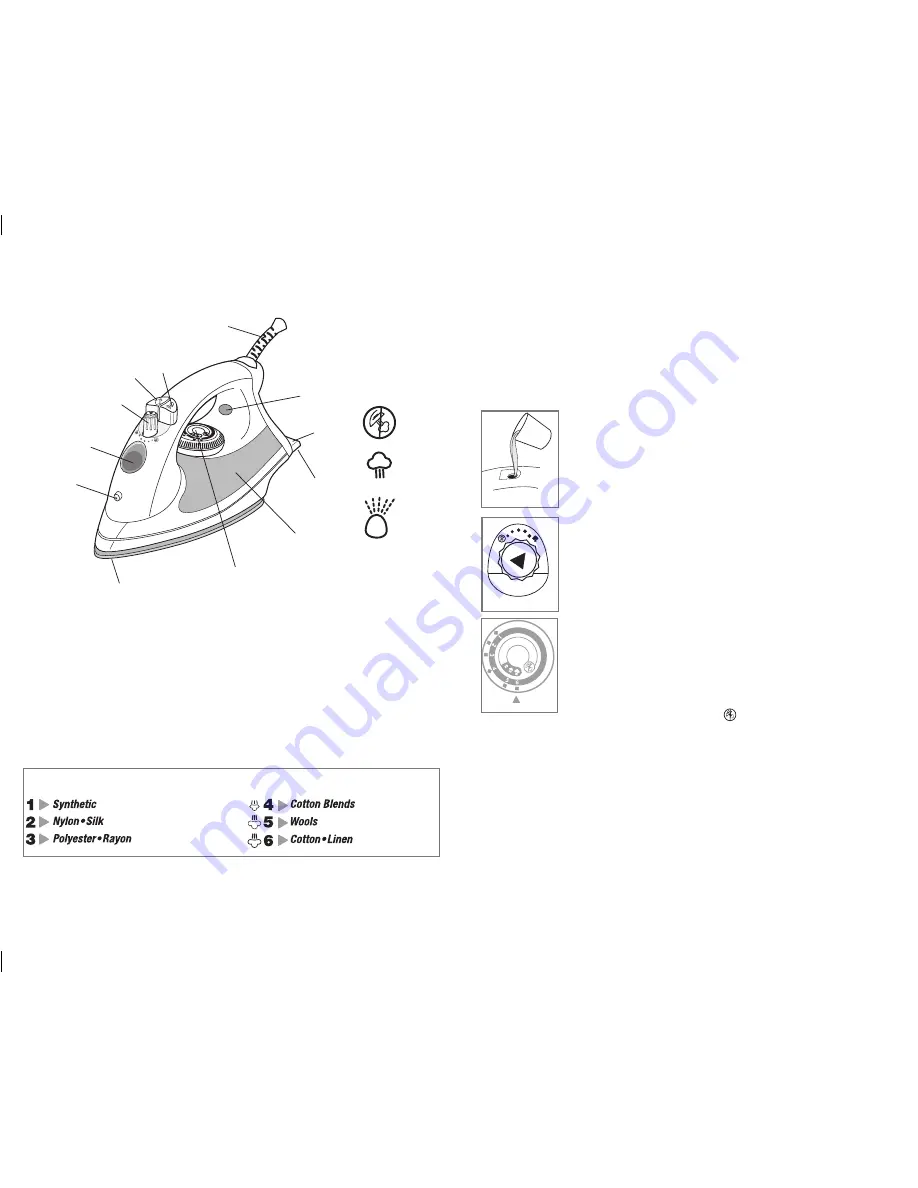
Product may vary slightly from what is illustrated.

Fabric guide

  1.  Spray nozzle
  2.  Water-fill opening
  3.  Dry/steam selector
  4.  Steam button
  5.  Spray button
  6.  Pivoting cord

  7.  Temperature-ready light
  8.  Heel rest
  9.  Fabric guide
 10.  Water tank
 11.  Fabric-select dial
 12.  Nonstick soleplate

How to Use

This appliance is for household use only.

GETTING STARTED

remove any labels, stickers or tags attached to the body or soleplate of the iron. 

Note: Use ordinary tap water for ironing. Do not use water processed through a 

water softening system.
Important: For optimum performance, let the iron stand for 90 seconds before 

beginning to iron.
TO FILL THE WATER TANK

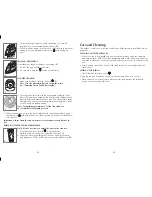
1.  Tilt the iron and using a clean measuring cup, pour water into 

opening until the water reaches the MAX level mark on the 

water tank 

(A)

. do not overfill. refill as needed.

2.  Plug in the iron. Temperature-ready light glows when iron has 

reached set temperature setting.

Tip: 

if unsure of a garment’s fabric, test a small area (on an inside 

seam or hem) before ironing.

FOR STEAM IRONING

1.  Move the dry/steam selector to the desired steam level 

(B)

.

2.  Turn the fabric-select dial to appropriate setting (between  

4 and 6) for your fabric 

(C)

. See fabric guide on the heel 

rest and read garment’s label to help you determine fabric 

type. The temperature-ready light glows until it reaches the 

appropriate temperature. it then cycles on and off during 

ironing.

3.  When finished ironing, turn the fabric-select dial to lowest heat 

setting, move the selector to 

J

K

L

M

O

 and unplug the iron. Stand the 

iron on its heel rest and allow it to cool off.

Important: Always stand the iron on its heel rest when powered on but not in 

use.
Surge of Steam

use to remove stubborn creases.
1. With water tank filled to the MAX mark, turn the fabric-select dial to at least 

setting 4 and wait for the temperature-ready light to go off.

B

a

b

C

g

A

J

K

L

M

O

J

K

L

M

O

Dry

Steam

Spray

Symbols

Summary of Contents for I-335

Page 1: ...ave this Use and Care Book Por favor Leia e Guarde este Manual de Uso e Conserva o Modelo Model Modelo I 335 USA Canada 1 800 231 9786 Mexico 01 800 714 2503 www applicaconsumerproductsinc com Accesor...

Page 2: ...sujete el enchufe para hacerlo No permita que el cable entre en contacto con superficies calientes Permita que la plancha se enfr e antes de guardarla Enrolle el cable holgadamente alrededor de la pl...

Page 3: ...a C Consulte la gu a de tejidos en el tal n de la plancha y lea la etiqueta de la prenda que desea planchar para determinar el tipo de tejido La luz indicadora de temperatura brilla hasta alcanzar la...

Page 4: ...ci n J K L M O y desconecte la plancha Coloque la plancha sobre su tal n y permita que se enfr e bien Importante Siempre coloque la plancha sobre su tal n cuando est encendida pero no en uso C MO VACI...

Page 5: ...s hot water or steam Use caution when you turn a steam iron upside down or use the surge of steam there may be hot water in the water tank Avoid rapid movement of iron to minimize hot water spillage I...

Page 6: ...re ready light glows when iron has reached set temperature setting Tip If unsure of a garment s fabric test a small area on an inside seam or hem before ironing FOR STEAM IRONING 1 Move the dry steam...

Page 7: ...J K L M O and unplug the iron Stand the iron on its heel rest and allow it to cool off Important Always stand the iron on its heel rest when powered on but not in use EMPTYING WATER TANK AFTER IRONING...

Page 8: ...da ao inv s disso agarre o plugue e puxe o para desconectar N o permita que cabo toque superf cies quentes Deixe o ferro esfriar completamente antes de guard lo Enrole o cabo folgadamente em volta do...

Page 9: ...Veja o guia de tecido no calcanhar de apoio e leia a etiqueta de sua roupa para determinar o tipo de tecido A luz indicadora de temperatura brilha at o ferro atingir a temperatura apropriada Da ela a...

Page 10: ...o ferro de p sobre o calcanhar de apoio e deixe o esfriar Importante Mantenha o ferro sempre de p sobre o calcanhar de apoio quando ele estiver conectado mas n o em uso PARA ESVAZIAR O RESERVAT RIO D...

Page 11: ...y not cover Damage from commercial use Damage from misuse abuse or neglect Products that have been modified in any way Products used or serviced outside the country of purchase Glass parts and other a...

Page 12: ...amientas Ltda Av Apoquindo No 4867 Las Condes Santiago Chile Tel 562 263 2490 Colombia PLINARES Avenida Quito 88A 09 Bogot Colombia Tel sin costo 01 800 7001870 Costa Rica Aplicaciones Electromecanica...

Page 13: ...pultepec Morales Mexico D F Deleg Miguel Hidalgo CP 11570 MEXICO Tel fono 55 1106 1400 Del interior marque sin costo 01 800 714 2503 Made in People s Republic of China Printed in People s Republic of...

Reviews: