Page 6
For technical questions, please call 1-888-866-5797.
Item 62603
SAFET
y
Op
ERA
TION
M
AINTENAN
c
E
SETU
p
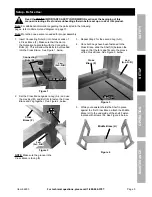
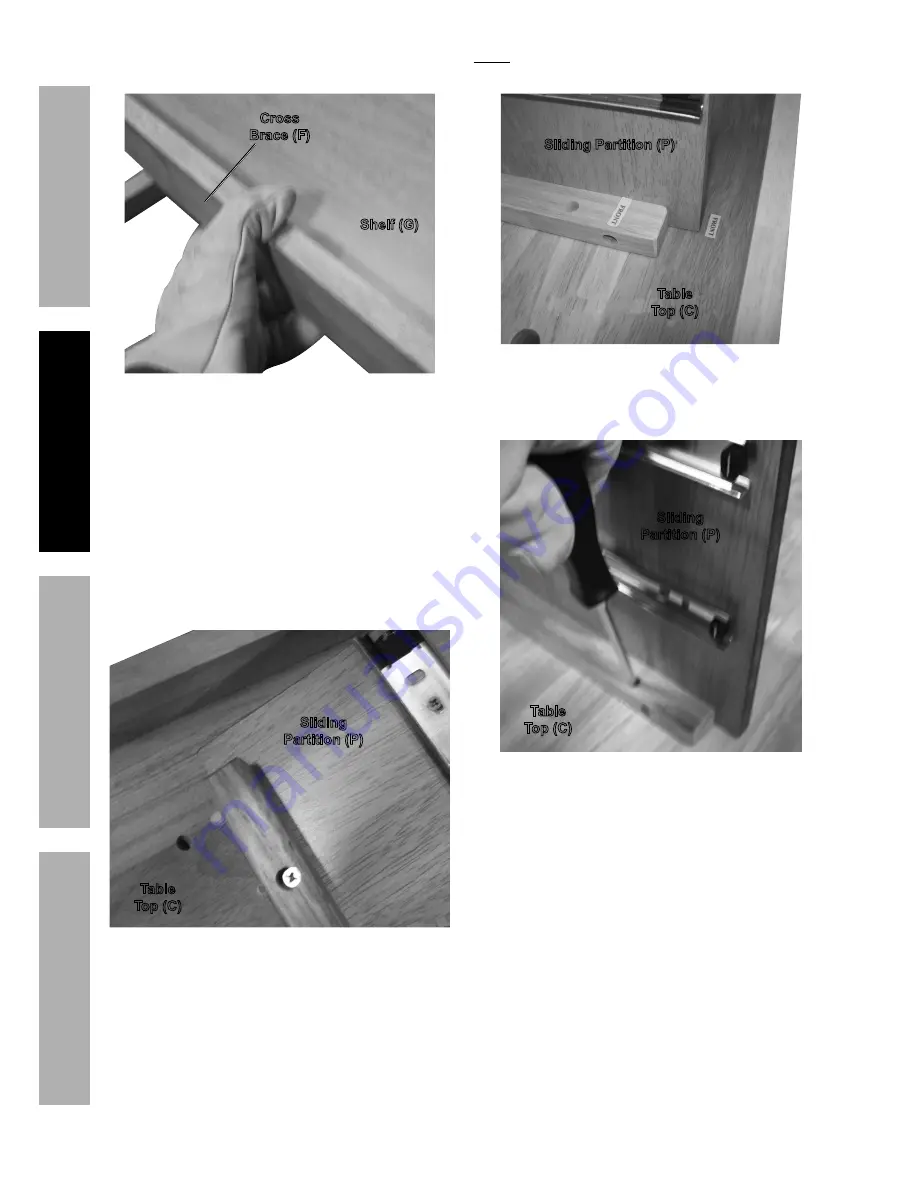
6. Set the second Cross Brace against the other
edge of the Shelf. See Figure 5, below.
Shelf (G)
cross
Brace (F)
Figure 5
7. Once the Cross Brace is in place and the mounting
holes on the Legs are aligned with the Connecting
Nuts in the Cross Brace, use the Hex Key and
Bolts to fasten the second Cross Brace to Legs.
8. With an assistant’s help, place the Table Top (C)
face down on a smooth, padded surface. This
will allow you to install the sliding drawers.
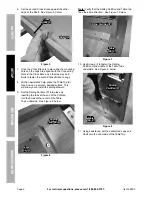
9. Set the Sliding Partition (P) into place by
inserting the tabs at the end of the Partition
into the holes at the center of the Table
Top’s underside. See Figure 6, below.
Sliding
partition (p)
Table
Top (c)
Figure 6
Note:
Verify that the Sliding Partition and Table Top
face the same direction. See Figure 7, below.
Sliding partition (p)
Table
Top (c)
Figure 7
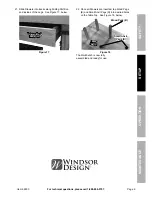
10. Use Screws (I) to fasten the Sliding
Partition to the middle of the Table Top’s
underside. See Figure 8, below.
Sliding
partition (p)
Table
Top (c)
Figure 8
11. Using assistance, set the assembled Legs and
Shelf onto the underside of the Table Top.


