MAINTENANCE
GLIDE 86037550 01/09/07
4-3
!
WARNING
!
WARNING
!
WARNING
!
WARNING
!
WARNING
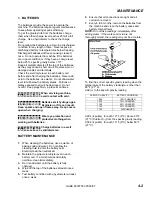
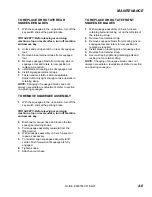
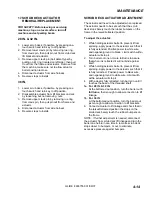
TO CHARGE BATTERIES
When servicing machine, avoid contact with
acid.
Batteries emit hydrogen
gas. Explosion or fire can
result. Keep sparks and
open flame away. Keep covers open when
charging.
Wear eye protection and
protective clothing when
working with batteries.
Charge batteries in a well
ventilated area.
1.
Stop the machine in a clean, well ventilated area
next to the charger.
2.
Turn the machine off and set parking brake.
FOR SAFETY: Before leaving or servicing
machine, stop on level surface, apply parking
brake, turn off machine and remove key.
3.
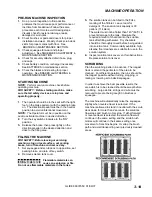
Raise the seat and raise the support arm to lock
in place.
Batteries emit hydrogen
gas. Explosion or fire can
result. Keep sparks and open flame away. Keep
covers open when charging.
4.
Check the electrolyte level in each battery cell.
Before charging, add just enough water to cover
up the plates. After recharging has completed,
add just enough water to bring up the level to
the indicator ring. If water level is to high before
charging, normal expansion of the electrolytes
may cause and overflow, resulting in loss of
battery acid balance and damage to the
machine.
5.
Replace battery caps, and leave them in place
while charging.
6.
Unplug the battery connector from the machine.
Unplug the battery charger from power outlet.
FOR SAFETY: When charging, connect the
charger to the batteries before connecting the
charger to the AC wall outlet. Never connect the
charger to the AC first. Hazardous sparks may
result.
7.
Use a 36 volt DC charger which will
automatically shut off when the batteries are
fully charged to charge the six battery pack.
8.
Plug the charger into the battery connector. Plug
battery charger into power outlet. The charger
gauge should indicate that the batteries are
charging. If the charger does not automatically
start up, verify that charger is plugged into
batteries.
9.
When the batteries are fully charged, disconnect
the charger from the batteries.
10.
Connect the batteries to the machine connector.
11.
Check the electrolyte level. It should be up to
the indicator ring. If necessary, add distilled
water.
12.
Lower the seat.
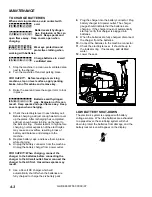
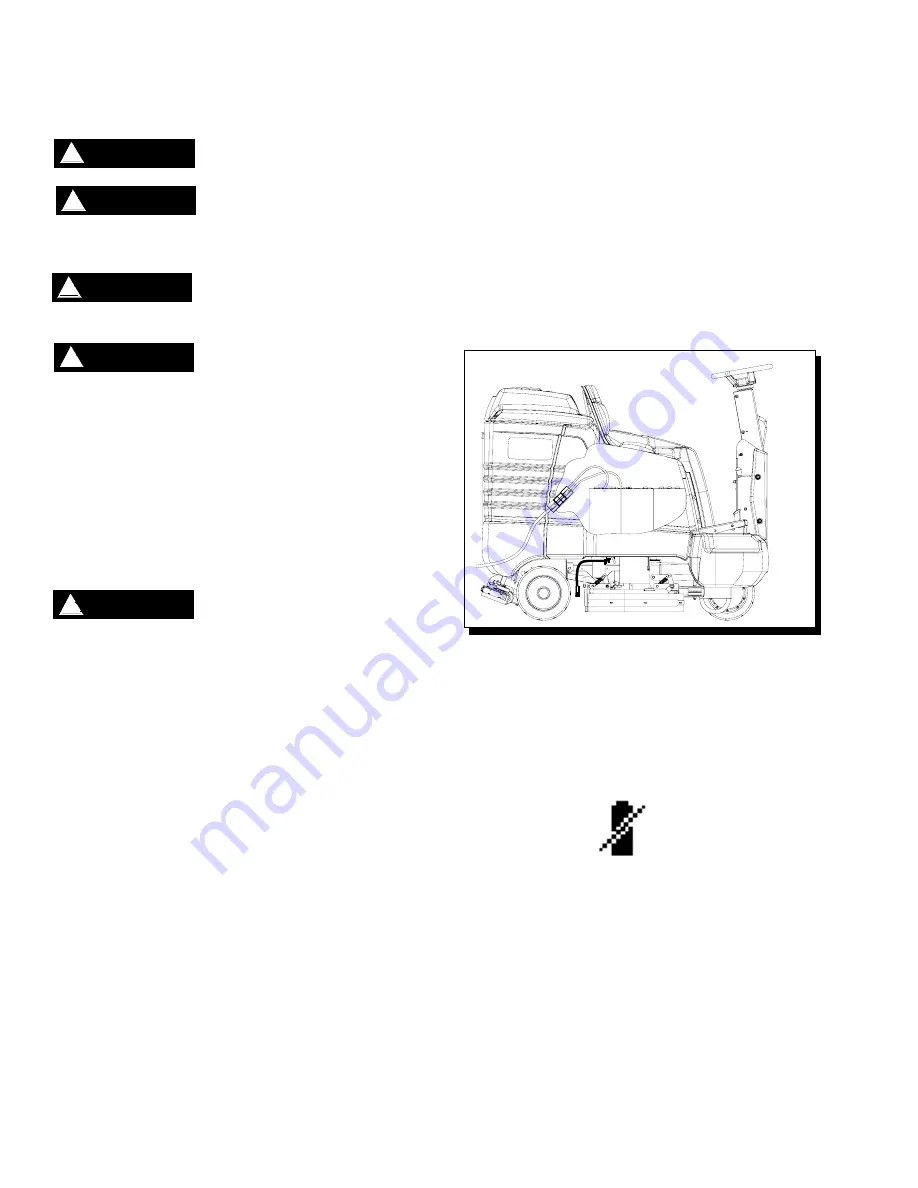
LOW BATTERY SHUT-DOWN
The electronic system is equipped with battery
voltage sensors. When the batteries are exhausted
to a preset level, the scrubbing system will shut
down to protect the batteries from damage, and the
battery lockout icon will appear on the display.
Summary of Contents for 10052480
Page 48: ...CIRCUIT BREAKER GROUP GLIDE 86037550 01 09 07 5 5 1 2 3 4 ...
Page 52: ...DECAL GROUP GLIDE 86037550 01 09 07 5 9 4 2 3 6 1 5A 5B 7 8 9 ...
Page 54: ...FRONT BUMPER FLOOR GROUP GLIDE 86037550 01 09 07 5 11 1 4 5 6 3 2 3 7 ...
Page 58: ...SCRUB BRUSH PAD DRIVER GLIDE 86037550 01 0907 5 15 1 6 9 4 8 5 7 2B 2A 2C 3 5 2D 7 5 6 9 4 8 ...
Page 88: ...STEERING UPPER GLIDE 86037550 01 09 07 5 45 1 2 3 4 5 6A 6B 8 9 10 7 13 12 16 18 11 14 15 17 ...
Page 96: ...VACUUM GROUP GLIDE 86037550 01 09 07 5 53 3 10 1 2 4 5 7 8 6 9 8 11 12 13 ...
Page 100: ...WHEEL MOTOR SERVICE PARTS GLIDE 86037550 06 25 12 5 57 ...
Page 110: ...WIRING DRIVE MOTOR GLIDE 86037550 07 05 12 5 67 1 2 ...
Page 116: ...BACK UP ALARM OPTION GLIDE 86037550 01 09 07 5 73 1 5 3 4 2 ...
Page 118: ...DUAL VACUUM MOTOR OPTION GLIDE 86037550 01 09 07 5 75 7 6 5 4 8 9 1 3 10 11 1 2 12 1 ...
Page 120: ...WARNING LIGHT OPTION GLIDE 86037550 01 09 07 5 77 1 2 3 4 5 ...
Page 122: ...GLIDE 86037550 01 09 07 5 79 ...
Page 123: ...GLIDE 86037550 01 09 07 5 80 ...
Page 124: ...GLIDE 86037550 01 09 07 5 81 ...


