37
Maintenance
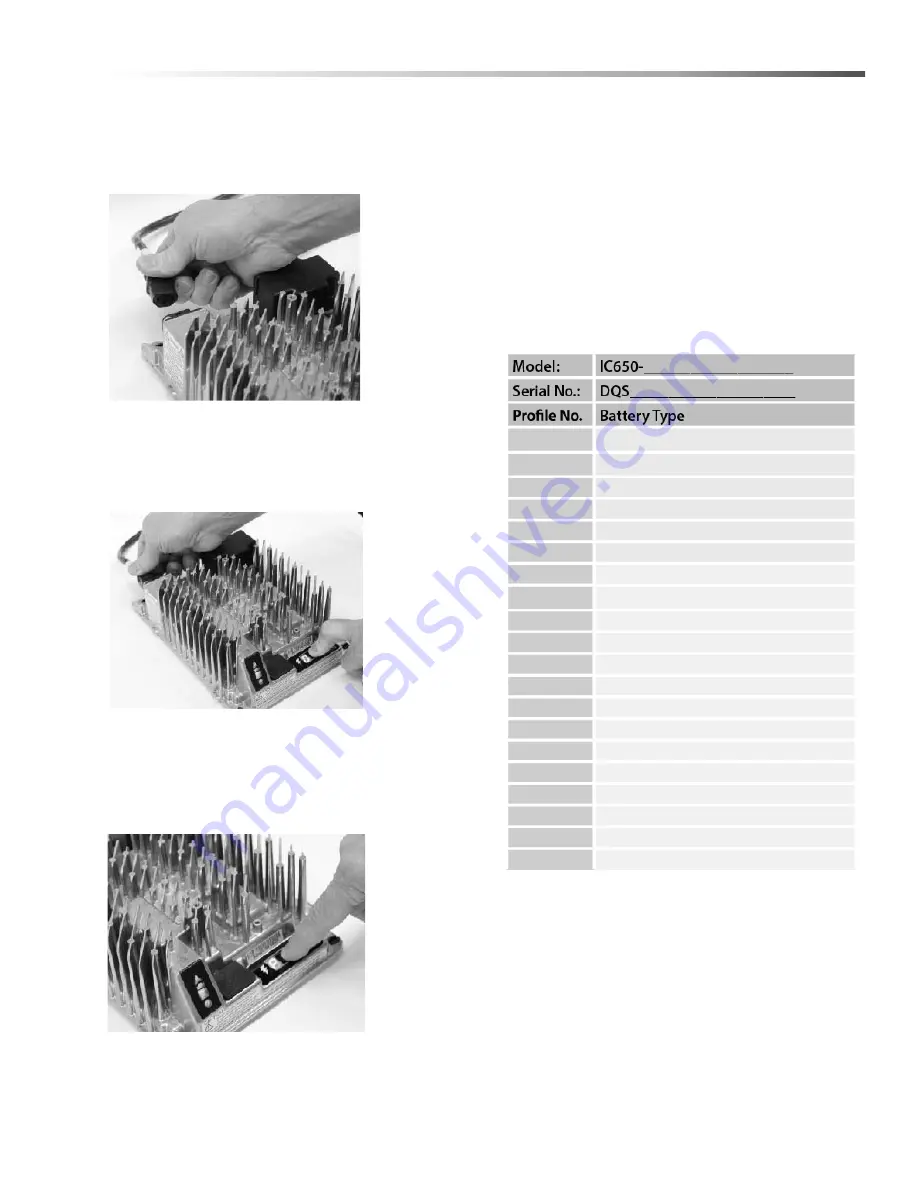
Selecting a Charge Profile
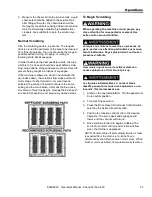
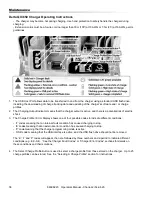
1. Disconnect AC input from the charger, or from the
wall outlet. Wait 30 seconds for the input relay to
open.
Figure 1:
Disconnect AC
input from the
charger.
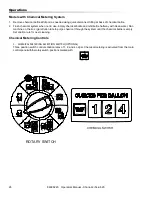
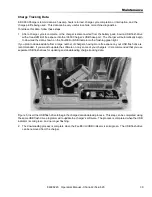
2. While reconnecting AC input, press and hold
Select Charge Profile button. Hold the button until
Error Indicator is on and Battery Charging Indicator
starts flashing.
Figure 2:
Reconnect AC
input while
holding the
Select Charge
Profile Button.
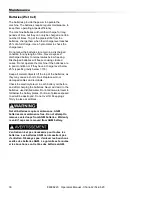
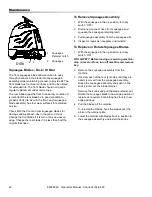
3. Press and release the Select charger Profile
Button to advance through charging profiles loaded
on the charger. The selected charging profile will
be displayed up to three times (e.g. “P-0-1-1” for
Profile 11).*
Figure 3:
Press the
Select Charge
Profile Button
to advance
through the
charge
profiles. Hold
the button for
10 seconds to
confirm your
selection.
*Process will time out and profile will remain
unchanged if there is 15 seconds of inactivity, a profile
number is allowed to display three times, or if AC power
is cycled.
4. Once desired charging profile is displayed, press
and hold button for 10 seconds (see Figure 3) to
confirm selection and exit Profile Selection Mode.
5. Press the Select Charge Profile Button to check
that the desired profile is selected.
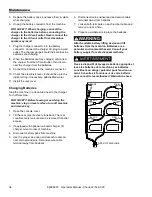
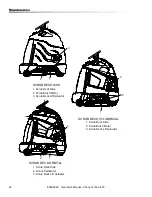
Use this table to record the charging profiles on
your charger.
Profile Logic
Profiles #42, 62 and 73 are programmed to automati-
cally restart a charge cycle after 14 days or 1.8V/cell
have been reached by the batteries if the charger
remains connected to AC power.
NOTE: Each profile is programmed to optimize the
life and performance of their corresponding battery,
contact the manufacturer before changing battery
charger profiles.
86398220 Operators Manual - Chariot-2 iScrub 20

