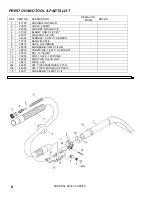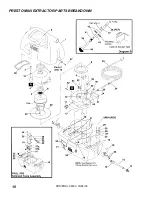
OPERATION (Continued) & TROUBLESHOOTING
98330 03/28/00
5
6. Turn on the power switch on the side of the
extractor. Squeeze the solution lever on the
cleaning tool to spray cleaning solution and
place the vacuum head on the surface to be
cleaned.
IMPORTANT!
ALWAYS TEST UPHOLSTERY
FOR COLOR FASTNESS IN AN INCONSPICUOUS
PLACE. Also, to avoid prolonged drying times, do
not spray too much solution in any one area.
7. When cleaning, be sure to monitor the level of
recovered solution in the recovery tank. When
the solution reaches the FULL mark, shut off the
extractor, loosen the latches and empty the
recovery tank.
WARNING!
DO NOT operate the extractor if the
solution level is above the FULL mark on the
recovery tank; water could be drawn directly into the
vac motor and this will damage the motor.
NOTE: The solution pump is not intended to run
dry. When using this extractor for vacuum pick-
up only, insure that the pump switch is turned
off.
B. WHEN FINISHED OPERATING
WARNING!! Before making any adjustments or
performing maintenance, disconnect the power
cord from the electrical source.
1.
Empty recovery tank completely and rinse it
several times to remove any dirt or debris that
may be left behind.
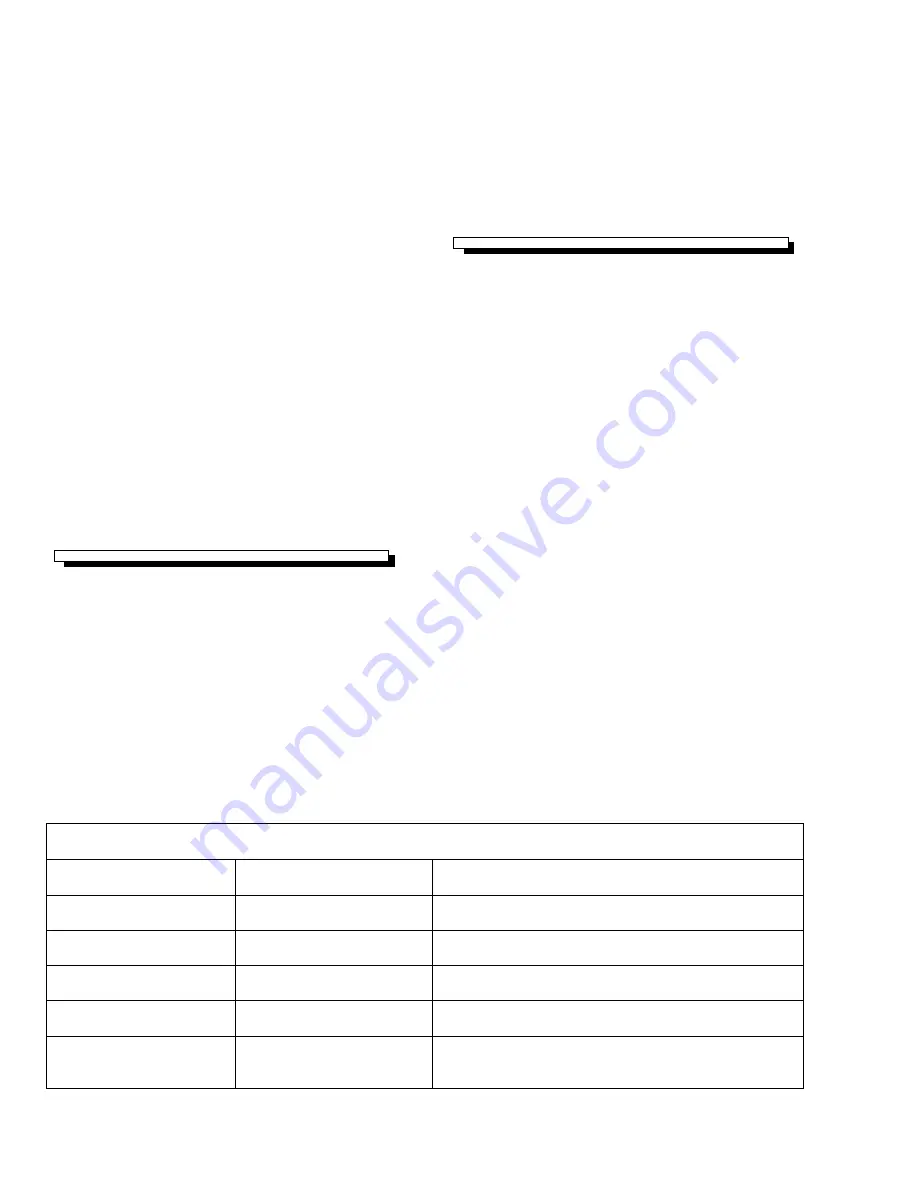
TROUBLESHOOTING
2.
Tip the solution tank to the rear over a sink to
drain any unused cleaning solution and rinse
with clean water to remove any suds left by the
cleaning chemicals.
3.
Check the spray jet on the cleaning tool for full
spray pattern and inspect vac head for any
obstructions.
C. PERIODIC MAINTENANCE
1.
Twice a month, flush a white vinegar solution
(One quart vinegar to two gallons water) or anti-
browning solution (mixed as directed) through
the extractor. This will prevent build-up of
alkaline residue in the system.
2.
If spray jet becomes clogged, remove the spray
tip, wash it thoroughly, and blow dry.
IMPORTANT! Do not use pins, wire, etc. to clean
nozzle as this could destroy the spray pattern.
3.
Apply silicone lubricant to solution nipple.
4.
Periodically inspect all hoses, electrical cable
and connections on your machine. Frayed or
cracked hoses should be repaired or replaced to
eliminate vacuum or solution pressure loss. If
the cable insulation on the power cord is broken
or frayed, repair or replace it immediately. Don’t
take chances with electrical fire or shock.
PROBLEM
.
CAUSE
SOLUTION
Little or no solution
flow
Clogged spray jet on
cleaning tool
Remove and clean jets
Faulty pump
Check and replace pump.
(Call Windsor Tech. Services first)
Incorrectly attached
solution hose
Ensure solution hose coupler is securely attached to
the coupler on the solution tank.
Loss of vacuum/
Solution recovery
Incorrectly attached vac
hose
Ensure vac hose is pushed completely onto the
recovery tank inlet.
Obstruction in cleaning
tool
Inspect for and remove any debris.
Recovery tank is not
securely mounted on the
solution tank.
Tighten latches on either end of the machine.


