


MACHINE OPERATION
SCX364 86037150 1/17/07
3-10
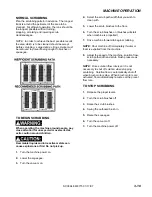
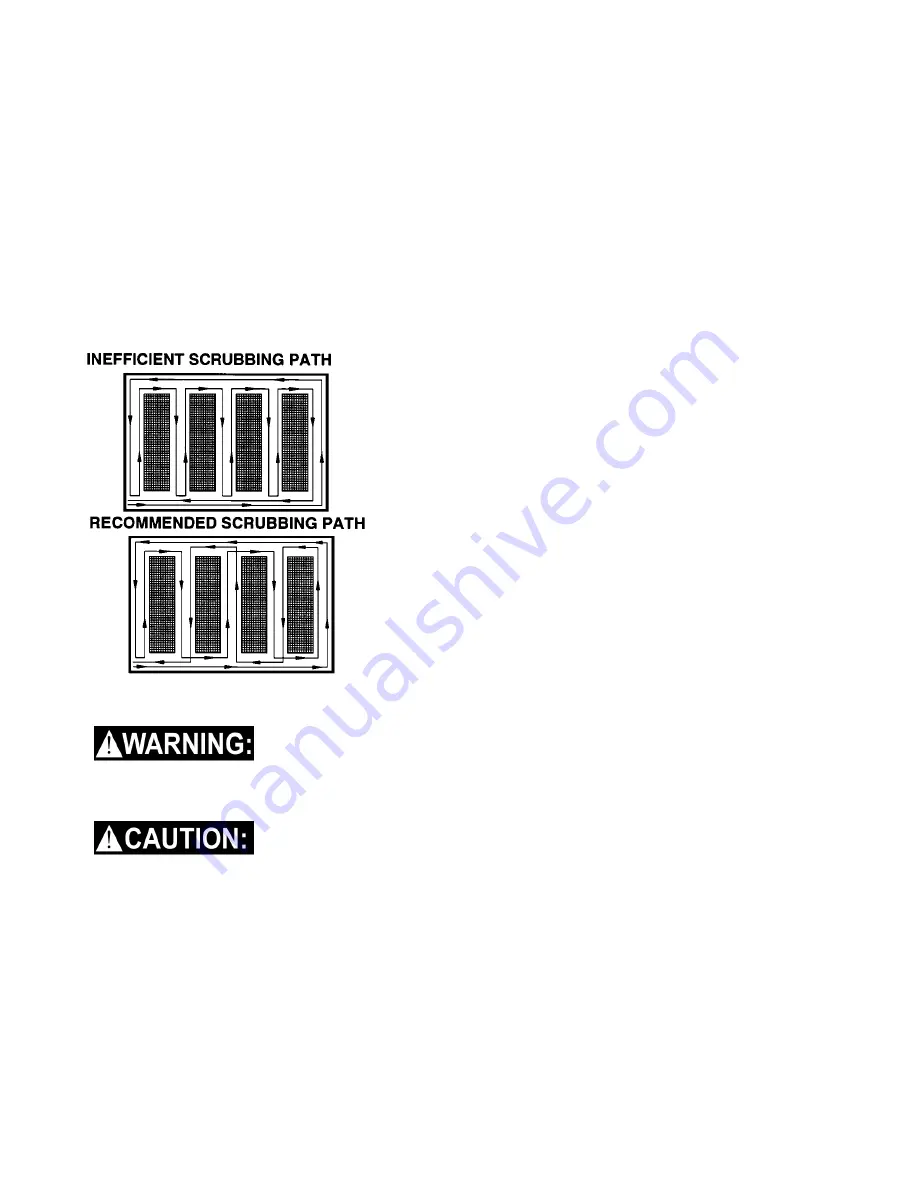
NORMAL SCRUBBING
Plan the scrubbing pattern in advance. The longest
track is around the perimeter of the area to be
cleaned. For efficient operation, the runs should be
the longest possible without turning,
stopping, or raising and lowering scrub
deck/squeegee.
NOTE: In order to achieve the best possible results,
the area which is to be cleaned should be swept
before scrubbing. Large debris, strings & wire must
be removed to prevent being caught in brushes or
squeegee.
TO BEGIN SCRUBBING
When operating the machine around people, pay
close attention for unexpected movement. Use
extra caution around children.
Flammable liquids and/or reactive metals can
cause explosions or fire! Do not pick up.
1.
Turn the machine power on.
2.
Lower the squeegee.
3.
Turn the vacuum on.
4.
Select the scrub path width that you wish to
clean with.
5.
Lower the scrub brushes to the floor.
6.
Turn the scrub brushes on (brushes will start
when machine is propelled).
7.
Drive machine forward to begin scrubbing.
NOTE: Shut machine off immediately if water or
foam is expelled from the machine.
8.
Adjust the speed of the machine, solution flow,
scrub path width and scrub brush pressure as
necessary.
NOTE: Once solution flow rate is set it is not
necessary to shut off solution when stopping
scrubbing. Solution flow is automatically shut off
when brush motors stop. When brush motors are
activated, flow automatically resumes at the preset
flow rate.
TO STOP SCRUBBING
1.
Release the propel levers.
2.
Turn the scrub brushes off.
3.
Raise the scrub brushes.
4.
Swing the outboard brush in.
5.
Raise the squeegee.
6.
Turn the vacuum off.
7.
Turn the machine power off.


