background image

MAINTENANCE 

VACUUM 

MOTOR 

2. 

3. 

4. 

After the machine has been used for any wet pick- 
up, allow the vacuum motor to 

run 

1-2 minutes, to 

help reduce moisture build-up in the vacuum mo- 
tor. Drying out the vacuum motor after each use 
will extend the life of your vacuum motor. 

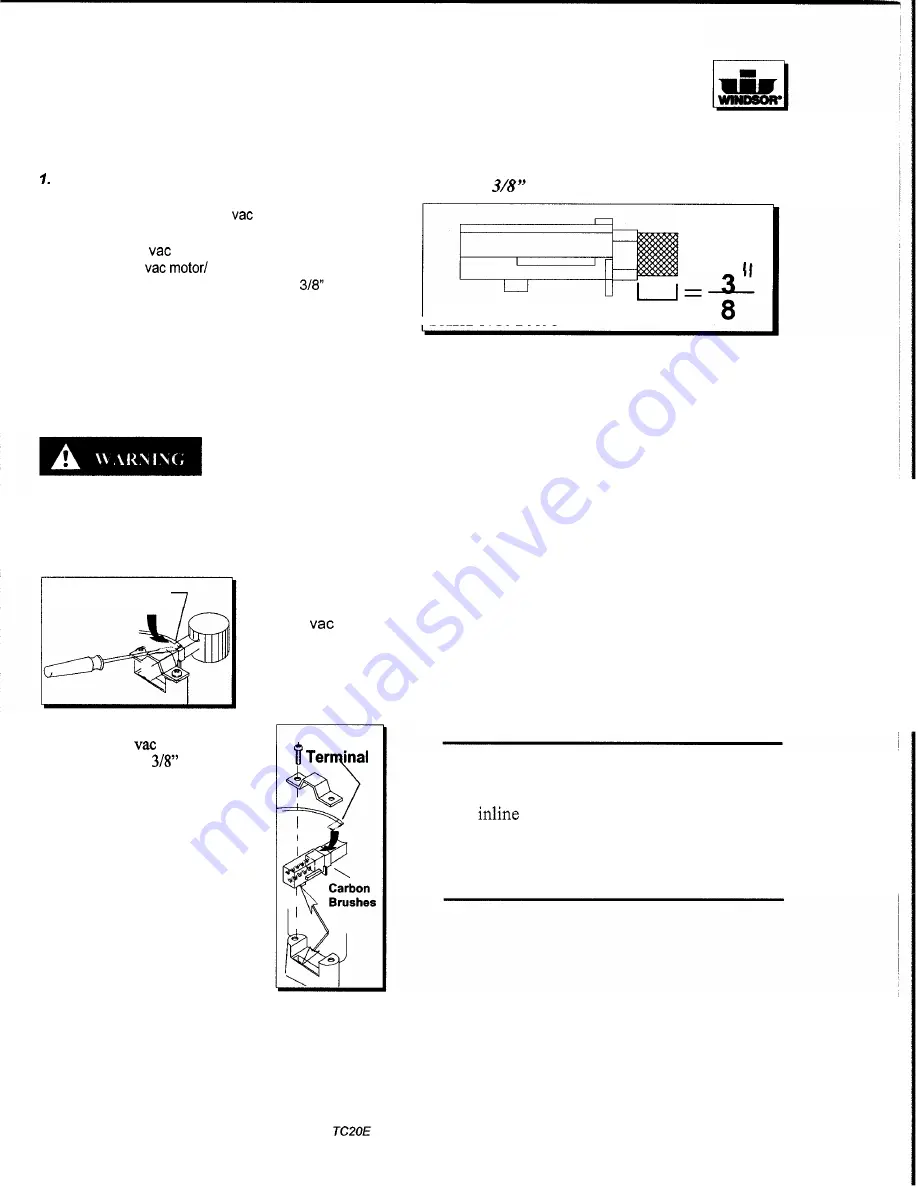
Disconnect battery leads and remove batteries 

from compartment. 

Remove (6) bolts holding 

motor/ plate 

assembly to recovery tank. 
Disconnect 

motor lead from connector 

and 

lift 

out 

plate assembly. 

Check motor brushes. When wom to 

replace 

both brushes. 

Hazardous Voltage. Shock can result. Discon- 
nect batteries before working on machine. Only 

qualified  personnel  should  work  inside  ma- 
chine. 

Wire Terminal 

Important: 
Replace carbon 

motor brushes 

if 

worn 

down  to 

in  length. 

These brushes wear quicker 

as 

the 

length  shortens  due  to  increased 
heat. 
Spring  inside  brush housing will 
damage  motor if  brushes are  al- 
lowed to completely wear away 

Note:  Place stop 

in groove. 

Important: 

When  replacing 
carbon 

motor 

brushes  loosen  wire 

terminal 

BEFORE 

re- 

moving 

screws 

on 

bracket. 

Wire 

NOTE: Periodically check the length of the car- 

bon brushes. Replace carbon brushes which are 
less than 

long. 

PART NO. 14695 

BRUSH 

Brush Installation: 

1. 

Slide brush or pad driver under drive plate. 

2. 

Align one metal lug on the brush or 
pad driver with the scrub deck sight hole and a 
keyhole in the drive plate. 

3. 

Raise the brush or pad driver upward 
and twist clockwise until locked. 

Brush Removal: 

1. 

Raise brush or pad driver off floor. 

2. 

Reach under brush or pad driver and rotate 
so 

that the metal lug in the drive plate is visible 

through the scrub  deck  sight  hole. 

3. 

Quickly twist brush or pad driver counterclockwis 
to release. 

SOLUTION STRAINER 

1. 

An 

solution strainer is located under chassis 

behind left wheel. Remove sediment bowl and 

screen periodically and rinse clean with hot water. 
Be careful not to misplace the gasket. 

98447 7/1/97 

Summary of Contents for TRIDENT COMPACT TC20E

Page 1: ...Operating Instructions ENG M I E L SMOWN TC20T MODEL TCZOE 20 Non Traction VOLTAGE 115V QEsr for ContinuousImprovement Wipgsor s Quality ManagementSystemisCertifiedIS09QOl C IPX4 Read these instructio...

Page 2: ...s 6 Maintenance 7 Maintenance cont 8 Maintenance cont 9 Trouble Shooting Guide 10 Wiring Diagram 115V 11 Tanks and Frame Assembly 12 Tanksand Frame Parts List 13 2 SqueegeeAssembly 14 SqueegeeAssembly...

Page 3: ...Do not pull or carry by cord use cord as a handle close a door on a cord or pull cord around sharp edges or corners Do not run appliance over cord Keep cord away from heated surfaces Do not unplug by...

Page 4: ...ecurelv fasten the machineto the trailer lo and the ramp is strong enoughto support the machine 0 0 Put ramp into position 0 0 0 0 THIS PRODUCT IS FOR COMMERCIAL USE ONLY ELECTRICAL Inthe USAthis scru...

Page 5: ...hine I I SUITABLE INCOMPATIBLE CHEMICALS CHEMICALS Alkalis Aldehydes DefoamingAgents CarbonTetrachloride Detergents ChlorinatedHydrocarbons Hydroxides Methyls MEK Perchlorethylene per Phenols Trichlor...

Page 6: ...erheating Solution Lever Controlsthe amount of solution flow to the floor Squeegee Lift Lever Raises and lowers squeegee Scrub Deck Lift Lever Raises and lowers scrub deck Recovery Tank Drain Hose Sol...

Page 7: ...I I I I I Check Casters Wheelsforproper lubrication I I I I I 7 2 2 Details on thesemaintenance items can be found on the following pages Thiscable will lay on wet surfaces Toprevent electricalshock i...

Page 8: ...or if brushes are al lowed to completelywear away Note Place stop ingroove Important When replacing carbon vac motor brushes loosen wire terminal BEFORE re moving screws on bracket Wire 8Terrqinal NOT...

Page 9: ...on Loosenknobs on the left and right hand sides of squeegeeuntil squeegee can be removed from the squeegeebracket Loosenthe fasteners on front of squeegee to replace or adjust front blade Unlatch rear...

Page 10: ...electricianto check building swir ing Have a trained service technician check machine s wiring Replace Replace Replace Center and seal dome over tank Replaceor repair usingacrylic plasticcement only...

Page 11: ...4 J WHT 880094 76050 VACUUM SWITCH SWITCH REARVIEW I c BRUSH CIRCUIT BREAKER IBLK BRUSH SWITCH POWER IN...

Page 12: ...TANKS AND FRAME 22 I 2 REAR VIEW TC20E 98447 12 01 99...

Page 13: ...70251 3 SETSCREW 1 4 20X 1HHMS 28 70393 2 SETSCREW 1 4 20X 1 25L 29 81379 1 FllTING SEALEDBULKHEAD 30 34306 1 I UAMmtAKtK 31 75152 1 TANK SOLUTlON 32 75234 1 TANK RECOVERY 33 89181 2 WHEEL MAlN 34 571...

Page 14: ...SQUEEGEE ASSEMBLY A 58 7 35 l l SQUEEGEE SUB ASSEMBLY 35 t v 19 7 9 74 TCPOE 98447 1I l 1 99...

Page 15: ...T 57 58 60 61 62 59 87080 1 WASHER 5 X 1 25 FLAT GR8 PLTD 87083 11 WASHER 5 16 SPLIT LOCK PLTD 87178 1 WASHER 5 8lDX 2 X 5 THK 87137 2 WASHER 5 81D X 2 00D X 3 32 THK 89059 2 WHEEL SQUEEGEE BUMPER OPE...

Page 16: ...VALVEGROUP 8 FROMSOLUTIONTANK 10 SOLUTIONDRAIN HOSE w Detail A 16 TCPOE 98447 3 26 98...

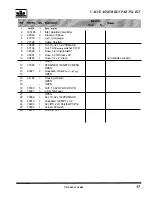
Page 17: ...ID Clear x 22 10 39444 1 Hose 1 2x5 Clear 11 OPEN 12 73383 1 STRAINER 3 8 NPT 20 MESH 13 OPEN 14 40027 2 Hosebarb 3 8 MPTxl 2 90 nyl 15 OPEN 16 41184 1 Housing strainer 17 OPEN 18 OPEN 19 57030 5 NUT...

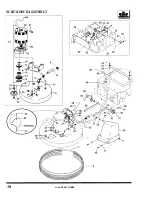
Page 18: ...SCRUBDECKASSEMBLY 23 I 18 TCPOE 98447 3 26 98...

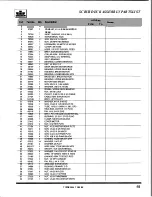
Page 19: ...SCRUB DECK ASSEMBLY PARTS LIST serial No I From To Notes Ref PsrtNo Qty Descriptlon 1 20077 1 CLAMP WUKM HS356 I I 2 27527 1 CONDUIT PT17E BRUSH MOTOR OPEN 34 80604 TCPOE 98447 3 26 98 19...

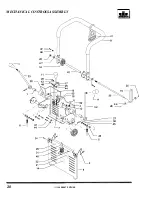
Page 20: ...MECHANICAL CONTROLSASSEMBLY n 1 1 37 44 47 32 44 9 26 Q ____ 20 TCPOE 98447 03 13 00...

Page 21: ...EL OPERATIONAL SLOPE 22 66068 1 PIN 1 8X5 8ROLL 24 66116 2 PIN 1 4X 314 CLEVIS 25 80604 4 RING RUE COTTER 1 4 PLTD 26 66133 1 PIN 3 16 X 88 L CLEVIS 27 66055 2 PIN ROLL 114X 1 0 L 28 66257 2 PIVOT CAB...

Page 22: ...CONTROLPANEL ASSEMBLY 21 12 REAR VIEW CONTROL PANEL 22 TC20E 98447 2 4 99...

Page 23: ...TROL COVER 11 67029 1 RECTIFIER BRIDGE 12 67382 1 RELAY DPST NO30A 13 70248 3 SCR 8 32 X 1 O PHMS BLK NYL 14 70394 14 SCR 6 32 X 1 2THMS BLK 15 72067 2 SWITCH 125VSPST LIT RKRW BT 16 78373 1 TRANSFORM...

Page 24: ...SM PT17EVAC 5 70114 4 SCR I0 X 3 4 POLYFAST 6 73419 3 SPACER VACMOTOR 4 70085 6 SCR 1 4 20 X 1 2 PHMS 7 57030 6 NUT 10 32 NYLOCK PLTD 8 70607 6 SET SCREW 10 32X 1 OO 9 87018 6 WASHER I0 X 9 16 OD 10 8...

Page 25: ...0577 1 SCR 3 8 16X 3 5 SCHS STL 8 78362 1 TUBE 50OD 058W 85L DOM 9 73576 1 SPRING COMP 60D X 2 0L X 045W 10 48025R 1 KNOB 1 75 X 3 8 16 F BRUSH AND PAD 20 3 OPTIONLIST P N DESCRIPTION 02340 PAD DRIVER...

Page 26: ...uthorized Windsor distributor Parts replaced or repaired under warranty are guaranteed for the remainder of the original warranty period 90 DAY WARRANTY EXTENSION AVAILABLE Upon receipt of the Machine...

Reviews: