SQUEEGEE ASSEMBLY
Before and during use
of machine, use a damp cloth to wipe
the outside and inside of squeegee to remove buildup
of for-
eign material
on the squeegee blades. This prevents streaking
and residue
on the floor.
Squeegee wear:
After extended use, the squeegee blades will wear. To im-
prove squeegee performance and extend wear, proceed as
follows:
1.
Turn off all switches and place the machine
on a level surface. Raise the squeegee to
the transport position.
Loosen knobs
on the left and right hand
sides
of squeegee until squeegee can be
removed from the squeegee bracket.
Loosen the fasteners on front of squeegee
to replace or adjust front blade.
Unlatch rear squeegee latch to replace rear blade.
2.
3.
4.
Squeegee Assembly
ber
knob
1.
2.
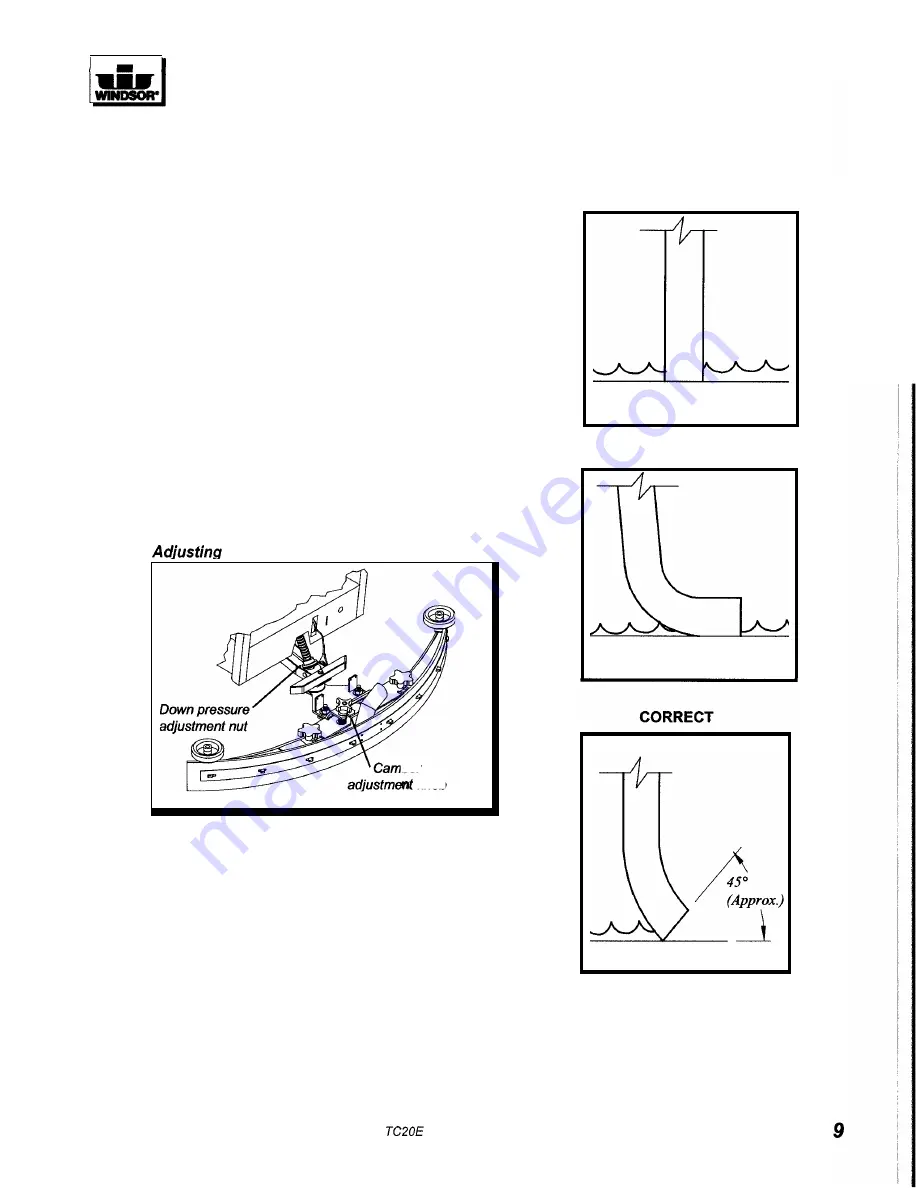
Lower the squeegee and move the machine
forward.
Observe the level of the squeegee for an
even curl along the length of the blade. Use
camber adjustment knob to achieve even curl if
required.
Adjust the down pressure nut located on squeegee
mounting assembly. Do not apply excessive force.
3.
MAINTENANCE
SQUEEGEE DEFLECTION
INCORRECT
NOTENOUGH
TOO
MUCH
98447 7/1/97
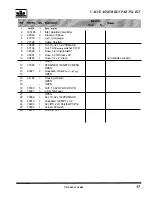
Summary of Contents for TRIDENT COMPACT TC20E
Page 12: ...TANKS AND FRAME 22 I 2 REAR VIEW TC20E 98447 12 01 99...
Page 14: ...SQUEEGEE ASSEMBLY A 58 7 35 l l SQUEEGEE SUB ASSEMBLY 35 t v 19 7 9 74 TCPOE 98447 1I l 1 99...
Page 16: ...VALVEGROUP 8 FROMSOLUTIONTANK 10 SOLUTIONDRAIN HOSE w Detail A 16 TCPOE 98447 3 26 98...
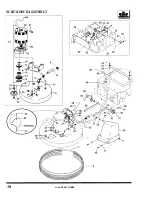
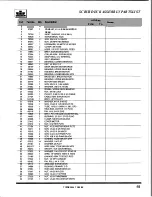
Page 18: ...SCRUBDECKASSEMBLY 23 I 18 TCPOE 98447 3 26 98...
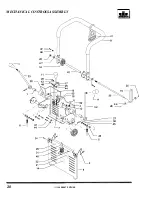
Page 20: ...MECHANICAL CONTROLSASSEMBLY n 1 1 37 44 47 32 44 9 26 Q ____ 20 TCPOE 98447 03 13 00...
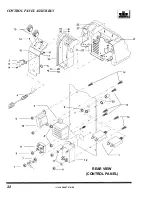
Page 22: ...CONTROLPANEL ASSEMBLY 21 12 REAR VIEW CONTROL PANEL 22 TC20E 98447 2 4 99...


