16
O F F ICE SU IT E U C
®
—A DMIN IS T R ATO R US ER GU IDE
Recording Your Auto Attendant Greeting
To manage and record your
Auto Attendants
, click on the
Configure
button on the
Auto Attendants
widget. Then, click
Edit
or the
arrow to the left of the attendant you wish to modify and click on the
Set Receptionist Greeting
tab. There, you will see the options
to create your greetings. With OfficeSuite UC, there are three ways you can record your auto attendant greeting.
1. You can record your own greeting for the auto attendant by uploading a .wav or .mp3 file. To record a .wav file on most Windows
PCs that have a microphone, open the
Sound Recorder Program
and click
Start Recording
. For Apple Macintosh, you can use
Audacity or a similar program that can record .wav and .mp3 files. Both the Apple and Google app stores also have several apps
that can record .wav or .mp3 files. Record and send yourself an email with the file, then save the file to your desktop. If you
already have a professional recorded audio file, you can simply upload it. To upload any file, select the
Upload Audio File (.wav
or mp3)
option. Click
Choose
a file
, then select your file and press
Open
. Once the file is uploaded, press
Save
.
2. To record your greeting right through your phone, just select the
Call Me to Record Audio
option and find your extension in the
drop-down menu and click on
Call
, your phone will start ringing. You will then be prompted to speak the greeting right into your
phone.
3. You can even use the OfficeSuite UC Text-To-Speech option to automatically record your greeting. Type your script in the
Message Box (it may be helpful to spell words phonetically to ensure they are pronounced accurately) then click
Save
. After the
recording is complete, an option will be presented so you can listen to your recording. If you are satisfied, click the
Save
button. If
you want to change the recording, modify your written text in the Message Box and repeat the steps above.
Once a new auto attendant has been created, you will configure each key (Press 1, Press 2, Press 3) with a result and if needed, an
extension where calls will be sent. For example, callers that press 1 or 2 will be directed to user extensions, those who press 3 will go to
the
Last Name Directory
and 4 will repeat the options.
Click the
Save
button when you are satisfied with the menu setup. The next step is to record what the callers hear when calling the
auto attendant.
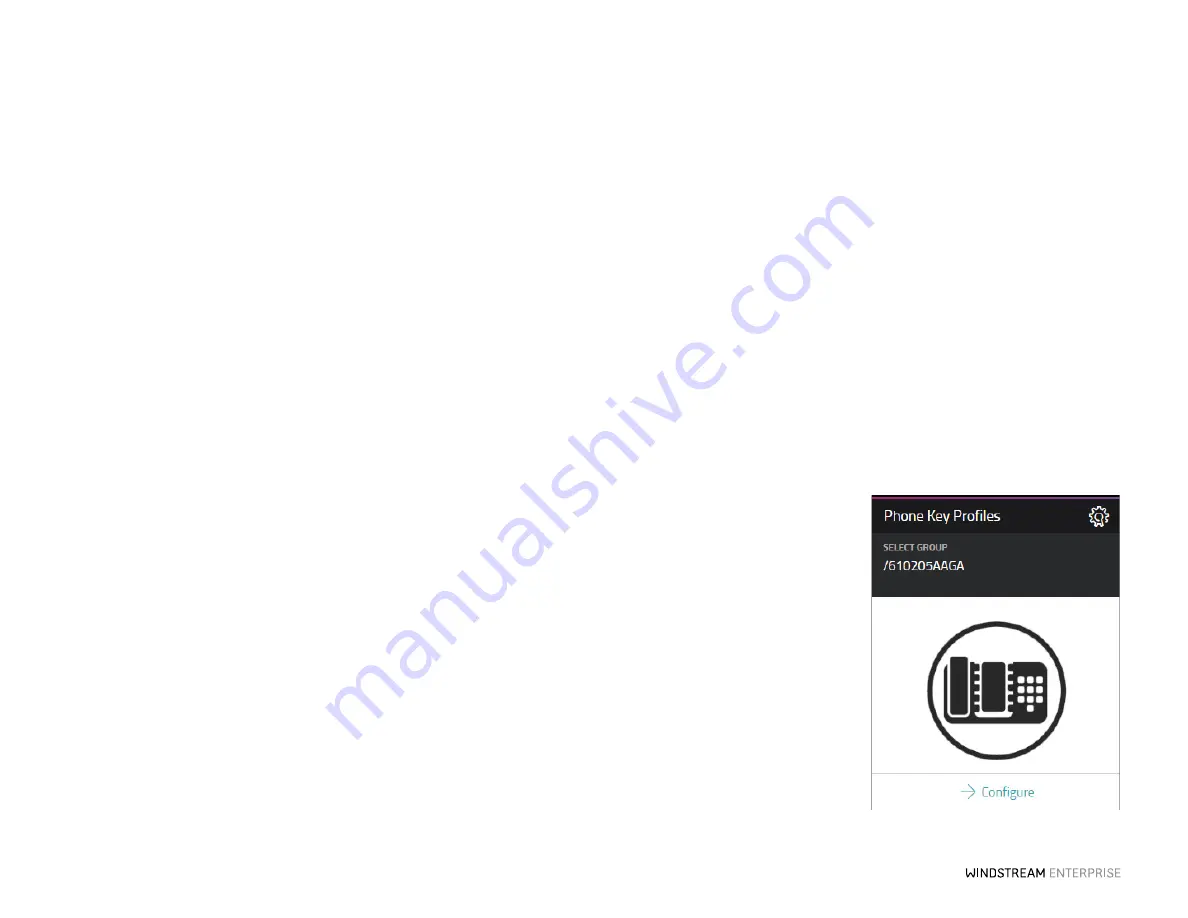
Phone Key Profiles
Phone Key Profiles
allow you to assign pre-determined speed dials to a group of users’ phones. This is helpful for groups of
employees who frequently call the same phone numbers.
To do this, click on
Configure
on the
Phone Key Profiles
widget and click the
Phone Key Profile
name you want to assign users to or
modify the name if necessary. Then, click the memory key you want to edit, label it accordingly and then click
Save
.


