Solid Diamond Bin
Assembly GUIDE
or visit
wineracksamerica.com
Questions?
888.373.6057
Page 4
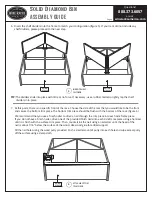
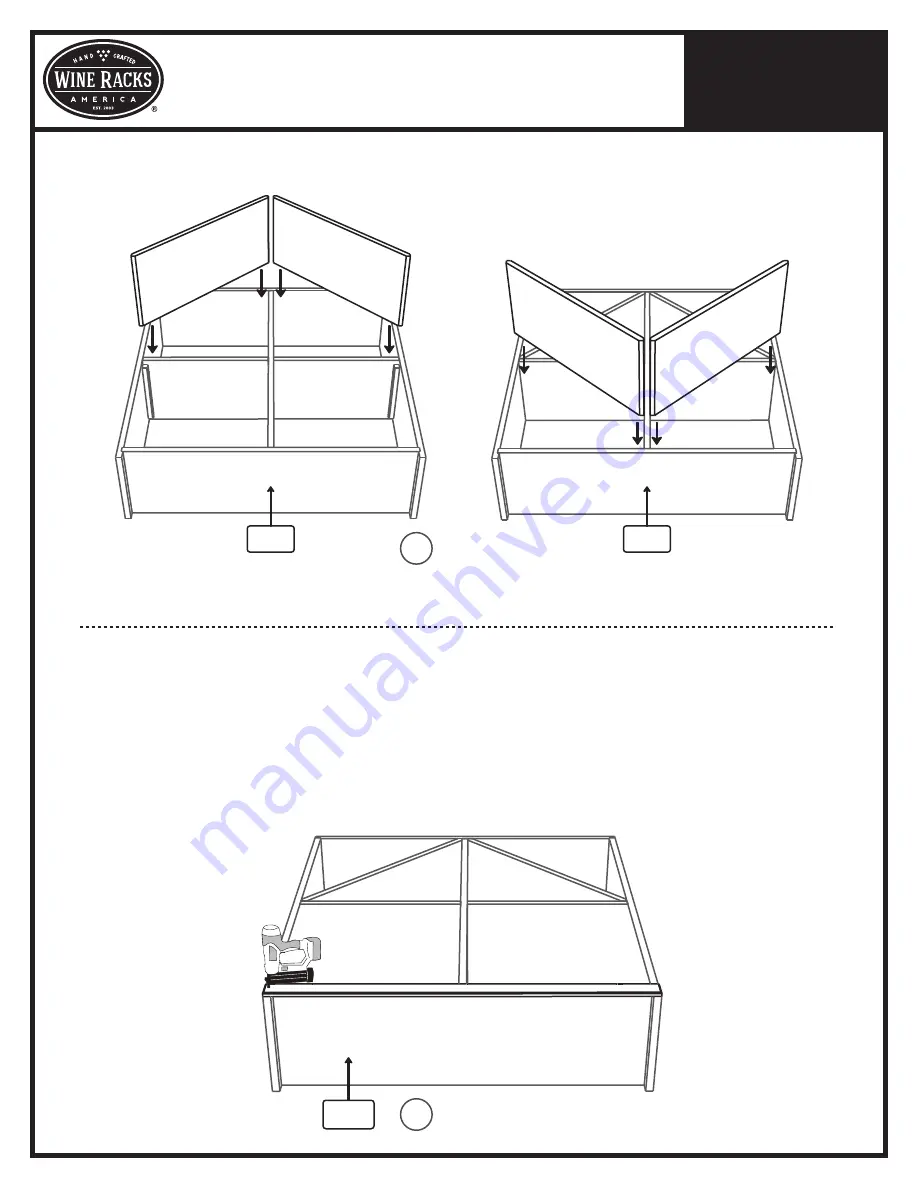
6. Insert the shelf dividers into the frame to match your configuration (figure 5). If your rack did not include any
shelf dividers, please proceed to the next step.
5
INSERT SHELF
DIVIDERS
TIP:
The dividers slide into place with little or no force. If necessary, use a rubber mallet to lightly tap the shelf
dividers into place.
BOTTOM
OF RACK
BOTTOM
OF RACK
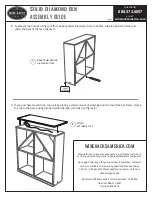
7. At this point, there is no specific front of the rack. Choose the side of the rack that you would like to be the front
and secure the bottom trim piece. The bottom trim piece should be flush with the bottom of the rack. (figure 6)
We recommend that you use a finish nailer to drive a nail through the trim piece into each side frame piece.
If you do not have a finish nailer, drive one of the provided finish nails into each side frame piece using a hammer
until it is flush with the surface trim piece. Then, countersink the nail using a nail setter until the head of the
nail is about 1/16" below the surface of the wood. Use wood glue for added support.
Fill the nail holes using the wood putty provided. Push a small amount of putty into each hole and wipe excess putty
off the surface using a damp cloth.
BOTTOM
OF RACK
6
ATTACH BOTTOM
TRIM PIECE


