background image

Assembly GUIDE

or visit


wineracksamerica.com

Questions? 


888.373.6057


Solid Diamond Cube 

 Page 4

BOTTOM

OF RACK

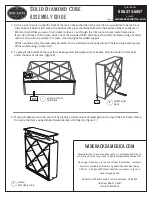
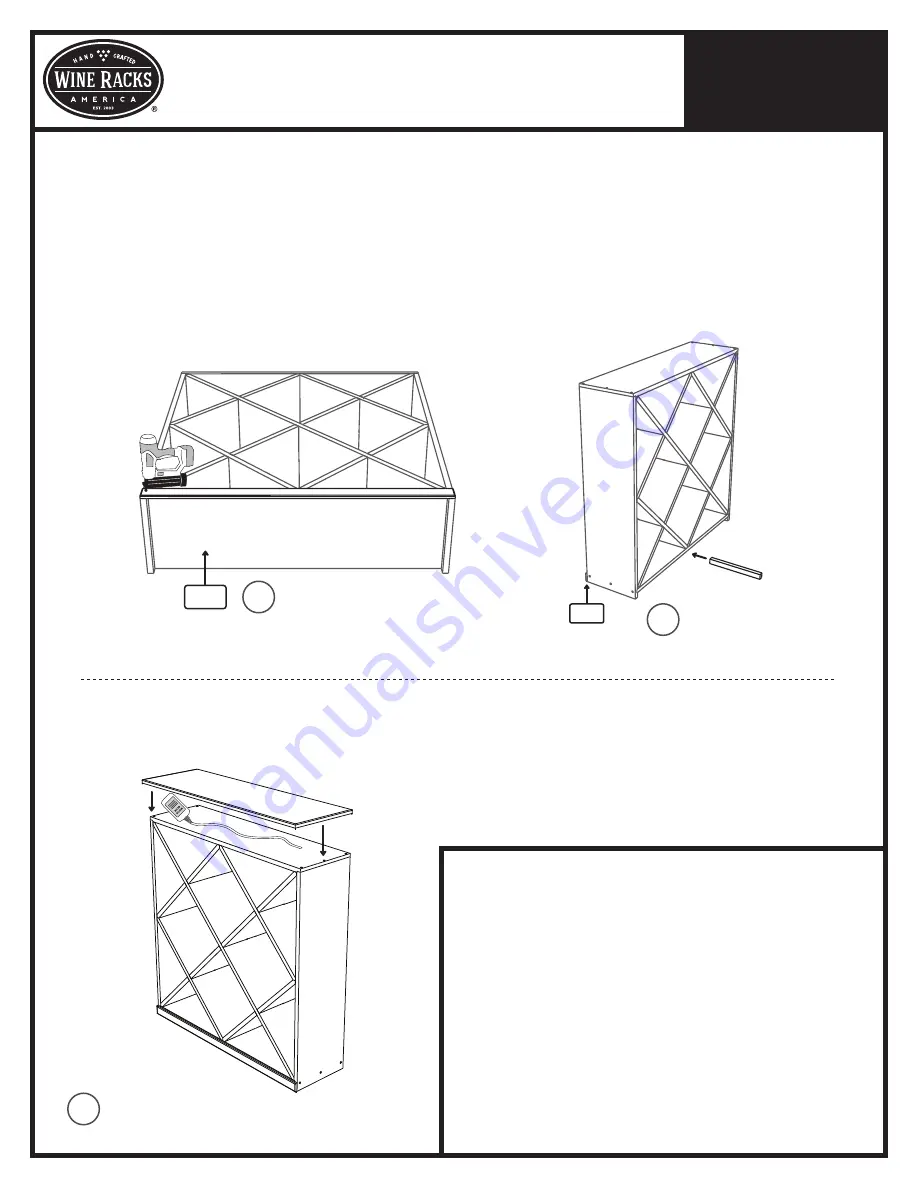
7.  At this point, there is no specific front of the rack. Choose the side of the rack that you would like to be the front
  and secure the bottom trim piece. The bottom trim piece should be flush with the bottom of the rack. (figure 7)

  We recommend that you use a finish nailer to drive a nail through the trim piece into each side frame piece.
  If you do not have a finish nailer, drive one of the provided finish nails into each side frame piece using a hammer
  until it is flush with the surface trim piece. Use wood glue for added support.

  Fill the nail holes using the wood putty provided. Push a small amount of putty into each hole and wipe excess putty 
  off the surface using a damp cloth.

7

ATTACH BOTTOM
TRIM PIECE

9.  If you purchased a solid top, secure it by placing a small amount of wood glue on the top of the box frame. Clamp 
  the top to the frame using standard wood clamps until fully dry. (figure 9) 

8.  To prevent the bottom of the rack from bowing under the weight of your bottles, slide the bottom frame shim 
  under the back of the rack. (figure 8)

FRONT

OF RACK

8

INSERT SHIM
PIECE

9

ATTACH
BUTCHER BLOCK

360 North 700 West Suite F • North Salt Lake, UT 84054

(toll free) 888-373-6057

(fax) 801-936-0534

Once again, thank you for your business. Remember, customer 

service is available to answer any questions Monday-Friday 

7:00 am - 5:00 pm MST. Please feel free to contact us for any 

wine storage needs.

We would love to see your wine racks in use! Please feel free to 

    send any photos of your rack to photos@wineracksamerica.com     

WINERACKSAMERICA.COM

Summary of Contents for Solid Diamond Cube

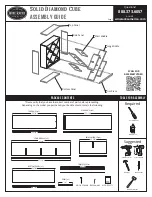
Page 1: ...ntain the following Package Contents tools for assembly Page 1 or visit wineracksamerica com Questions 888 373 6057 Required Suggested Screwdriver Side Panel Top Panel Bottom Panel WOOD SCREWS FINISH NAILS Trim Piece Long Middle Short Middle 34 7 8 34 7 8 TOP PANEL x1 47 1 4 47 1 4 LONG MIDDLE x2 BOTTOM PANEL x1 33 7 8 33 7 8 TRIM PIECE x1 34 7 8 SIDE PANEL x2 35 5 16 SMALL MIDDLE x4 23 5 8 SHIM x...

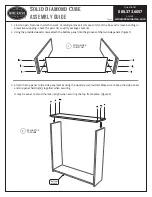
Page 2: ...t to verify package contents 1 ATTACH SIDES TO BOTTOM 2 Using the provided wood screws attach the bottom panel into the grooves of the two side panels figure 1 3 Attach the top panel to the side panel pieces using the wood srews provided Make sure to keep the side panels and top panel held tightly together when securing It may be easier to stand the rack upright when securing the top frame piece f...

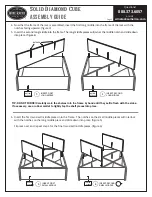
Page 3: ... NOTCHES TIP DO NOT FORCE Carefully work the shelves into the frame by hand until they settle flush with the sides If necessary use a rubber mallet to lightly tap the shelf pieces into place 3 INSERT FIRST LONG MIDDLE 4 INSERT SECOND LONG MIDDLE BOTTOM OF RACK BOTTOM OF RACK 6 Insert the first two small middle pieces into the frame The notches on the small middle pieces will interlock with the not...

Page 4: ...into each hole and wipe excess putty off the surface using a damp cloth 7 ATTACH BOTTOM TRIM PIECE 9 If you purchased a solid top secure it by placing a small amount of wood glue on the top of the box frame Clamp the top to the frame using standard wood clamps until fully dry figure 9 8 To prevent the bottom of the rack from bowing under the weight of your bottles slide the bottom frame shim under...

Reviews: