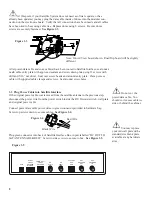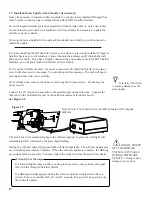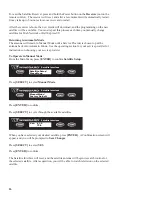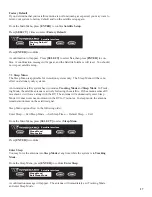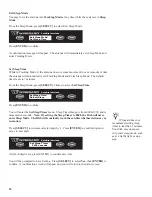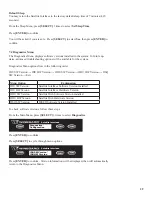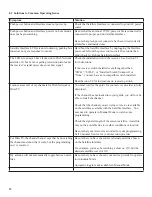
A confirmation message will appear. The satellite antenna will reset and begin its search
routine for satellite 91°W . Your satellite antenna is now set for Bell ExpressVU program-
ming. Each time your power on the Satellite Interface, the satellite antenna will locate Bell
ExpressVU programming.
Configure Bell ExpressVU Receiver
In order to use the satellite antenna in automatic mode, the Bell ExpressVU must be config
-
ured with the proper
switch
installed.
The Bell ExpressVU switch tells the receiver which satellite to look at,
depending which channel the receiver is tuned to.
If you use your receiver in your RV only, you should only have to run the
“Check Switch” test during the initial installation.
If you move your Receiver between your RV and your home, you must run the
“Check Switch” test each time you move your receiver. For example, if your
receiver is in your home and you move it to your RV, you must run the check
switch test once your RV’s satellite system is on signal. If you move your
receiver from your RV to your home, you should run the check switch after you
have connected your receiver to your home antenna. Refer to your receiver
manual for more information.
Install the Satellite Switch
For
most
Bell ExpressVU receivers, the following commands will help you navigate to
the correct menu locations. If you need help reaching the following menu’s, refer to your
receiver’s manual.
The Bell ExpressVU
switch
is a receiver setting,
not a physical part.
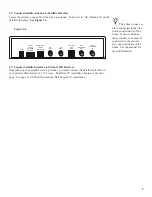
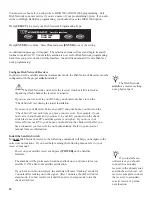
Power on your satellite receiver and press
[POWER]
on the Satellite
Interface.
The antenna will begin its search routine and lock on to and come to rest on
satellite 91°W after some satellite verification.
If you have an in-motion system, the antenna will enter “tracking” mode for
7 minutes after locking on to the signal. After 7 minutes, the dish will enter
sleep mode. For best results, wait until the unit is in sleep mode to run the
check switch test.
You now have 6 minutes to run the check switch test.
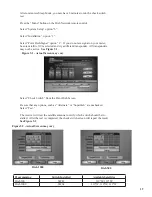
Press the “Menu” button on the Bell ExpressVU remote control.
Select “System Setup” option “6”.
Select “Installation”, option “1”.
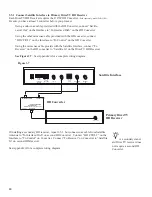
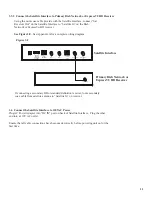
If you will install a
second receiver, you should
connect the secondary
receiver to the primary coax
and run the switch test. Af-
ter test is complete, connect
the receiver to secondary
coax at receiver’s perma-
nent location.
Summary of Contents for WB-2000
Page 2: ......

