WZDS9100 #2
9
END DIPPED
WATER
LEAKING
WRONG
CORRECT
WRONG
WATER
LEAKING
LEAKING
WATER
INTO WATER
DRAIN
WRONG
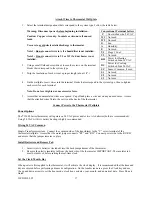
The indoor drainpipe must slope downward and have no traps. The drain must be fastened to the
bottom
of the
refrigerant lines. The drain requires an air gap to flow properly. Place the two hooks at the rear top of the
evaporator to hang the unit from the upper edge of the mounting plate. Ensure the hooks are properly seated on the
mounting plate by sliding the unit to the left and right. Gently press on the bottom face of the evaporator to snap the
bottom of the evaporator into place on the mounting plate.
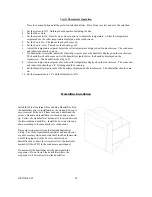
The face of the evaporator casing can easily be removed. Screws are concealed under plastic covers on the bottom
leading edge of the unit, under the air discharge louver. Remove the covers to expose the screw heads and remove
the screws. Remove screws above the air discharge under the hinged filter cover. Pull out and lift the bottom of the
evaporator casing to uncover the electric hook up.
After installation, properly seal the hole(s) where the refrigerant, drain and electric lines penetrate the wall
or ceiling. Failure to do so may result in uncontrolled condensation and water damage.
Evaporator Electric
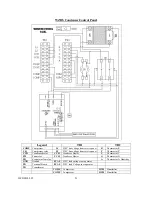
Securely fasten the ground wire to the terminal with the green or green and yellow striped wire. The other two wires
on the
evaporator terminal block
receive 230 volts from terminals marked EVAP on TB1 in the condenser control
panel.


