7
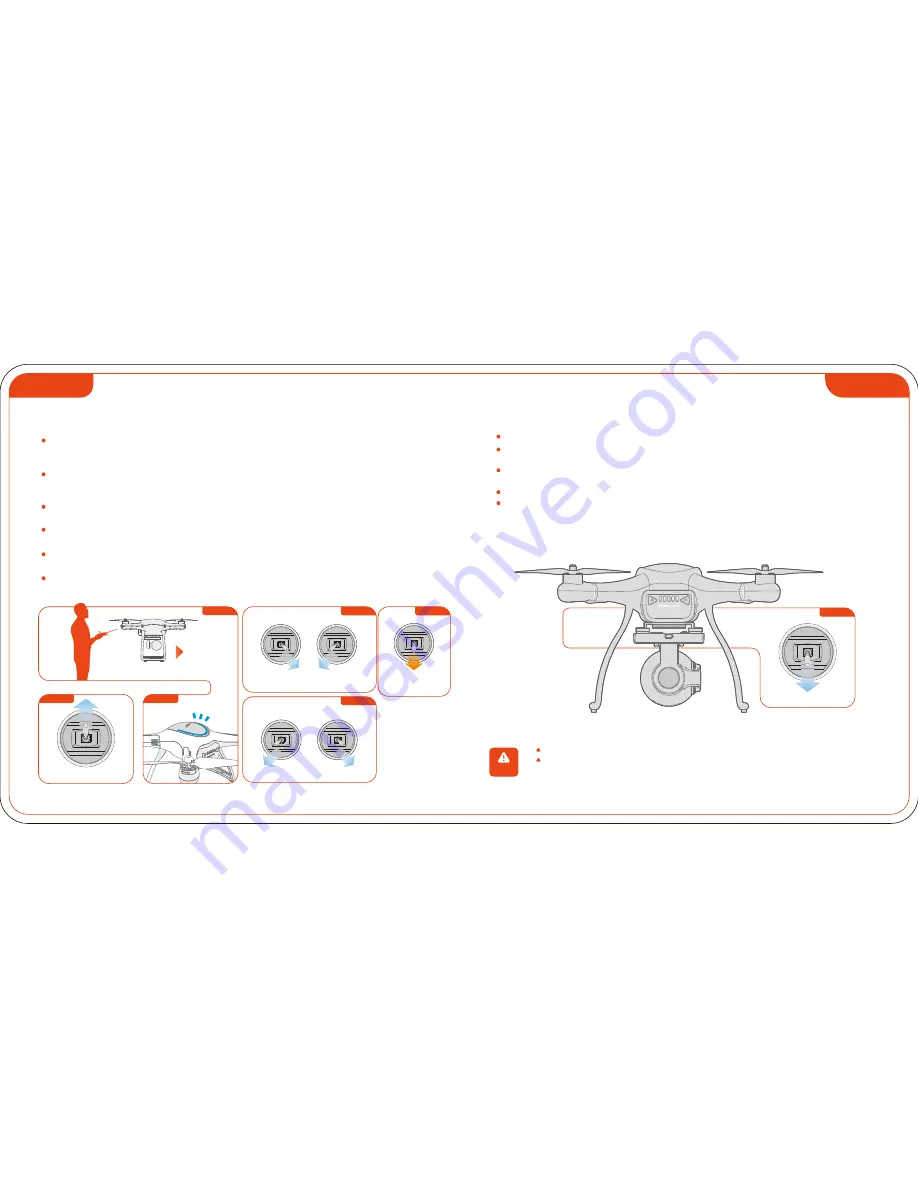
Left Stick/Descend (Slowly)
Figure 1
Make sure the Remote Controller Powering Off after Aircraft Powering Off.
When the aircraft topple and fall anytime, don't be close to at once, you need to maintain
the Left
Throttle
locked, then move
stick on the lowest position for 3 seconds or more until the aircraft motors
to Power off the aircraft.
6
Take Off (Flying with strong GPS Signal is recommended.)
Placing the aircraft on flat ground in an open area, with rear Flight Battery LED indicator facing
toward Operator (Figure 1). Avoid passengers, obstacles, trees, high-voltage lines and possible
electromagnetic interference.
Adjust Display Screen channel. Shorting press Display Screen power button to switch Display
Screen channels, ensure the image on the screen can be displayed clearly. (If image transmission
interfered, switch onto the aircraft transmit channel firstly, then match the Display Screen Channel).
Wait for 1 minute or more when flying for the first time at a new location, until the upper side of aircraft
GPS status indicator Blue LED (Figure 2) stop flashing.
Pulling both control sticks to the bottom inside or outside corner simultaneously to power on the motors
(Figure 3 or Figure 4). Release the control sticks to center position once the motors start.
Drive left throttle stick (Figure ) up slowly for aircraft ascending (For beginner, the flight
6
altitude
controlled within 5-10M is recommended.).
When the aircraft hovering, please ensure the battery level indicator always facing
operator .
toward
NOTICE
Landing ( Outdoor)
Gently pull the Left
Throttle
Stick Mode
2 down to lower the aircraft. (Figure 1
(
)
)
When the aircraft is touching the ground, pull the Left throttle stick (Mode 2) down to the
lowest position and hold for 6 seconds or more until the aircraft motors locked (Figure 5).
Press two triangular buttons on Flight Battery board simultaneously for 3 seconds or more
until the battery indicator turn out. Unplug the Flight Battery out to power off the aircraft.
Press the Display
Screen power button for 3 seconds or more to power off the Display
Screen.
Power off the controller.
Figure 3
Figure 4
Figure 5
Gently pull the
throttle stick down
Motors Power On
Motors Power On
Motors Power Off
Throttle Stick/Ascend(Slowly)
GPS Status Indicator
Figure 1
Figure 2
Figure 6
Nose Direction
222
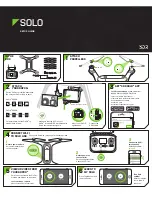
Summary of Contents for Miinivet
Page 1: ...QUICK START GUIDE OF Copyright 2015 WINGSLAND All Right Reserved...
Page 11: ...4 3 1 1 5 3 2 3 4 5 1 2 3 3 4 L1 5 4...
Page 12: ...6 5 1 2 3 4 L2 L2 1 GPS L1 L1 1 1 3 2 4 GPS 1 GPS 2 1 6 5 10 1 2 6 GPS 3 4 5 5 3 4 5 GPS...
Page 13: ...3 1 7 18 www szsungreen com 1 2 3 4 5 6 7 8 9 10 11 1 6 3 3...
Page 14: ...www szsungreen com 1 2 3 4 5 6 7 8 9 1 2 3 4 5 6 7 8 40 0 4 9...


