7
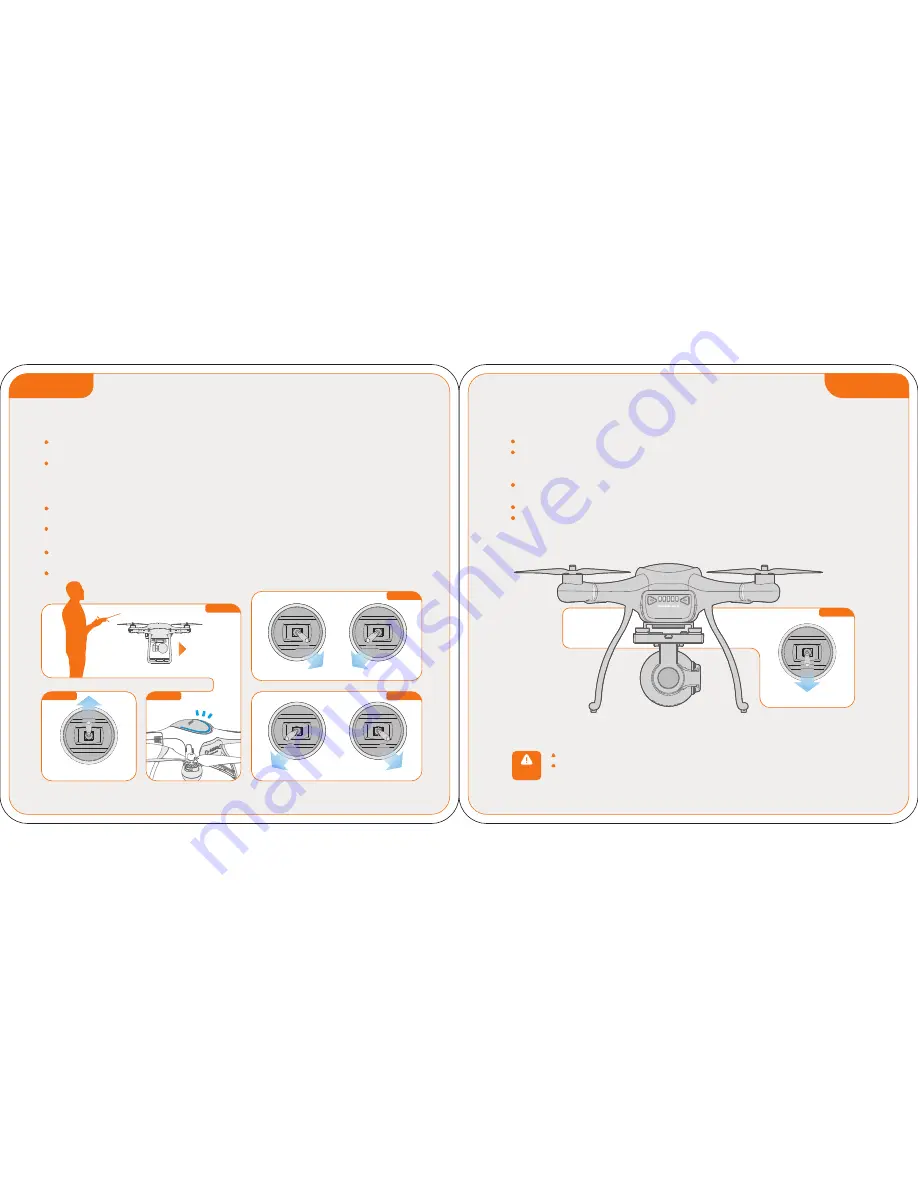
Landing ( Outdoor)
Left Stick/Descend (Slowly)
Figure 1
NOTICE
Gently pull the Left
Throttle
Stick Mode
2 down to lower the aircraft. (Figure 1
(
)
)
When the aircraft is touching the ground, pull the Left
Throttle
Stick Mode
2 down to the lowest
(
)
position rapidly.
(
)
After the aircraft touching the ground, to maintain the Left
Throttle
Stick Mode
2
on the lowest position for 3seconds or more until the propellers stop rotation.
Press the two triangular buttons on the battery compartment board simultaneously for 3 seconds
or more until all the indicators on the battery compartment board turn out.
Press the Display
Screen power button for 3 seconds or more to power off the Display
Screen.
Power off the controller.
Make sure the Remote Controller Powering Off after Aircraft Powering Off.
When the aircraft topple and fall anytime, don't be close to at once, you need to maintain
the Left
Throttle
locked, then move
stick on the lowest position for 3 seconds or more until the aircraft motors
to Power off the aircraft.
6
Left Stick/Ascend(Slowly)
GPS Status Indicator
Motors Power On/Off
Power On
Figure 1
Figure 2
Figure 5
Figure 3
Figure 4
Nose Direction
Take off (In an open area and Strong GPS Signal)
Place the aircraft on flat ground in an open area, with Rear Battery LED indicators facing you (Figure 1).
Make sure no obstacles or passengers.
Adjust Display
Screen channel(Press Display
Screen Power Button rapidly once to switch Display
Screen channels), ensure the image displayed quality on the Display
Screen screen is in high quality
(if image transmission interfered,
Display Screen channels.)
please switch onto aircraft transmit Channel firstly, then match the
Waiting for 1 minutes or more when flying in a new place at first time, till the upper side of aircraft GPS
Status Indicator Blue LED (Figure 2) stop flashing.
Toggle left stick and right stick simultaneously to powering on/off motors(Figure 3 or Figure 4).
Restore the sticks to the middle position after powering on.
Drive left throttle stick (Figure 5) up slowly for aircraft ascending (For beginner, the flight height
controlled within 5-10M is recommended.).
When the aircraft hovering, please ensure the battery level indicator facing operator always.


