11
Chapter 2: Mounting
Chapter 2: Mounting
This chapter provides mounting guide for all available mounting options. Pay attention to cautions
and warning to avoid any damages.
WARNING! / AVERTISSEMENT!
Follow mounting instructions and use recommended mounting hardware to
avoid the risk of injury.
Suivez les instructions de montage et d'utilisation recommandé le matériel
de montage pour éviter le risque de blessure.
2.1 Wall Mount
The Open Frame Panel PC supports open frame wall mount that enables you to install the unit
onto a wall (where space has been cut out to accommodate the rest of the hardware).
CAUTION/ ATTENTION
Follow mounting instructions and use recommended mounting hardware to
avoid the risk of injury.
Suivez les instructions de montage et d'utilisation recommandé le matériel
de montage pour éviter le risque de blessure.
Installation Instruction
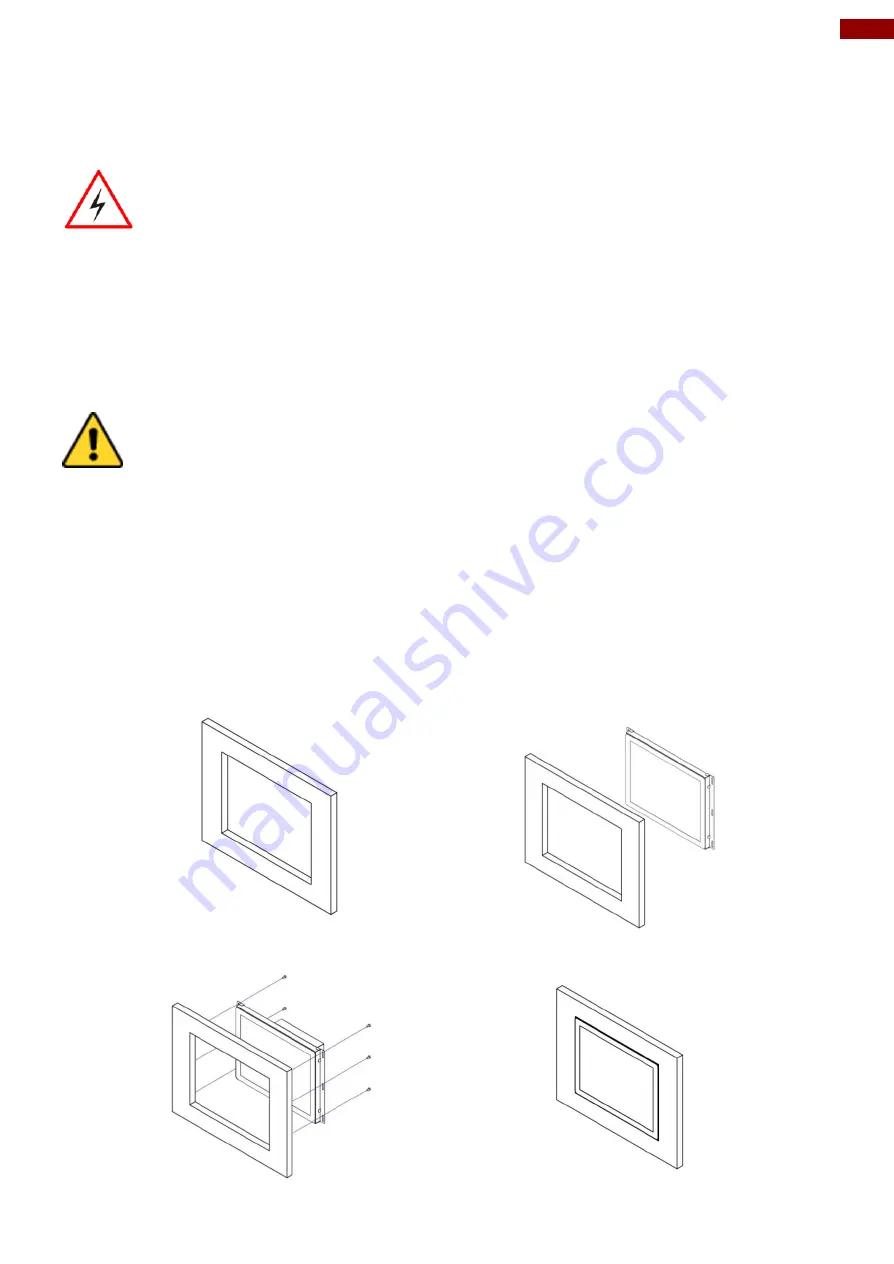
1. Make a cutout on the fixture (ex. wall) according to the cutout dimensions of the panel PC.
2. Based on the drawing, mark screw holes on the rear side of the fixture. Place panel PC on
the fixture from the rear side.
3. Use electric screwdriver to fasten M3 screws from the rear side.
4. You complete the installation. Please connect all the peripherals if needed.
❶
❷
❸
❹


