29
RECORDING
Recording
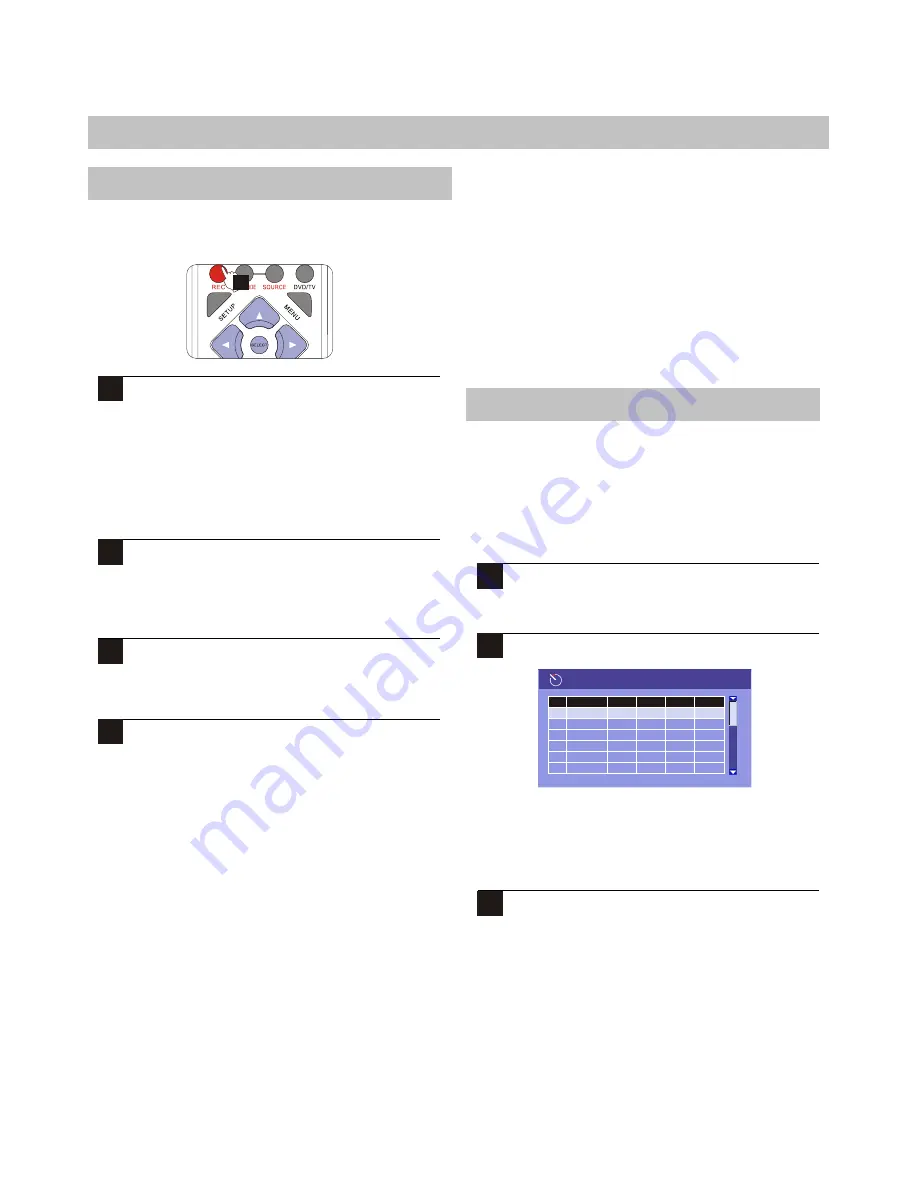
In Live Recording mode, you may record with no specific end
point, using the REC button
.
1
To begin recording, press the REC button. This will
begin recording without a specific end time.
Alternatively, The stop time options will be
dependent on the amount of disc space available,
as well as the record mode (quality) setting.If you
wish to an icon will appear on the screen letting you
know that the recording has begun. The DVD
Recorder's front panel display will show "REC",
followed by the elapsed time of the recording.
2
You may pause the DVD Recorder during a Live
Recording. Simply press pause and the recording
will stop temporarily. Press REC again to resume
recording.
3
To end recording, press STOP. Keep in mind that
the recording will end automatically if the disc
runs out of space. There will be a STOP while the
Recorder updates the disc contents.
4
To return to the Title Screen, press TITLE. You will
see a thumbnail image representing your last
recording, with information on the details of the
recording, including the Date and Time the
recording was made, along with the Length and
Recording Mode.
DVD+R discs must be finalized
Remember, your recoding is not complete on a
DVD+R disc until the disc is finalized, until a DVD+R
disc is finalized, it can be recorded to, played back and
edited on the DVD Recorder, but it will not be
compatible with any other DVD Recorder,
Finalization makes the disc compatible for payback on
standard DVD players. Once a disc is finalized, no
more recordings can be added.
For more on Finalization, see EDIT DISC(Page 37).
Title limit
A DVD +R/RW disc may contain up to 48 titles.
Attempting to add additional title after this limit has
been reached will result in an error.
Timer Recordings
You can use the timer function to schedule recording
to begin and end at specific times. Timer Recordings
are designed for unattended operation, and the unit
can work in Standby Mode. During a Timer
Recording, the recorder may not be used for any
other operations.
First setup the clock of your system as clock
setup .
¡°
¡±
2
Press TIMER, the record scheduler will pop up.
NOTE:
If you want to delete a schedule. Highlight the one
and press ADD/CLEAR.
3
Use UP/DOWN to select one
schedule
, and press
SELECT to access item editor as below in each
item you can also use direction keys to
highlight
and press SELECT to choose your desired setting.
1
3
Record scheduler
Source
2
3
4
6
5
1
Quality
Date
Start
End


