

17
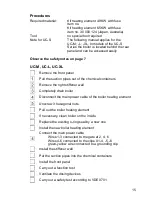
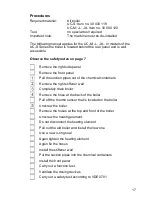
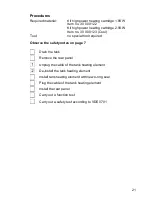
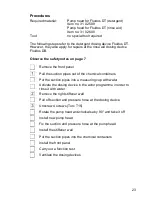
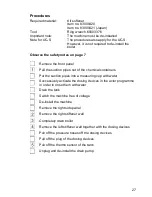
Procedures
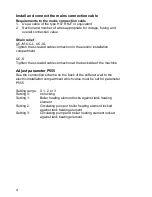
Required material:
Kit boiler
UC-S: Item no. 30 000 119
UC-M; -L; -XL Item no. 30 000 120
Tool:
no special tool required
Important note:
The machine must be de-installed
The following manual applies for the UC-M; -L; -XL. In models of the
UC-S Series the boiler is located behind the rear panel and is well
accessible.
Observe the safety notes on page 7
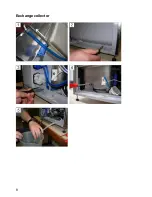
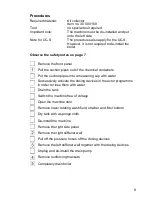
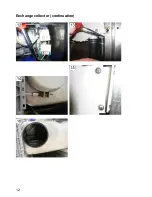
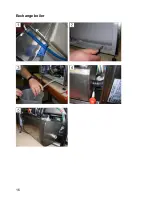
Remove the right side panel
Remove the front panel
Pull the suction pipes out of the chemical containers
Remove the right stiffener wall
Completely drain boiler
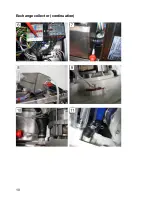
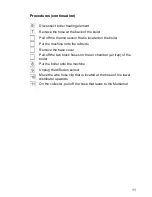
Remove the hose at the back of the boiler
Pull off the thermo sensor that is located on the boiler
Unscrew the boiler
Remove the hoses at the top and front of the boiler
Unscrew the heating element
Do not disconnect the heating element
Pull out the old boiler and install the new one
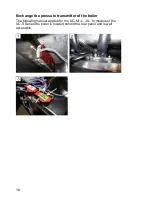
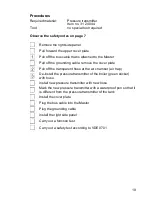
Use a new o-ring seal
Again tighten the heating element
Again fix the hoses
Install the stiffener wall
Put the suction pipes into the chemical containers
Install the front panel
Carry out a function test
Ventilate the dosing devices
Carry out a safety test according to VDE 0701
Summary of Contents for UC-L
Page 1: ...Winterhalter Undercounter Dishwashers UC Series Repair manual ...
Page 10: ...8 Exchange collector ...
Page 12: ...10 Exchange collector continuation ...
Page 14: ...12 Exchange collector continuation ...
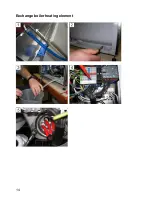
Page 16: ...14 Exchange boiler heating element ...
Page 18: ...16 Exchange boiler ...
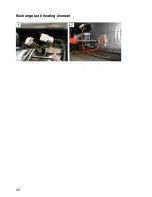
Page 22: ...20 Exchange tank heating element ...
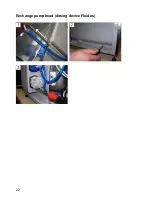
Page 24: ...22 Exchange pump head dosing device Fluidos ...
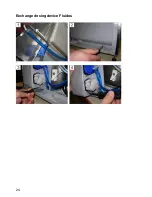
Page 26: ...24 Exchange dosing device Fluidos ...
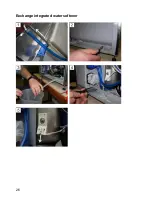
Page 28: ...26 Exchange integrated water softener ...
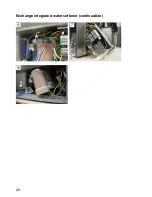
Page 30: ...28 Exchange integrated water softener continuation ...
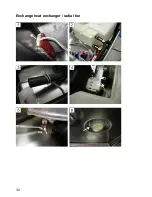
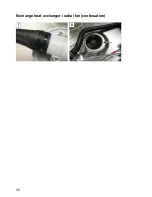
Page 32: ...30 Exchange heat exchanger radial fan ...
Page 34: ...32 Exchange heat exchanger radial fan continuation ...
Page 46: ...44 ...
Page 47: ......


