Instructions condensing Air heaters type XR version XR-GB-4001-a
Page 22/27
•
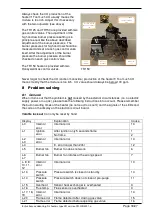
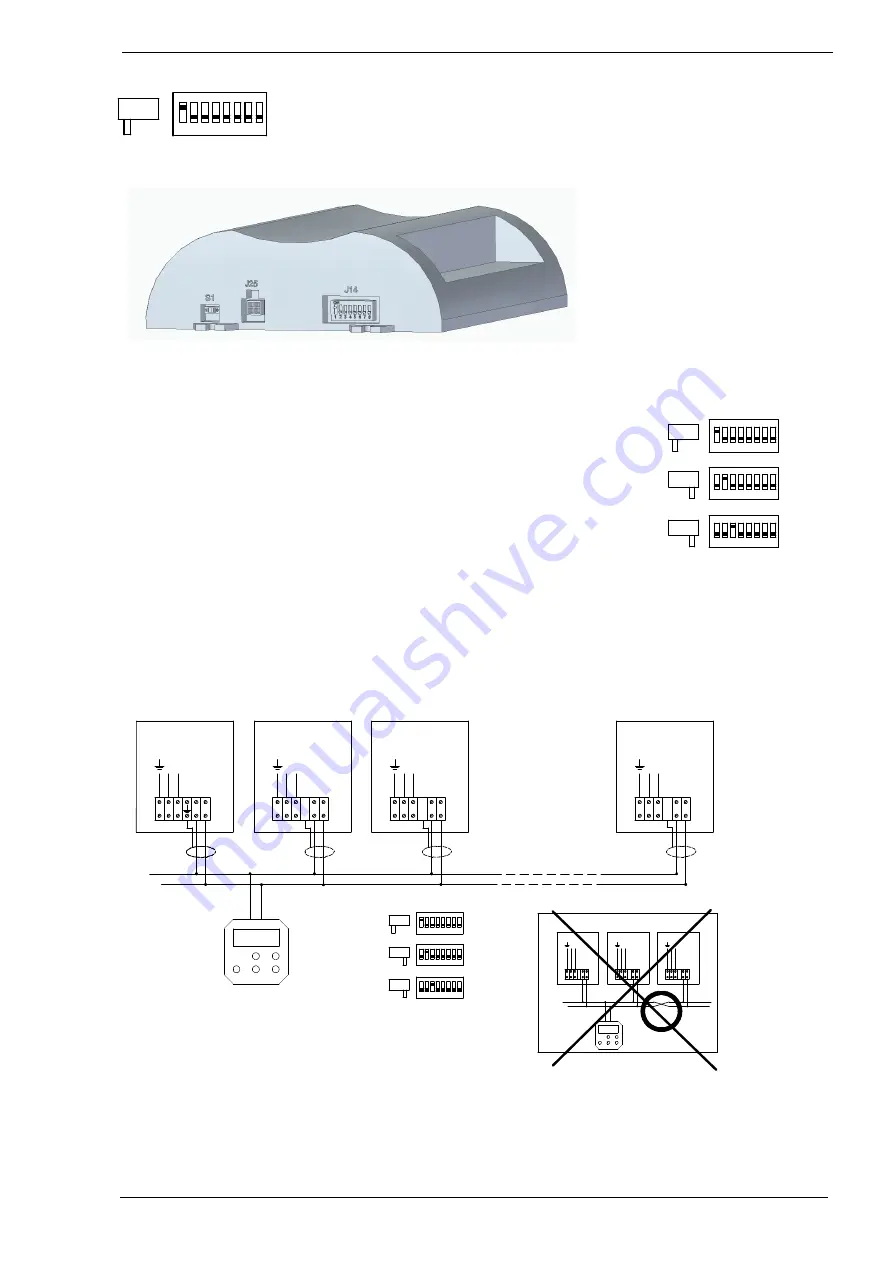
On the print the switches S1 and J14 need to be set as follows: S1
switch 1 at the ON position, and J14 at 1.
The change of these switches need to be performed without power on the
Heater, otherwise these settings take no effect.
10.3 Installation of more heaters on one thermostat
One room thermostat can control 8 heaters. To connect the heaters is very simple. The two
wires for the thermostat can be connected to heater one, from heater
one to heater two , from heater two to heater three etc. etc. Connect
always on terminals 4 and 5. See also the diagram.
Standard factory setting: switch S1 “on”.
Each heater needs his own unique number to recognise the heater by
the room thermostat. The number of the heater can be set by the
micro switch on the heater control in the heater. The number at the
upper position of the switch is the given number for that heater. Make
sure that each heater has its own unique number. If more than one
heater has the same number the system does not work.
The change of these switches need to be performed without power on the Heater, otherwise
these settings take no effect.
Diagram for more heaters on one thermostat
PE
L
5
4
N
5
4
5
4
5
4
22°C
L
N
PE
L
N
L
N
PE
L
N
L
N
PE
L
N
L
N
1 2 3 4 5 6 7 8
ON
1
0
1 2 3 4 5 6 7 8
ON
1
0
S1
J14
1 2 3 4 5 6 7 8
ON
1
0
1
2
3
...8
1
2
3
22°C
L
N
eu
ta
l
4 5
L
N
eu
ta
l
4 5
L
N
eu
ta
l
4
5
1 2 3 4 5 6 7 8
ON
1
0
S1
J14
1 2 3 4 5 6 7 8
ON
1
0
1 2 3 4 5 6 7 8
ON
1
0
S1
J14
1 2 3 4 5 6 7 8
ON
1
0


