SmartPAC PRO User Manual
1143100
Chapter 2 – Installing SmartPAC PRO
77
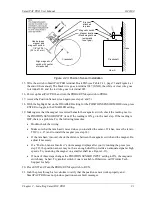
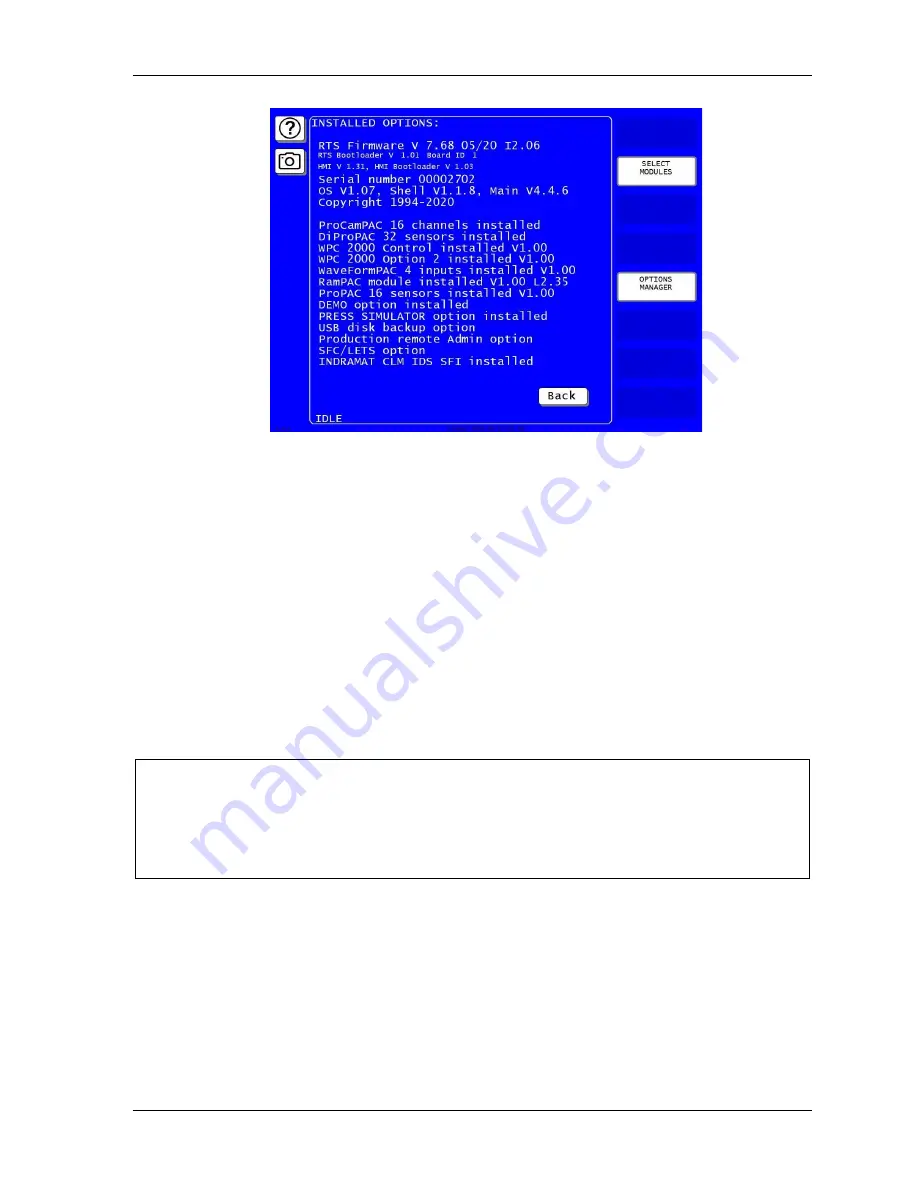
Figure 2-19
. Installed Options Screen (yours may list different options)
Moving the Ram to Top Dead Center (TDC)
If the ram is not at TDC, you must first inch the press to 0
± 2
before you can zero the resolver.
Since SmartPAC PRO is now connected to your stop circuits, you must load a tool in order to inch
the press.
1.
Access Program mode and create a new tool, following the steps in
, page
2.
Enter a counter preset of 10,000 for the tool, following the directions in
page
3.
Load the tool, following the instructions in
page 130.
4.
Turn the PROG/RUN keyswitch to RUN, and inch the press to 0
± 2
.
NOTICE
USE A DIAL INDICATOR TO DETERMINE TDC
Do not rely on the SmartPAC PRO display to indicate when the press has reached TDC. Until the
resolver is zeroed, displayed values are inaccurate. Use a dial indicator or some other means to
determine 0°.
5.
When the press is at TDC, perform the next procedure.
Setting the Resolver Zero Position
To zero the resolver with the press at TDC, perform the following steps:
1.
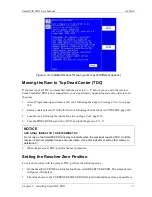
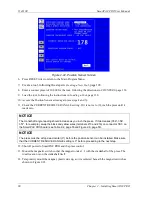
On the SmartPAC PRO Main Initialization Menu select RESOLVER ZERO. The screen shown
in Figure 2-20 displays.
2.
The value shown in the CURRENT RESOLVER ANGLE field should be as close as possible to
Summary of Contents for SmartPAC PRO
Page 1: ......
Page 2: ......
Page 4: ......
Page 6: ......
Page 20: ......
Page 22: ......
Page 24: ......
Page 42: ...1143100 SmartPAC PRO User Manual 42 Chapter 1 Introduction to SmartPAC PRO ...
Page 142: ...1143100 SmartPAC PRO User Manual 142 Chapter 4 SmartPAC PRO Program Mode ...
Page 200: ...1143100 SmartPAC PRO User Manual 200 Chapter 6 Using DiProPAC Die Protection Optional ...
Page 222: ...1143100 SmartPAC PRO User Manual 222 Chapter 7 ProCamPAC Instructions ...
Page 254: ...1143100 SmartPAC PRO User Manual Appendix C SmartView Remote Viewing and E mail Setup 254 ...
Page 280: ...SmartPAC PRO User Manual 1143100 280 Appendix C Reporting Downtime and Scrap to SFC ...
Page 290: ...SmartPAC PRO User Manual 1143100 290 Index Y yellow fault 232 yellow sensor 169 ...
Page 292: ......
Page 294: ......
Page 296: ......
Page 298: ......
Page 300: ......
Page 301: ......
Page 302: ......
Page 303: ......
Page 304: ......
Page 305: ......
Page 306: ......
Page 307: ......
Page 308: ......
Page 309: ......
Page 310: ......
Page 311: ......
Page 312: ......
Page 313: ......
Page 314: ......
Page 315: ......
Page 316: ......
Page 317: ......
Page 318: ......

