background image

- 22 -

- 23 -

english

english

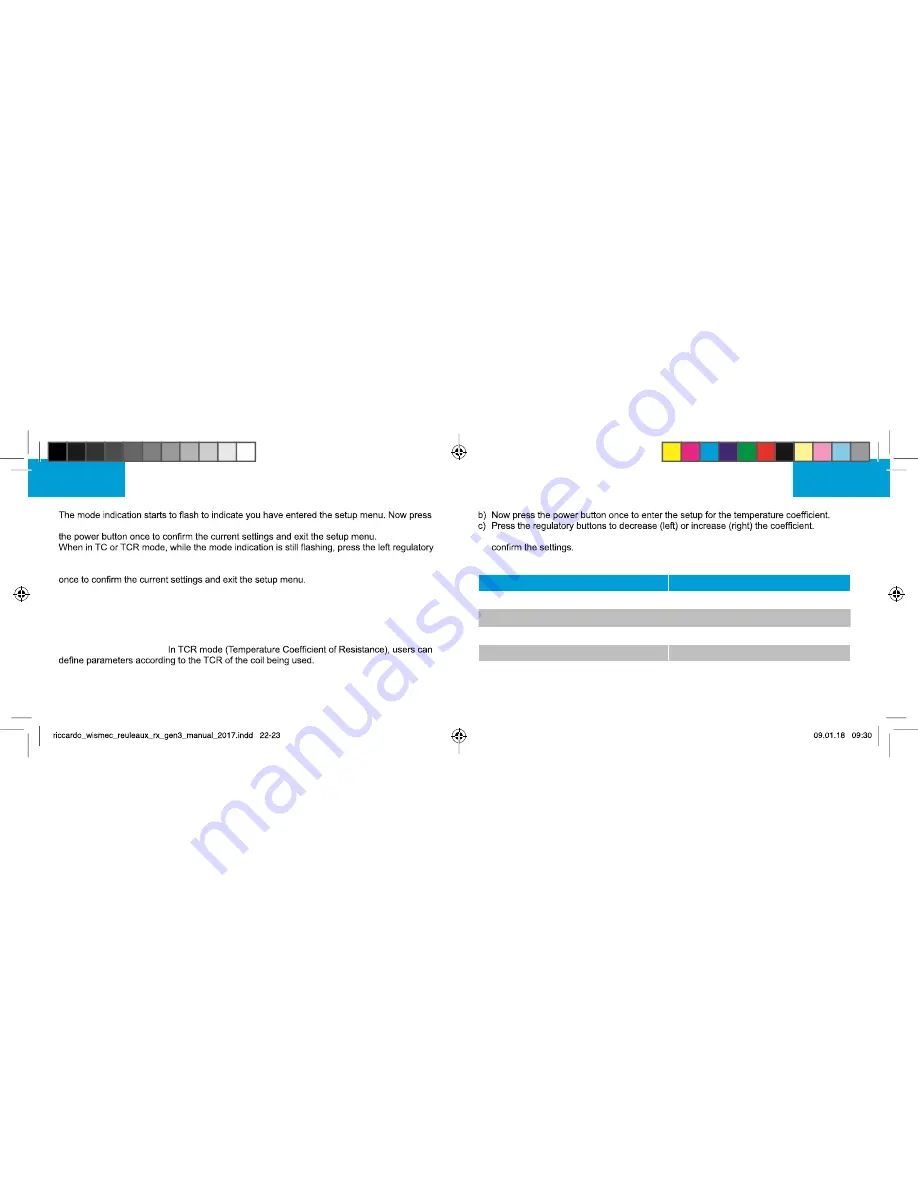
Switch between VW, TC-Ni, TC-Ti, TC-SS and TCR mode: 

Press the power button 3 times. 

the right regulatory button to switch between VW, TC-Ni, TC-Ti, TC-SS and TCR mode. Press 

button to enter the submenu. Now press the right regulatory button to switch between Ni, 
Ti and SS in TC mode and between M1, M2 and M3 in TCR mode. Press the power button 

VW mode:

 In VW mode, the output wattage can be adjusted from 1 to 300 watts by using 

the regulatory buttons, right to increase and left to decrease. If you keep pressing one of the 
regulatory buttons, the wattage will rapidly decrease or increase.

TC-SS mode:

 In TC-SS mode, use a suitable SS316 coil.

TCR mode (M1, M2, M3): 

Setting the TCR mode: 

When the device is turned off, simultaneously press the power 

button and the right regulatory button for 5 seconds to enter the TCR setup menu. 

a) Press one of the two regulatory buttons to choose between TCR M1, M2 or M3.

d) Finally, press the power button until the menu disappears or wait about 10 seconds to 

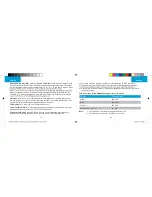
TCR value range for RX GEN3 depending on the coil material:

Material

TCR value range

Nickel

600 - 700

NiFe

300 - 400

Titanium

300 - 400

SS (303, 304, 316, 317)

80 - 200

Note:

1. The TCR value in the table is 105 times the actual TCR.
2. The TCR value range for the RX GEN3 is 1 to 1000.

Summary of Contents for Riccardo Reuleaux RX GEN3

Page 1: ...Bedienungsanleitung User Manual Manuel d utilisation ...

Page 2: ...n großes 1 3 Zoll Display und eine brandneue Interface Be trieben wird der Akkuträger mit drei 18650er Akkuzellen nicht im Lieferumfang enthalten die eine maximale Leistung von 300 Watt liefern Dank der 2 Ampere Schnellladefunktion der gleichmäßigen Ladung aller Akkus der upgrade fähigen Firmware und der Vorheizfunktion ist die RX GEN3 immer auf dem neusten Stand Gewinde gefederter 510er Anschluss...

Page 3: ...cherheitsgründen stellen Sie vor der Benutzung sicher dass die von Ihnen benutzten Akkuzellen komplett unbeschädigt sind und deren Schutzhülle intakt ist 2 Dampfen Halten Sie den Feuerknopf gedrückt und ziehen Sie am Mundstück Lassen Sie den Feuerknopf los sobald der Zug beendet ist und atmen Sie den Dampf aus 3 Stealth Modus Drücken Sie im aktivierten Zustand gleichzeitig den Feuerknopf und die l...

Page 4: ...play blinkt drücken Sie 1 mal die rechte Einstelltaste um in das Untermenü zu gelangen Drücken Sie nun die rechte Einstelltaste um im TC Modus zwischen Ni Ti und SS bzw im TCR Modus zwischen M1 M2 und M3 zu wählen Drücken Sie schließlich 1 mal auf den Feuerknopf um die aktuellen Einstellungen zu bestätigen und das Menü zu verlassen VW Modus Im VW Modus kann die Ausgangsleistung anhand der Einstell...

Page 5: ...te um die Temperatur zu reduzieren Wenn Sie die entsprechende Einstelltaste gedrückt halten steigt bzw sinkt die Temperatur in schnellen Schritten Zwischen C und F wechseln Wenn Sie die Temperatur auf den Maximalwert 315 C stellen und dann nochmals die rechte Einstelltaste drücken stellt die Temperatur automatisch auf 200 Fahrenheit Wenn Sie die Temperatur auf den kleinstmöglichen Wert 100 C stell...

Page 6: ...ferkopf einsetzen Achten Sie darauf dass Ihr Verdampferkopf im TC Mo dus auf Zimmertemperatur heruntergekühlt ist bevor Sie ihn einsetzen Wenn ein neuer Coil nicht Zimmertemperatur hat kann die Temperaturkontrolle nicht richtig funktionieren 1 Wenn Sie einen neuen oder einen bereits gebrauchten Verdampferkopf auf die Verdamp ferbasis schrauben zeigt das Display den Hinweis New Coil Right Same Coil...

Page 7: ...auszuwählen Anschließend nutzen Sie die Einstelltasten um die Leistung oder die Dauer einzustellen bzw um die Vorheizfunktion komplett zu deaktivieren Halten Sie den Feuerknopf gedrückt bis das Display zur regulären Anzeige zurückkehrt um die vorgenommenen Einstellungen zu speichern Warnhinweise und Schutzfunktionen Warnung bei fehlendem Verdampfer Wenn kein Verdampfer installiert ist bzw der Ver ...

Page 8: ...eitshinweise 1 Achten Sie darauf dass Sie die Box ausschließlich mit Clearomizern und Ladegeräten benutzen die eine entsprechende Leistung und Kompatibilität gewährleisten 2 Deaktivieren Sie den Akku wenn Sie diesen für längere Zeit nicht benutzen 3 Entfernen Sie Liquid aus dem Tank wenn Sie das Gerät für längere Zeit nicht benutzen 4 Stürze Aufpralle und unsachgemäße Handhabung können zu irrepara...

Page 9: ...ine nicht autorisierte Reparatur entstanden Die Beschädigung ist durch äußere Gewalteinwirkung wie z B einen Aufprall entstanden Die Beschädigung ist durch einen Betrieb in ungeeigneter Umgebung entstanden s Warnhinweise Die Beschädigung ist durch die unsachgemäße Verwendung von Wasser oder Liquid entstanden Die Beschädigung ist durch die Verwendung von Komponenten anderer Hersteller entstanden z ...

Page 10: ...ED screen and a brand new interface It is powered by three replaceable 18650 cells not included and can reach a maximum output of 300 watts Thanks to a 2 ampere quick charge capability a balanced charging system an Thread type 510 spring loaded connector Battery type high rate 18650 cell discharge current above 25 A batteries not included Output modes TC Ti mode TC Ni mode TC SS mode VW mode TCR m...

Page 11: ...ale 3 Stealth function While the device is on simultaneously press the power button and the left regulatory button to switch between the Stealth On and Stealth Off mode In Stealth On mode you can vape with the OLED screen turned off meaning that no information is displayed on the screen If you quickly want to check your settings while in Stealth On mode you can tap the power button to display the ...

Page 12: ...the regulatory buttons the wattage will rapidly decrease or increase TC SS mode In TC SS mode use a suitable SS316 coil TCR mode M1 M2 M3 Setting the TCR mode When the device is turned off simultaneously press the power button and the right regulatory button for 5 seconds to enter the TCR setup menu a Press one of the two regulatory buttons to choose between TCR M1 M2 or M3 d Finally press the pow...

Page 13: ...stance Press the power button 3 times to enter the setup the regulatory button on the right once to lock or unlock the resistance of the atomizer When the lock sign is displayed on the screen it indicates that the resistance is locked Note Please lock the resistance only when the coil is at room temperature so that the correct base resistance of the atomizer head is locked The temperature control ...

Page 14: ...t be monochrome in bmp format and have a size of 64 x 48 pixels Preheat function While the device is turned on simultaneously press the power button and the right regulatory button to enter the setup menu Now press the right regulatory button to enter the preheat settings Use the power button to switch between the preheat power and the preheat duration Now use the the regulatory buttons to adjust ...

Page 15: ... battery cells Check USB adapter If the voltage of the USB adapter is 5 8 V or higher the OLED screen shows Check USB Adapter when connected to a charger or when pressing the power button Charging error If the device doesn t detect any current while connected to the charger the OLED screen will show Charge Error Check battery When at least on battery cell is placed in the wrong way the OLED screen...

Page 16: ...warranty is void as a result of any of the following conditions The customer cannot provide the warranty card and the original receipt of purchase The merchandise failure or damage is caused by improper use or unauthorised repair The merchandise failure or damage is a result of excessive forces such as dropping The merchandise failure or damage is a result of a usage outside the recommended operat...

Page 17: ...livraison qui livrent une puissance maximale de 300 watts Grâce à une fonction de chargement rapide 2 ampères une fonction chargement équilibré de toutes les batteries un micrologiciel pouvant être mis à jour ainsi qu une fonction de préchauffage le RX GEN3 satisfera tous vos besoins en matière de cigarettes électroniques Caractéristiques Pas de vis connecteur 510 à ressort Batterie batterie 18650...

Page 18: ...r du cou le bon sens 2 Avant la première utilisation veillez à bien régler la puissance watts en fonction des têtes d atomiseur que vous utilisez 3 Pour des raisons de sécurité veillez toujours à ce que vous utilisiez uniquement des batteries non endommagées et dont l enveloppe de protection est intacte 2 Vapoter Appuyez sur le bouton de commande de façon prolongée et inhalez par le drip tip Relâc...

Page 19: ...ppuyez une fois sur le Lorsque le mode TC ou TCR clignote dans le menu de réglage appuyez une fois sur le bouton de réglage gauche pour entrer dans le sous menu Puis utilisez le bouton de réglage droit pour sélectionner Ni Ti ou SS en mode TC et M1 M2 et M3 en mode TCR Finalement appuyez Mode VW En mode VW vous pouvez régler la puissance entre 1 et 300 watts en utilisant le bouton de réglage droit...

Page 20: ...uyez sur un bouton de réglage de façon prolongée la température augmente ou diminue plus rapidement Changer entre C et F Si vous augmentez la température jusqu à 315 C et vous ap puyez encore une fois sur le bouton de réglage droit la température passe automatiquement à 200 F De même si vous réduisez la température jusqu à 100 C et vous appuyez encore une fois sur le bouton de réglage gauche la te...

Page 21: ...e déverrouillé veillez à ce que toute nouvelle tête d atomiseur soit à température ambiante lors de l installation pour assurer une température exacte Installer une nouvelle tête d atomiseur En mode TC veillez toujours à installer des têtes à température ambiante Si la tête d atomiseur n est pas refroidie avant l utilisation la température ne peut pas être réglée correctement 1 Lorsque vous connec...

Page 22: ... puyez sur le bouton de commande pour sélectionner la puissance ou la durée de préchauf préchauffage ou pour désactiver la fonction préchauffage Lorsque vous avez effectué vos réglages appuyez sur le bouton de commande de façon prolongée jusqu à ce que que Fonctions de protection et d alerte Absence atomiseur Quand aucun atomiseur n a été détecté par le box par exemple si aucun clearomiseur n a ét...

Page 23: ... que l appareil Erreur de batterie Quand au moins une batterie est mal placée dans le compartiment de Précautions 1 Utilisez uniquement des clearomiseurs chargeurs et batteries qui sont assez puissantes et compatibles avec votre appareil 2 Désactivez l appareil lorsque vous ne l utilisez pas 3 Enlevez le liquide restant dans votre réservoir lorsque vous n utilisez pas votre appareil pendant longte...

Page 24: ... produit ainsi que la facture d achat originale Le produit est utilisé de façon anormale ou des réparations non autorisées sont effectuées Les défauts ou dommages sont liés à une cause extérieure excessive telle qu une chute Les défauts ou dommages sont dus à une utilisation non conforme aux conditions d utili sation recommandées Les défauts ou dommages sont dus à une utilisation non conforme d ea...

Page 25: ...Riccardo Retail GmbH Molkereistr 3 17033 Neubrandenburg GERMANY www riccardo zigarette de ...

Reviews: