background image

Witschi Electronic AG 

ChronoProof

® 

PRO 

page14 

9


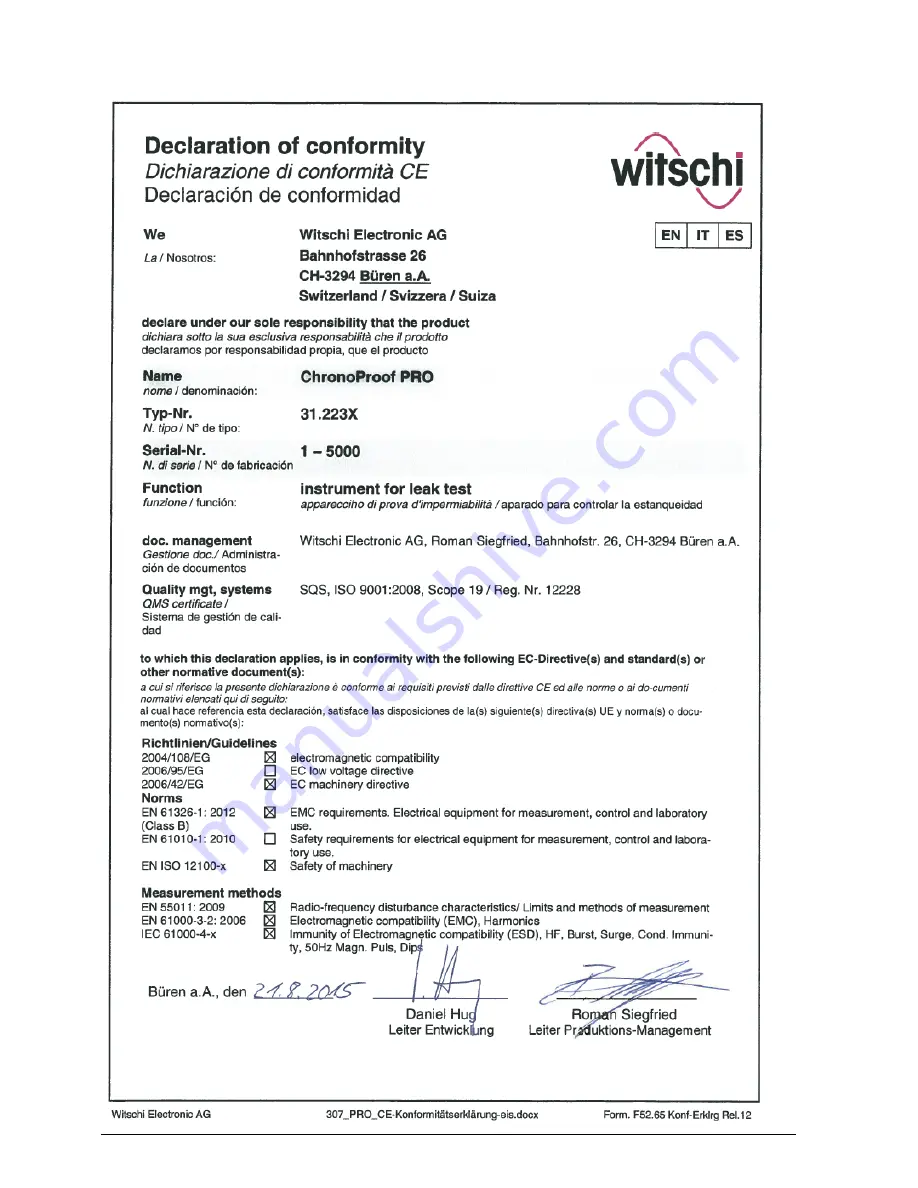
EU DECLARATION OF CONFORMITY 


Summary of Contents for ChronoProof PRO

Page 1: ...ChronoProof PRO USER MANUAL Please read before you work with the device ...

Page 2: ...page2 Witschi Electronic Ltd Bahnhofstrasse 26 3294 Büren an der Aare Switzerland Phone 41 0 32 352 05 00 Fax 41 0 32 351 32 92 Internet www witschi com E Mail welcome witschi com Original Manual Document No 31 223xD35e Rel 1 0 August 2015 ...

Page 3: ... 5 4 4 DESIGNING THE HEADER 5 4 5 DESIGNING THE TICKET 6 4 6 OTHER MENU ITEMS AND FUNCTIONS 7 4 7 PROGRAM CONFIGURATION 8 4 7 1 Defining a test cycle 8 5 OPERATION 9 5 1 CONTROL AND DISPLAY PANEL 9 5 2 SWITCHING ON OPENING 9 5 3 PREPARATIONS FOR THE TIGHTNESS TEST 10 5 4 STARTING THE TIGHTNESS TEST 11 5 5 TEST RESULT 11 5 6 PRINTING THE TEST RESULTS 12 6 MAINTENANCE 13 7 DISPOSAL OF THE DEVICE 13 ...

Page 4: ...ERLAND refuses any responsibility 2 Scope of delivery ChronoProof PRO testing device with USB cable Universal mains adapter 100 240 V 50 60 Hz 1 5 A 1 watch support USB flash drive with PC software for designing the printable tickets and PDF files for the user manual in German French English Spanish and Italian Brief instructions 3 Initial operation of device Remove the ChronoProof PRO USB flash d...

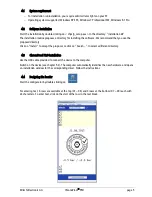
Page 5: ...at you use the proposed directory Click on Install to accept the proposal or click on Search to select a different directory 4 3 ChronoProof PRO installation Use the USB cable provided to connect the device to the computer Switch on the device see chapter 5 2 The computer automatically identifies the new hardware and opens an installation window for the corresponding driver Follow the instructions...

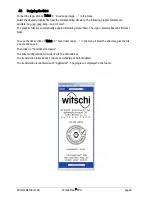
Page 6: ...aphics files are automatically adapted including colour files The logo is placed above the first text block To save the ticket click on Ticket Save ticket under in the menu Select the directory give the file a name and save it Then click on Send ticket to device The ticket configuration is transferred to the ChronoProof The transmission takes about 1 minute and should not be interrupted The transm...

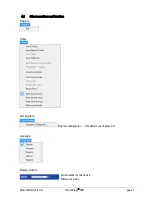
Page 7: ...tronic AG ChronoProof PRO page 7 4 6 Other menu items and functions Program Ticket Test program Program configurator For details see chapter 4 7 Language Display window Serial number of the device Firmware version ...

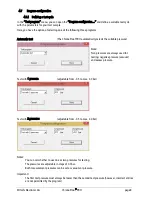
Page 8: ...lly selects the suitable pressure Note Two pressures are always used for testing negative pressure vacuum and excess pressure Test with 1 pressure adjustable from 0 5 to max 3 0 bar Test with 2 pressures adjustable from 0 5 to max 3 0 bar Notes You can set whether to use one or two pressures for testing The pressures are adjustable in steps of 0 1bar Both measurement pressures can be set as vacuum...

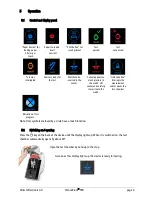
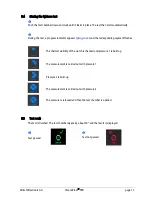
Page 9: ...pplies too much pressure to the watch Lift sensor and carefully lower it onto the watch Unlock button Interrupts the measurement and or opens the test chamber Indication of test progress Note Only symbols enclosed by a circle have a touch function 5 2 Switching on opening Press the key on the back of the device until the display lights up When it is switched on the test chamber automatically opens...

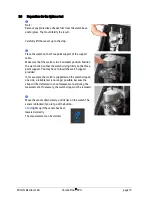
Page 10: ...n the watch strap so that the watch is lying firmly on the three point support You may have to insert the watch support provided If for example the watch is supported on the watch strap on one side a reliable test is no longer possible because the strap will be deformed in an unforeseen manner during the measurement If necessary the watch strap must be removed Move the sensor down slowly until it ...

Page 11: ...gress and the corresponding segment flashes The thermal stability of the watch is checked and pressure 1 is built up The measurement is carried out with pressure 1 Pressure 2 is built up The measurement is carried out with pressure 2 The pressure is released and then the test chamber is opened 5 5 Test result The test is finished The test chamber opens by about 90 and the result is displayed Test ...

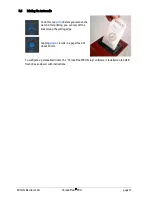
Page 12: ...ap print before you remove the watch After printing you can tear off the ticket along the cutting edge Tapping paper results in a paper feed of about 20 mm To configure a personalised ticket the ChronoProof PRO Setup software is installed on the USB flash drive enclosed with instructions ...

Page 13: ...n points please return it to the point of sale where it will be disposed of properly in line with legal regulations Your device supplier in the EU will take back free of charge all devices made after 13 Aug 2005 and will also accept older devices if you are simultaneously buying a corresponding new device 8 Technical data User guidance using capacitive touchscreen Thermal printer optional integrat...

Page 14: ...Witschi Electronic AG ChronoProof PRO page14 9 EU DECLARATION OF CONFORMITY ...

Page 15: ......

Page 16: ......

Reviews: