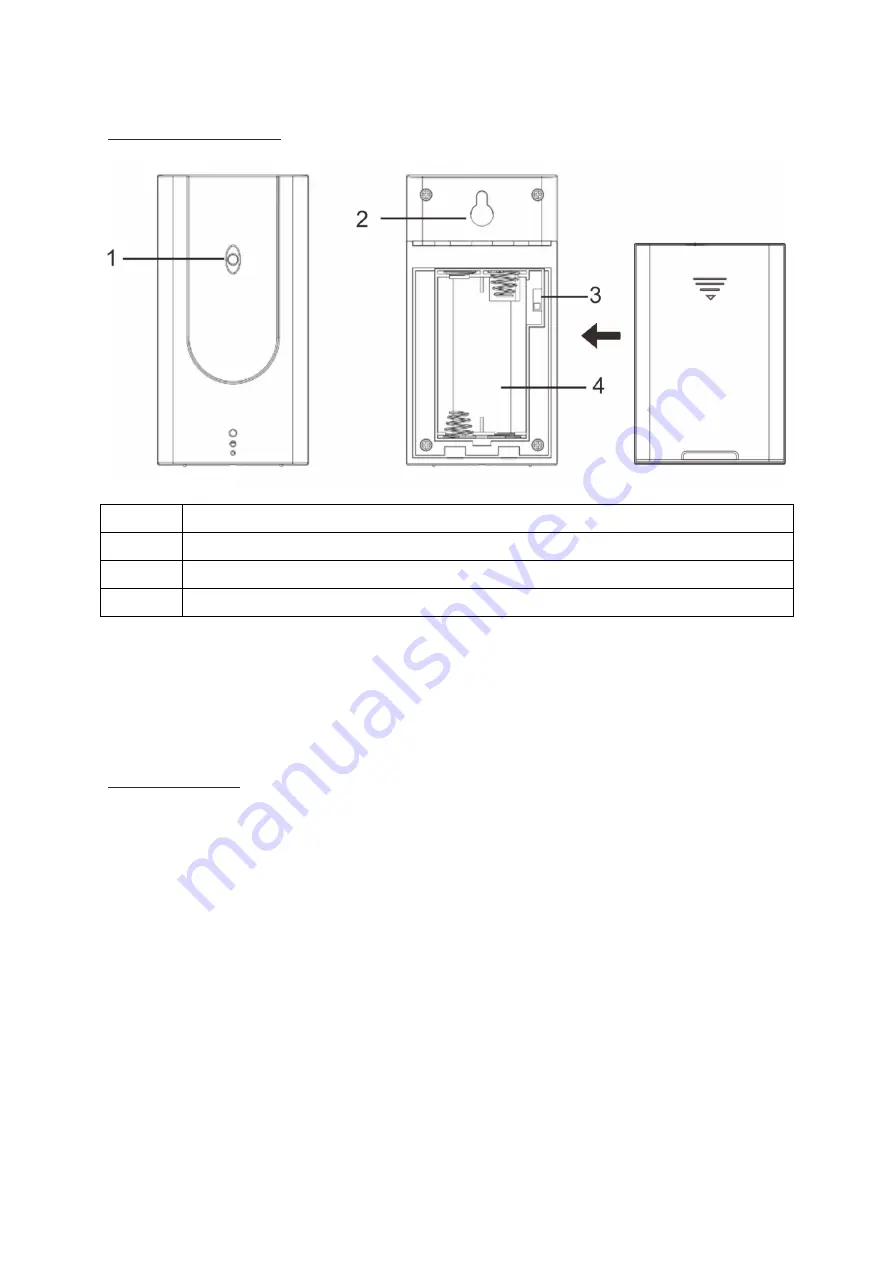
Wireless sensor
1
Red pilot light
2
Loop for hanging
3
Sliding switch 1 2 3: Set sensor number (transmission channel)
4
Battery compartment
If you wish to use only the wireless sensor included in the delivery, as a general rule, the transmission
channel does not need to be changed.
This is only necessary if you wish to use additional wireless sensors; see “ Using additional wireless
sensors ”.
Initial setup
Follow the instructions in the order described and first put the batteries in the wireless sensor. This is the
only way for the weather station to function without any problems.
Do not press any buttons while switching
the device on.
Wireless sensor
1. Use a thin screwdriver to remove the battery compartment cover on the back of the wireless sensor.
2. Insert 2 LR06 (AA) / 1.5 V batteries facing in the direction indicated on the bottom of the battery
compartment. Make sure that the poles of the batteries are correct (+/-). As soon as the wireless sensor is
receiving power, the red pilot light will light up and thus display that data is being transmitted to the base
unit.
3. Put the battery compartment cover back in place and screw it into place.
- Do not use batteries that have a voltage that is too low (only 1.2 V instead of 1.5 V). This affects the
accuracy of the measurements, among other things.


