5
Commissioning
30
Translation of the original operation manual
•303_208176_1004_en•ski
➤
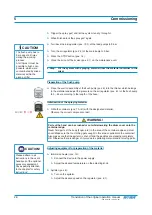
Increase the air inlet pressure to allow the dispensing unit to overcome the backpres-
sure.
➤
Flush until clean material is emitted.
➤
Close the lever of the dispensing unit.
➤
Exchange the containers for clean measuring jugs.
➤
Open the lever on the dispensing unit and fill the desired amount of material. Return
the levers to the “OFF” position afterwards.
➤
Set the air regulator (pos. 2.2) on the main pump back to 0 bar.
➤
Check the mixing ratio based on the amount of each material filled.
4. Step: Preparation for spraying
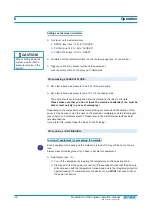
Settings on the mixer (Spray)
➤
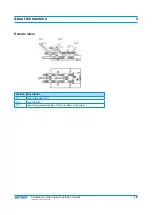
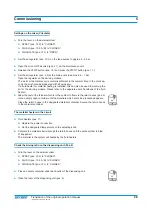
Turn the lever on the external mixer:
➤
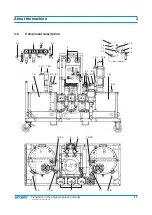
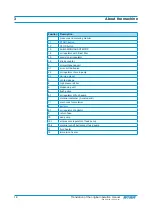
SPRAY (pos. 13.2) to “OPEN”.
➤
FLUSH (pos. 13.3 A / B) to “CLOSED”.
➤
CIRCULATE (pos. 13.1) to “CLOSED”.
➤
Now slowly set the air regulator (pos. 2.2) of the main pump to the desired spraying
pressure.
➤
Unlock the safety catch on the spray gun* and trigger it to balance the pressure of
both components.
➤
Check the contact gauge (pos. 3) for the A and B component until it shows the same
pressure.
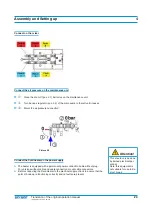
Setting the limits on the contact gauge
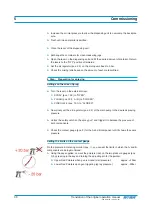
On the pressure & metering monitor (pos. 1), you can set the limits in which the A- and B-
components are being monitored.
➤
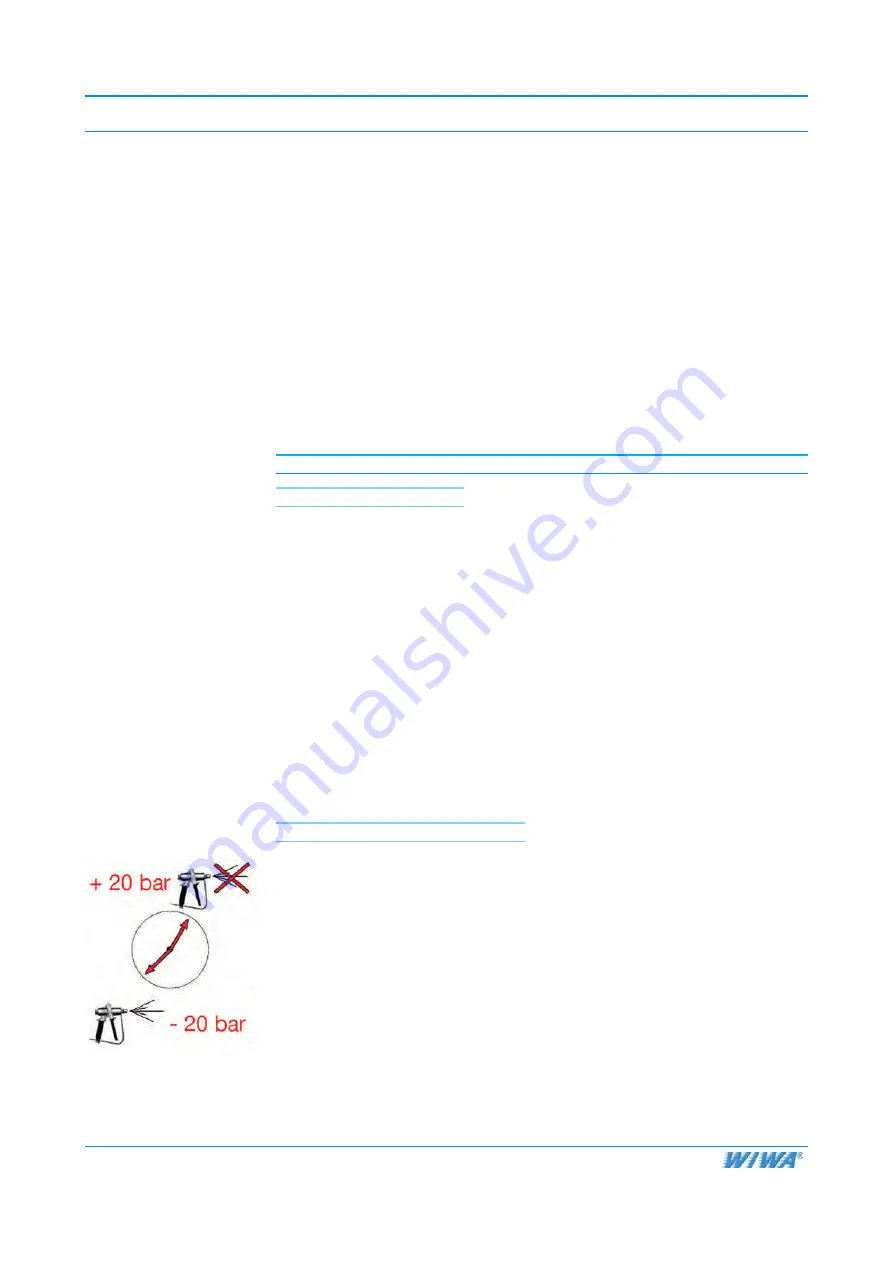
Using the key supplied, now set the pointers (red) on the two pressure gauges (pos.
3) by pressing in the key and turning the adjusting pin for the pointer:
➤
Upper Red Pointers when gun is closed (stall pressure):
approx. +20bar
➤
Lower Red Pointers upon gun triggering (spray pressure):
approx. -20bar

