Operation
6
Translation of the original operation manual
35
35
•303_208176_1004_en•ski
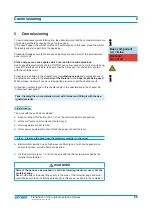
Task: The work on the unit is going to be interrupted or completely stopped.
Flush components, which were contaminated by mixed material within the pot
life given by the manufacturer!
If you are stopping the work on the machine for a longer time you should follow
the instruction listed in the chapter “Complete Cleaning”.
➤
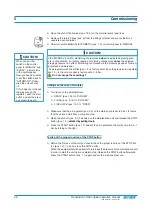
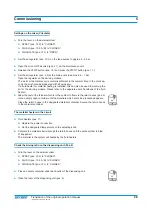
Make certain that the suction assembly of the flush pump is placed in the thinner and
you set a pressure of 3 - 6 bar on the air regulator of the flush pump (pos. 6.1), depend-
ing of the length of the hoses.
➤
Turn back air regulator (pos. 10.1) of the feed pumps back to 0 bar.
➤
Turn back air regulator (pos. 2.2) of the main pump to the left until it eases.
➤
Turn switch MANUAL/AUTOMATIC (pos. 1.3) on the control panel to “MANUAL”.
➤
Trigger gun shortly to pressure release the equipment.
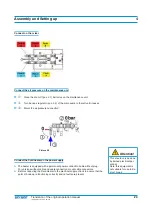
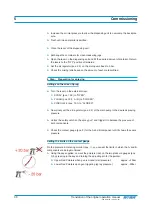
Settings on the mixer (flush)
➤
Turn lever on the external mixer:
➤
SPRAY lever (pos. 13.2) to “CLOSED”.
➤
FLUSH (pos. 13.3 A / B) to “OPEN”.
➤
CIRCULATE lever (pos. 13.1) to “CLOSED”.
➤
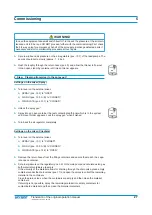
By simultaneously triggering the spray gun*s until clean solvent appears, the area
between mixer to spray gun* is flushed.
➤
Close on the external mixer each ball valve of the A- and B- component (pos. 13.3 ) sepa-
rately for about 5 - 15 sec. .This will insure the optimal cleaning of the area around
the ball valves.
Repeat this procedure for about 3 times, but at least until clean thinner is emitted.
The material which remains in the system leading up to the mixing block (component
A and B) does not need to be flushed, as no hardening occurs.
➤
Turn the regulator (pos. 6.1) of the flush pump to 0 bar.
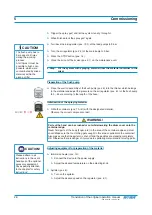
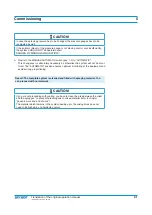
CAUTION!
The flush pump has to
be ready at all times
during the working
process.
At all times it must be
possible to flush com-
ponents, which were
contaminated by mixed
material,
within the
given pot life
!

