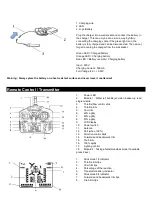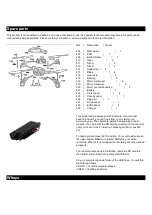
Insert the battery by sliding the cover down. Then insert 6 x AA
batteries as indicated under the cover.
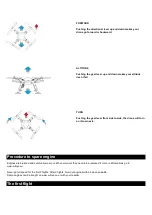
SIDEWARD
The directional lever serves to move the drone to the left or
the right.
Headless mode
Headless Mode Operation : Straighten the copter (red blades are in front) , long press Headless Mode button 2 seconds to enter
into Headless Mode, the transmitter will start beeping; Long press Headless Mode button 2 seconds to exit, the transmitter will
stop beeping.
How to fly
Flying is really simple, but you need a little practice at first. Connect to www.wltoys.eu to watch educational films.
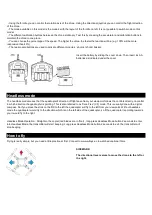
- Using the throttle you can control the rotation axis of the drone. Using the directional joystick you can control the flight direction
of the drone.
- The mode available on this model is the mode 2 with the layout of the throttle on left. It is not possible to switch mode on this
model.
- The different calibration buttons help keep the drone stationary. Test this by pressing the accelerator and calibration buttons to
maintain the drone in one place.
- You can choose the percentage of the speed. The higher the value, the faster the reaction will be (e.g. 100% will be more
responsive than 40%).
- The two module buttons are used to activate different modules : photos / shots / basket.
The headless mode means that the quadcopter's direction of flight seen from your viewpoint follows the controls directly, no matter
in which direction the quadcopter is pointing. This is also referred to as 'Care Free' (CF) mode. This is usually done with a digital
compass. So if you press the stick on the RX to the left the quadcopter will fly to the left from your viewpoint. Without headless
mode the quadcopter would fly to the direction which is on the left side of the quadcopter, so if the quadcopter is pointing towards
you it would fly to the right.


