Page
76
Dolby Presets
Dolby Presets are useful for customers who want to simultaneously monitor both
Dolby decoded channels and other inputs or want to have an auto-zoom to monitor
a certain pair that is known to be carrying Dolby encoded audio.
Creating a Dolby Preset is in many ways very similar to creating any other Preset.
Refer to the
Preset Input Routing
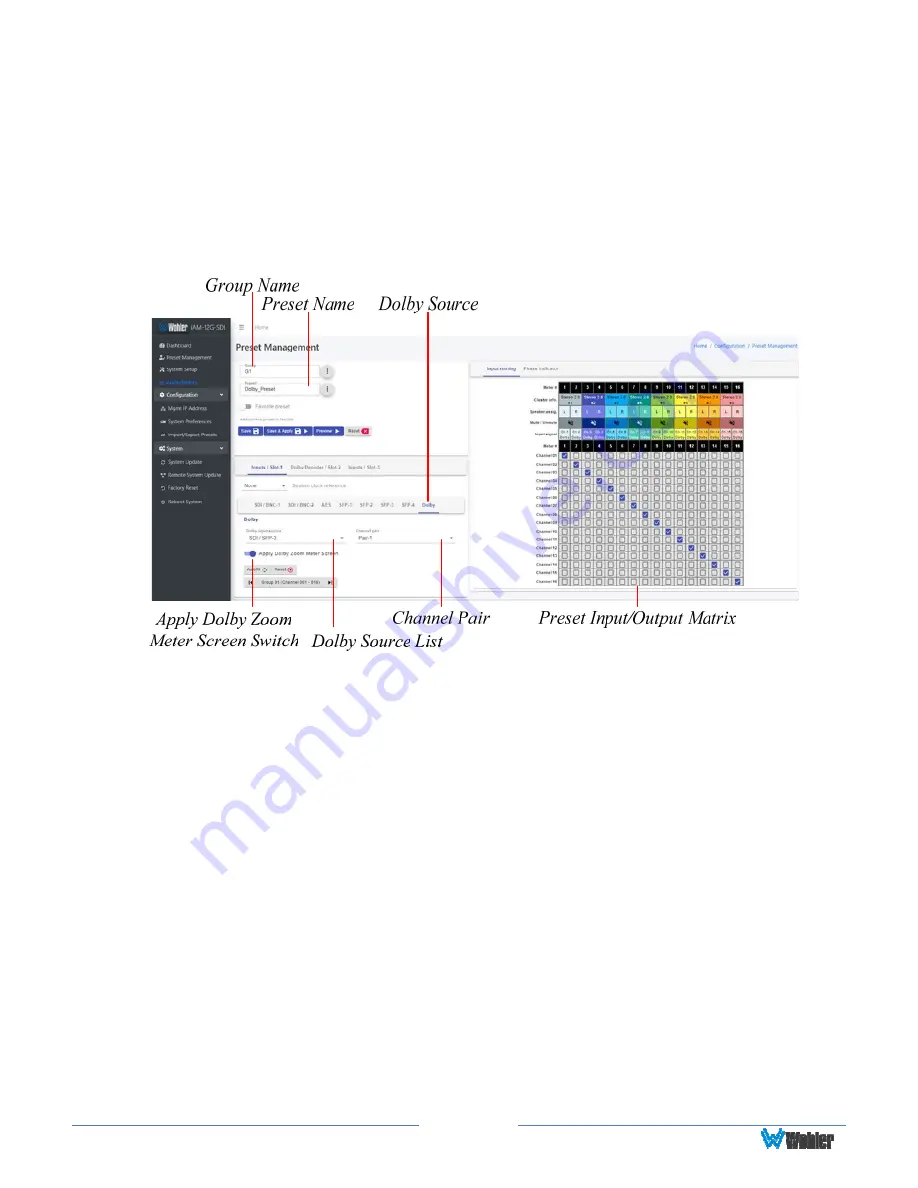
section of this chapter. Figure 4-11 shows a
Dolby Preset being created.
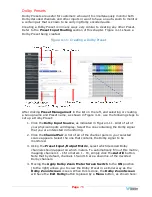
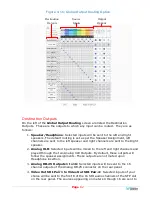
Figure 4-11: Creating a Dolby Preset
After clicking
Preset Management
in the list on the left, and selecting or creating
a Group name and Preset name, as shown in Figure 4-11, use the following steps to
set up a Dolby Preset:
1.
Click the
Dolby Input Source
, as indicated in Figure 4-11. A list of all of
your physical inputs will display. Select the one containing the Dolby signal
that you are interested in monitoring.
2.
Click the
Channel Pair
. A list of all of the channel pairs in your selected
source appears. Select the one that contains the Dolby signal to be
monitored.
3.
Using the
Preset Input/Output Matrix
, select which decoded Dolby
channels should appear on which meters. To automatically fill out this matrix,
mapping channels 1 - 16 to meters 1 - 16, simply click the
Autofill
button.
Note that by default, channels 15 and 16 are a downmix of the decoded
Dolby channels.
4.
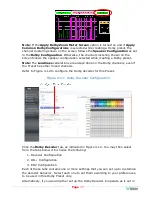
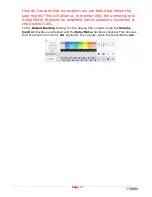
Moving the
Apply Dolby Zoom Meter Screen Switch
to the
ON
position
(to the right) allows you to view the Dolby Preset in a similar way as the
Dolby Zoom Screen
is seen. When this is done, the
Dolby Zoom Screen
will have the
Exit Dolby
button replaced by a
Menu
button, as shown here:
Summary of Contents for iAM-12G-SDI
Page 6: ...Page 6 APPENDIX E API Documentation 139 Introduction 139 API Presets 139...
Page 92: ...Page 92 Figure 4 21 Remote Monitor ED2 Single Presentation...
Page 94: ...Page 94 Figure 4 23 Remote Monitor Dolby E DE...
Page 95: ...Page 95 Figure 4 24 Remote Monitor DD with ATMOS...
Page 98: ...Page 98 Figure 4 27 System Setup SFP Information...
Page 151: ...Page 151 channel_number 1...


