Operational Information
3-17
D
Du
ua
all F
Fu
ue
ell R
Ra
an
ng
ge
e
Delayed Start Feature
This feature controls the automatic timing of the oven’s
On and Off function. Set a cooking mode to start later
in the day and turn off when the cooking is complete or
set it to just to turn off at a preset time. See the Use &
Care Manual for additional information.
Set controls to start cooking later and automatically
turn off heat when finished.
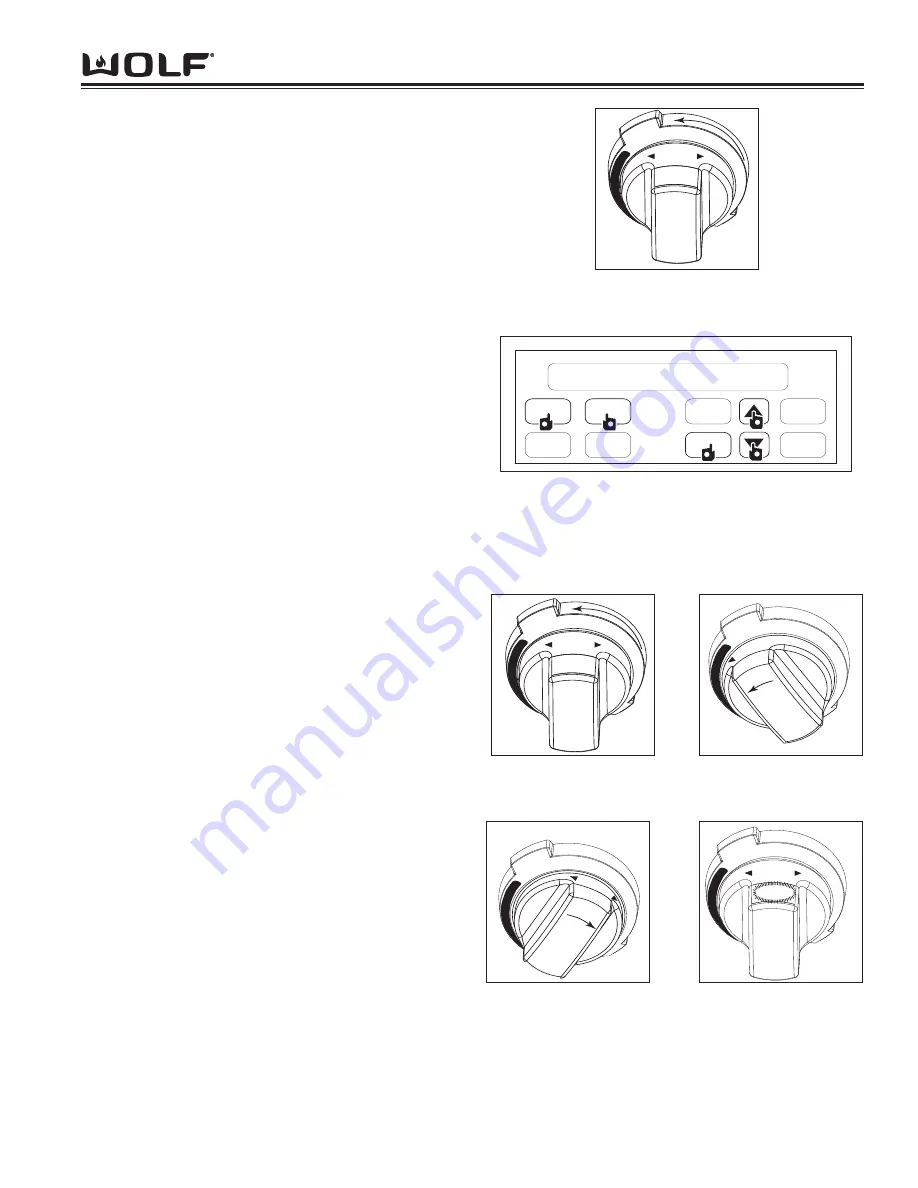
To initiate Delayed Start Feature, turn oven control knob
bezel to the desired mode. Change preset temperature
if needed. (See Figure 3-47). Now, press COOK TIME
key. Then, press up or down arrow key on the display
panel to increase or decrease the desired cook time.
Next, press STOP TIME key. Then, press up or down
arrow key on the display panel to increase or decrease
the desired stop time. Now, press ENTER key. The
oven will appear as though it’s on. (See Figure 3-48).
The oven will turn on when clock time displays start
time. To exit Delayed Start Feature, turn oven control
knob bezel to OFF.
NOTE:
Display appears as if the oven is on. One
chime will ring before the last minute of the cooking
time.
NOTE:
Three chimes that repeat every 30 seconds
signal end of cooking time. The oven will turn itself off.
NOTE:
Do not delay the start when preheating is criti-
cal to the cooking results.
NOTE:
The time-of-day clock must display the correct
time prior to programming a timed activity.
Probe Feature
The probe measures internal temperature by measuring
the internal temperature of food without opening oven
door. It is a convenient and accurate way to achieve
perfect doneness regardless of the type, cut or weight
of food. Calculating a total cooking time by weight is no
longer necessary using this feature.
To initiate Probe Feature, preheat oven in desired
mode. Now, insert probe connector into receptacle,
inside oven cavity. Next, PROBE will appear on display
panel. Probe temperature is preset to 160°F (70°C).
(See Figure 3-49). To change temperature, immediate-
ly turn temperature readout knob to right to increase
probe temperature or to left to decrease probe tempera-
ture setting. (See Figure 3-50 and 3-51). Then, press
ENTER key or after 2 seconds oven will turn on by
default. Probe temperature will flash in knob display
when temperature has been reached.
(See Figure 3-52).
To exit, turn oven control knob bezel to OFF.
COOK
TIME
PROBE
CLOCK
ENTER
TIMER
CLEAR
STOP
TIME
OVEN
LIGHT
1:00
1
2
2
2
2
4
3:30 6:00
2
3
Figure 3-48. Press COOK TIME Key . Next, Press Arrow
Up or Down Key To Set Desired Cook Time. Then, Press
STOP TIME Key. Then, Press Arrow Up or Down Key To
Set Desired COOK TIme. Now, Press ENTER Key.
BAKE
BRO
IL
R
O
A
S
T
B
R
O
IL
OF
F
B
A
K
E
B
R
O
IL
5 0
3
LO
HI
Figure 3-47. Set Control Knob Bezel to Desire Mode and
Temperature
BAKE
BRO
IL
R
O
A
S
T
B
R
O
IL
OF
F
B
A
K
E
B
R
O
IL
LO
HI
160
Figure 3-49. Probe
Temperature Preset to
160°F
BAKE
BRO
IL
R
O
A
S
T
B
R
O
IL
OF
F
B
A
K
E
B
R
O
IL
HI
LO
145
Figure 3-50. Turn Control
Knob Bezel to Set
Desired Temperature
HI
LO
BAKE
BRO
IL
R
O
A
S
T
B
R
O
IL
OF
F
B
A
K
E
B
R
O
IL
165
Figure 3-51. Turn Control
Knob Bezel to Set
Desired Temperature
BAKE
BRO
IL
R
O
A
S
T
B
R
O
IL
OF
F
B
A
K
E
B
R
O
IL
LO
HI
160
Figure 3-52. Probe
Temperature will Flash
when Temperature is
Reached
Summary of Contents for DF304
Page 2: ......
Page 12: ...D Du ua al l F Fu ue el l R Ra an ng ge e General Information 1 10 ...
Page 62: ...4 22 Component Access Removal D Du ua al l F Fu ue el l R Ra an ng ge e ...
Page 77: ...Technical Data D Du ua al l F Fu ue el l R Ra an ng ge e 6 1 SECTION 6 TECHNICAL DATA ...
Page 81: ...Wiring Diagrams D Du ua al l F Fu ue el l R Ra an ng ge es s 7 1 WIRING DIAGRAMS SECTIO N 7 ...


