12
O V E N
T I M E R
The oven has a timer that operates indepen-
dently from the oven controls. Once a time is
set in hours and minutes, the countdown is
seen in the display window. Only the last
minute counts down in seconds. The maximum
time that can be set is 9 hours and 59 minutes.
An audio signal acts as a reminder when the
amount of time runs out. To stop the signal,
touch
.
S E T T I N G C O N T R O L S
1)
Touch
on the hidden control panel.
2)
Touch
or
arrows to increase or
decrease the desired amount of cooking
time in hours and minutes.
3)
Touch
or
to start timer. Two beeps
will be heard. Oven will chime and time will
flash continually when timing is complete.
4)
When timing is complete, touch
to stop
signal.
5)
To clear any remaining time on the timer,
touch
then
C E L S I U S
T O
FA H R E N H E I T
The oven can be changed from Celsius (C)
temperature to Fahrenheit (F) or vice versa.
S E T T I N G C O N T R O L S
1)
Touch and hold
on the hidden control
panel for 5 seconds.
2)
Touch
to change to ˚F or ˚C.
3)
Touch
.
T I M E - O F - D AY
C L O C K
Immediately after the oven is installed, set the
24 hour clock to the current time of day. It
must be reset after a power failure. The clock
is visible on the panel during all modes, except
when timer feature is in use or when the
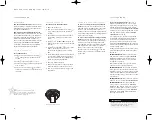
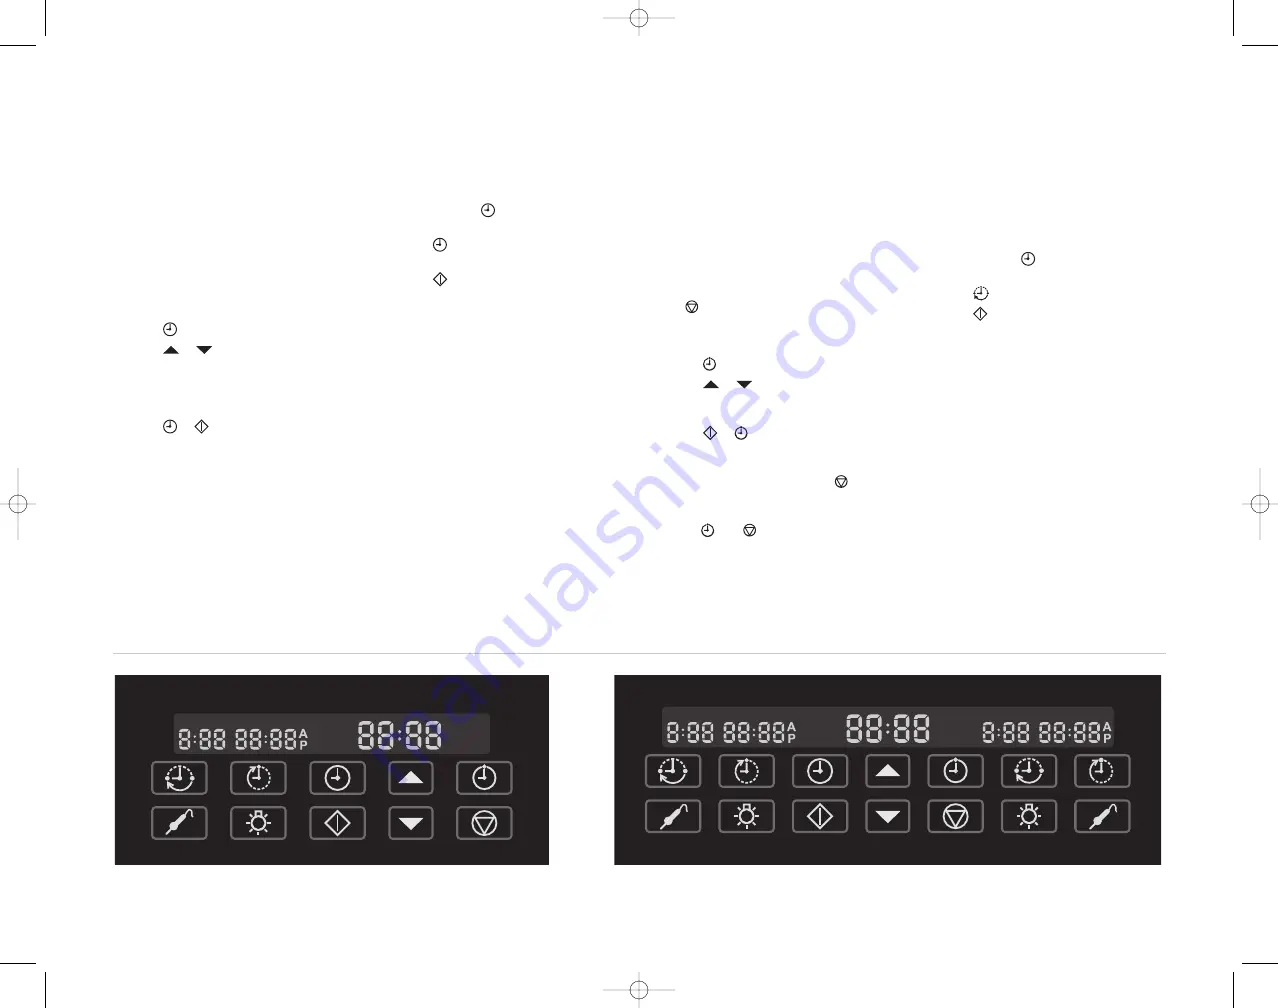
hidden control panel is closed. Refer to the
illustrations below.
S E T T I N G C O N T R O L S
1)
Touch
on the hidden control panel.
2)
Touch
or
arrows to increase or
decrease the time. Stop when the correct
time of day is displayed in the control
panel. Time will change from pm to am by
passing the 12:00 mark.
3)
Touch
or
to set the clock. Two beeps
will be heard.
C H A N G I N G C L O C K T O 1 2 H O U R S
1)
Touch and hold
on hidden control panel
for 5 seconds.
2)
Touch
to change from 24 hour to 12
hour or vice versa.
3)
Touch
or after two seconds the clock will
set by default.
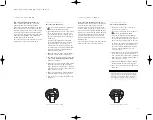
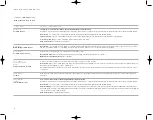
Control panel – single oven models.
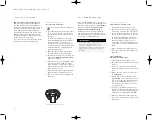
Control panel – double oven models.
W O L F D U A L F U E L R A N G E
O V E N O P E R AT I O N


