Hood Installation
IMPORTANT NOTE:
If an optional duct cover is to be used,
it must be installed before installing the island hood. Refer
to duct cover installation on page 10.
The filters and internal frame must be removed from the
hood prior to installation. Refer to hood preparation on the
previous page.
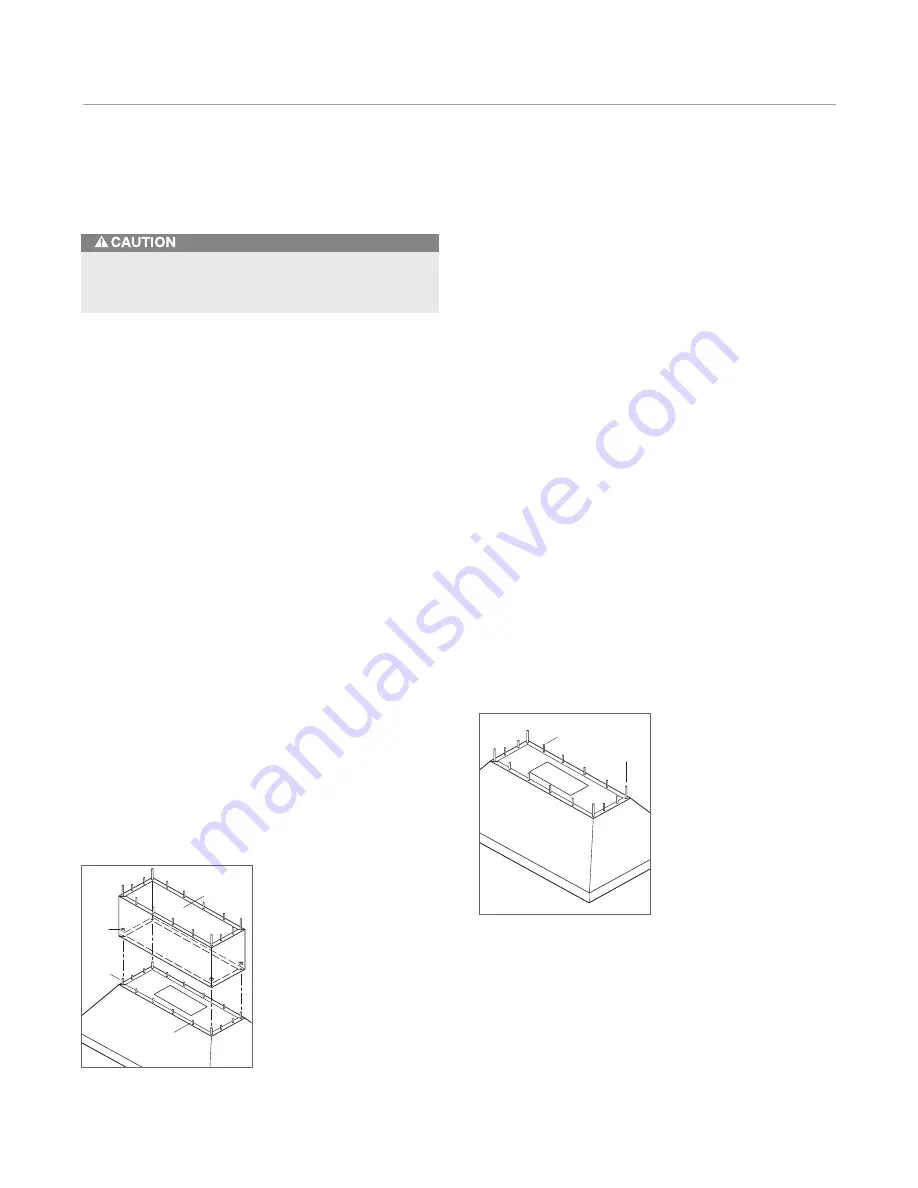
INSTALLATION WITH DUCT COVER
1)
If a duct cover has been installed, install the four
5
/
16
"
bolts (provided with duct cover) through the mounting
holes on each corner of the hood and into the bottom
edge of the duct cover. Attach the duct cover to the
hood assembly with the #12 x
7
/
8
" (22) self-tapping hex
head screws (provided with duct cover). Refer to the
illustration below.
2)
Connect the 10" (254) round ductwork to the transition
using sheet metal screws and duct sealing tape.
3)
If you are installing an internal blower, do not reinstall
the internal frame and filters until blower installation
is complete. Refer to internal blower information on
page 15.
4)
Proceed with hood wiring connections.
Due to the weight of the hood, be sure to have
adequate assistance for installation.
Pro Island Hood Installation
12
5
/
16
"
BOLT
DUCT
COVER
NUT
HEX HEAD
SCREW
Installation with duct cover.
INSTALLATION WITHOUT DUCT COVER
1)
Lift the hood and align the hood mounting holes with
the predrilled holes in the ceiling framing. Install the
four
1
/
4
" x 3" (76) lag screws with the washers
(provided with hood) through the mounting holes on
each corner of the island hood and into framing. Do
not overtighten screws.
2)
Connect the 10" (254) round ductwork to the transition
using sheet metal screws and duct sealing tape.
3)
Adjust the positioning of the hood if necessary, and
tighten the four lag screws until the hood is flush with
the ceiling. Install additional #10 x 2" (51) hex head
screws (provided with hood) through the remaining
mounting holes in the top plate of the hood for
additional support. Refer to the illustration below.
4)
If you are installing an internal blower, do not reinstall
the internal frame and filters until blower installation
is complete. Refer to internal blower information on
page 15.
5)
Proceed with hood wiring connections.
HEX HEAD
SCREW
LAG
SCREW
Installation without duct cover.


