Printed in Austria - November 2003
R
Storing presets:
Auto-focus for flat objects:
Press a PRESET-key (#14) for 2 sec
Press MENU-key (#19) for 1 sec
Displaying the on-screen menu:
Manual change to the second lamp:
Demo mode:
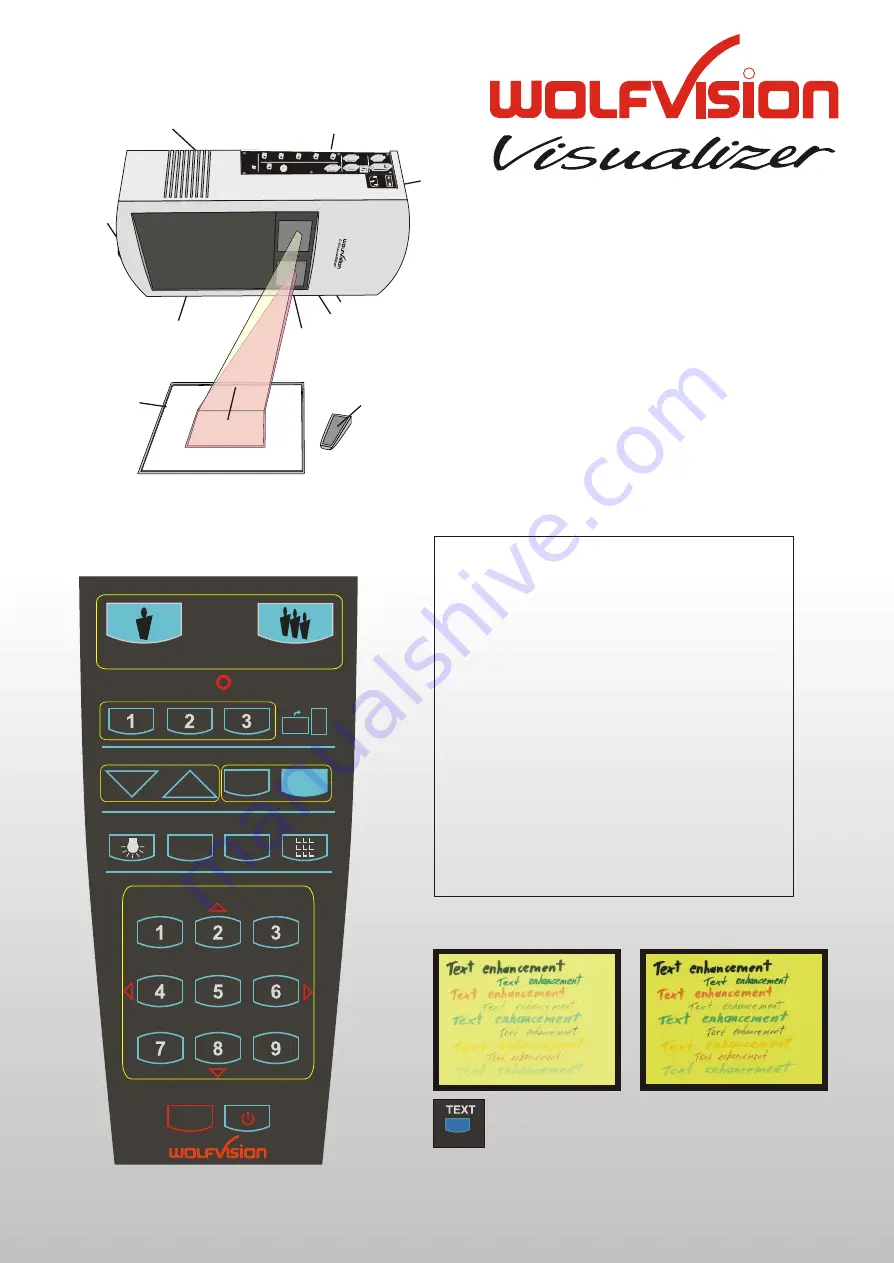
Text enhancement (in color)
By pressing the "TEXT"-key, the contrast to the
picture is improved dramatically, resulting in much
better readability of text, sketches and x-rays.
CODES:
Storing images:
Press one of the MEMORY-keys (#22) for 2 sec
Press both focus-keys simultaneously
FOCUS near (#17) + FOCUS far (#17)
Press the LIGHT-key(#20) for 2 sec
Press the TEXT-key (#16) for 4 sec
Filling the memory quickly or erasing
the memory:
Press the ALL-key (#25) for 4 sec and
follow the instructions on the screen
#1 Mirror light
#2 Mirror camera
#5 Synchronized lightfield
#6 Remote Control
#7 Main switch, power socket
#8 Air extraction, ventilation (on both sides)
#9 Working surface
#10 Connections
(see page 5)
#11 Lamp exchange cover
(under the black hinged lid)
#3 Infrared-sensor 1 (bottom)
#4 Infrared-sensor 2 (front side)
REMOTE CONTROL
10
8
4
1
2
3
11
7
6
9
5
ALL
POWER
MEMORY
TELE
WIDE
PRESETS
IMAGE TURN
A A
FOCUS
IRIS
MENU
HELP
EXT / INT
LIGHT
TEXT
LA
SE
R
12
14
15
19
20
17
18
16
24
25
13
22
23
21
16


