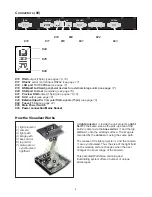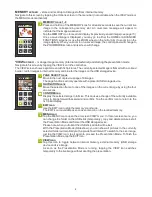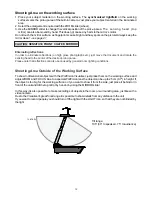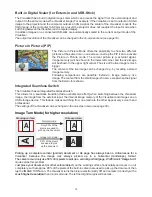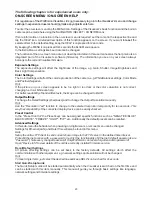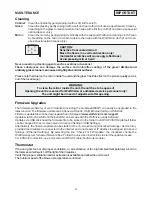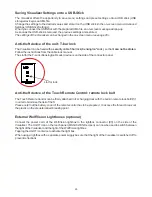
*MENU screen
-
navigate the Visualizer‘s on-screen menu
Navigate to this screen by going to the MAGIC WAND screen, then tapping the MENU icon (in some modes,
like VIEW mode, the on-screen menu can be entered from there screen.
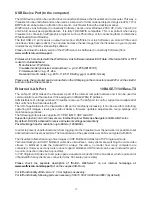
Navigation icons
Use the up/down arrows to move to and highlight a specific item in the on-screen
menu. Use the left/right arrows to change settings.
CONFIRM icon
Select the currently-highlighted item in the on-screen menu and either perform its
action or enter its sub-menu.
HELP icon
Display help text about the currently highlighted item in the on-screen menu.
MENU icon
Exit the on-screen menu mode. The control panel returns to the screen from which
the on-screen menu screen was initiated.
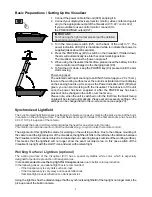
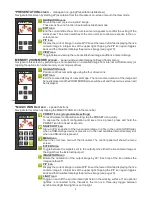
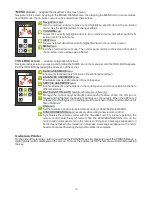
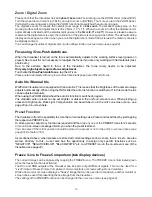
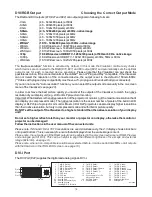
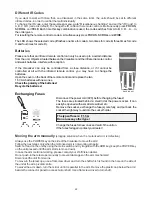
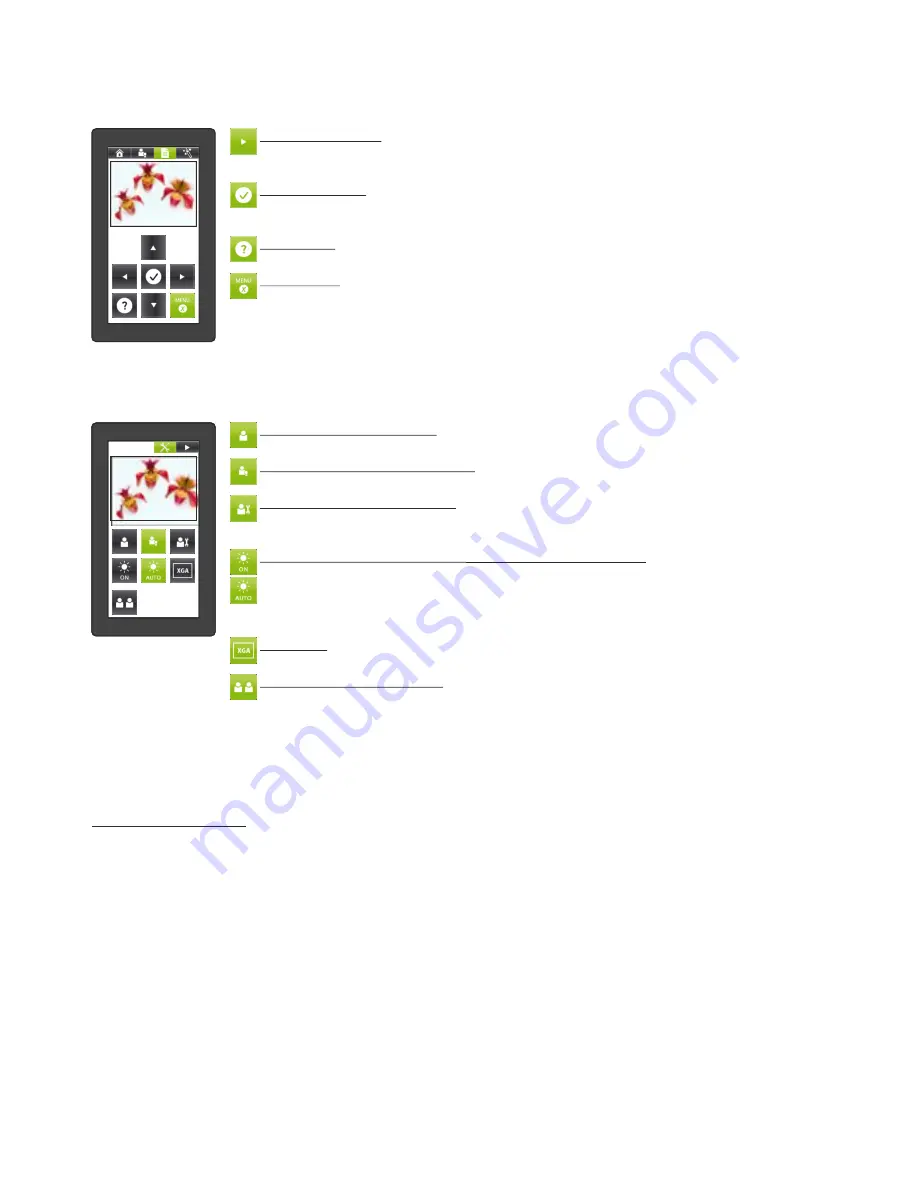
TOOL BOX screen
-
special configuration functions
Navigate to this screen by pressing and holding the HOME icon in the menu bar until the TOOL BOX appears.
Exit the TOOL BOX by tapping the arrow icon at the corner.
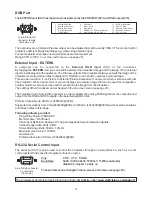
BASIC USER MODE icon
Enable only the most basic functions in the control panel screen.
ADVANCED USER MODE icon
Enable all screens and functions in the control panel.
SERVICE USER MODE icon
Enable all screens and functions in the control panel, and move certain functions to
different screens.
BACK LIGHT ON / AUTO icon
(touch remote control only)
Manage the control panel backlight power-saving feature. When the ON icon is
tapped and highlighted, the backlight will stay on continuously. When the AUTO icon
is tapped and highlighted, the backlight will be switched off after a certain amount of
time of inactivity.
XGA icon
Set the resolution on all outputs to XGA resolution (1024x768 pixels at 60Hz).
SYNCHRONIZATION icon
(necessary when using a new remote control)
Synchronize the remote control with the Visualizer unit. For proper operation, the
remote control must be synchronized. Tap the SYNCHRONIZATION icon on the
mirror head control panel and on the remote control panel. A message will appear on
both screens that synchronization is in progress. A message will appear on the mirror
head control panel indicating that synchronization is complete.
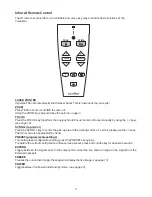
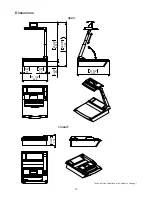
On-Screen Pointer
On the side of the remote control, you will find the POINTER keys. By pressing one of the POINTER keys, a
digital pointer will be displayed on the screen. To move the pointer, just tilt the remote control whilst pressing
the key.
10


