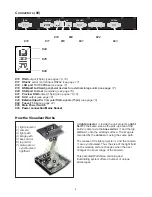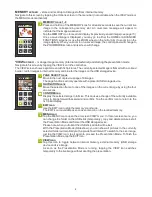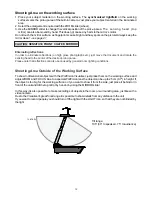
When the Visualizer is turned on the focus automatically adjusts to the working surface level (power-on
preset). As a result it is not necessary to readjust the focus if you are only working with flat materials (text,
photos etc.).
Due to the extreme depth in focus of the Visualizer, the focus rarely needs to be adjusted.
Only very high objects require a focus adjustment
.
To activate the
One-Push Auto focus
, tap the AF icon
.
Please note that objects with very low contrast (like blank paper) are difficult to focus.
Focussing / One-Push Autofocus
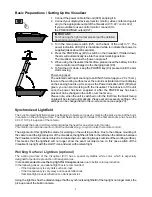
WolfVision Visualizers are equipped with an auto iris. This means that the brightness of the camera image
adjusts automatically. When using the IRIS slider the auto
iris function is switched off. In this mode the Iris
can be adjusted manually.
When using the ZOOM slider/wheel the auto
iris function is switched on again.
The standard auto iris level can be set brighter or darker in the unit's on-screen menu. When picking up
areas with bright spots, Back Light Compensation can be switched on in the unit‘s on-screen menu - see
page 20 and on-screen help.
Auto Iris / Manual Iris
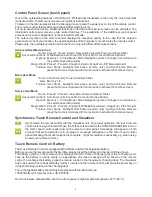
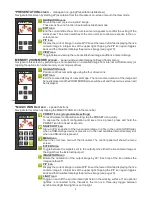
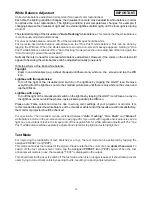
The Visualizer offers the possibility to store the current settings as a Preset and recall them by just tapping
the respective PRESET icon.
To store a reset adjust
y function as required and then
PRESET icons for 2 seconds
. An on-screen message inform you when the reset is stored.
As mentioned above, when presets are stored all current settings such as zoom, focus, iris etc. are also
stored. Contrary to this, a user also has the opportunity to assign only specific functions such as
"NEGATIVE", "NEGATIVE/BLUE", "BLACK/WHITE" etc. to a PRESET icon in the on-screen menu of the
Visualizer
(see page 20).
p
:
an
tap any one of the
or more
s
p
You can select if the mirror position should be stored in a preset or not in the unit's on-screen menu (see
page 20). Default is: YES
Preset Function
Freeze / Live to Freeze Comparison (two display devices)
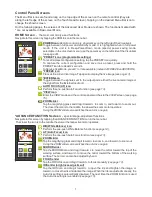
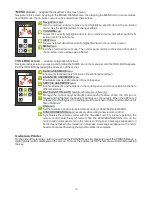
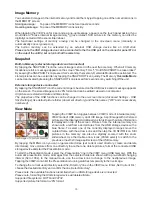
The current image can be captured by tapping the FREEZE icon. The FREEZE icon is illuminated green
when the freeze function is activated.
The DVI- and RGB outputs of the Visualizer can be set to output different signals. This can be used for a
"Live Picture to Freeze Picture Comparison" on two monitors or screens with just one Visualizer.
While one monitor or screen displays a "freeze" image that can be used for comparison, another monitor or
screen can be used for presenting the live image from the Visualizer.
The settings of the FREEZE function can be changed in the on-screen menu (see page 20).
Please note that the Visualizer has an
optical 16x zoom.
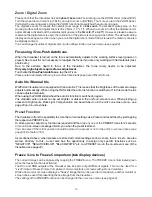
For zooming use the ZOOM slider / wheel
.
The digital 4x zoom increases the overall zoom range to a
64x zoom
. The smallest pickup size on the
working surface without digital zoom is 33 x 25mm (1.3" x 1"). When you zoom in further the digital zoom is
automatically activated and the smallest pickup size is
8 x 6mm (0.3" x 0.25"
). However, please be aware
that when the digital zoom is used, the resolution of the picture is not as good as before. The default setting
displays a message on-screen when you are in the digital zoom mode. Still pictures in the memory can also
be digitally zoomed.
You can change Visualizer‘s digital zoom mode settings in the on-screen menu (see page 20).
(#12)
Turn the wheel down to zoom in (TELE), and up to zoom out (WIDE). The more you turn the ZOOM wheel,
the faster the zooming works. Using the ZOOM function also switches the auto iris on again.
Zoom / Digital Zoom
13


