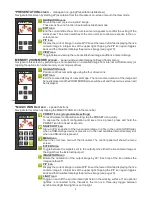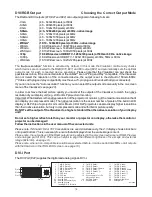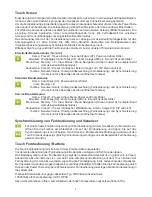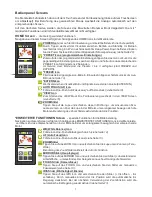
RGB Port
1 - Analog Red video
6 - Red return
11 - N/C Not connected
2 - Analog Green video
7 - Green return
12 - SDA I²C data
3 - Analog Blue video
8 - Blue return
13 - HSync Horizontal sync
4 - N/C Not connected
9 - SENSE +5 V DC from Visualizer
14 - VSync Vertical sync
5 - GND Ground
10 - GND Ground (VSync, DDC)
15 - SCL I²C clock
1
11
5
15
15-pin D-Sub HD
connector female
(front side, unit)
The EXTERN input
(#23)
has the same pin assignment as the PREVIEW
(#21)
and RGB output
(#16)
.
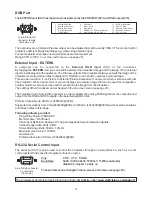
External Input - EXTERN
A computer can be connected to the
External RGB input
(#23)
of the Visualizer.
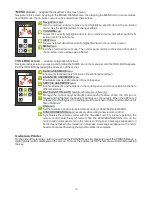
By tapping the
EXTERN
icon
you can switch between the Visualizer image and the image of the external
input to be displayed to the audience.
The Visualizer has a built-in A/D-converter in order to digitize the analog RGB signal from the computer and
output it on the RGB and DVI outputs in the selected signal format.
Preferred resolution is: SXGA- (1280x960) @60Hz
Supported resolutions from
with several resolutions
and refresh rates in this range.
Following data are provided:
Plug & Play Monitor VESA DDC
Monitor name: "WolfVision"
Video Input Definition: Analog at 0.7Vpp and separated synchronization signals
Vertical range limits: 48Hz - 86Hz
Horizontal range limits: 30kHz - 121kHz
Maximum pixel clock = 170MHz
Gamma=2.2
Preferred resolution: SXGA- (1280x960) @60Hz
The Preview output of the Visualizers always outputs the image of the
Visualizer camera, while all other outputs (DVI, RGB etc.) can be set to output an external image.
This can be used for a "Live Picture to External Picture Comparison" on two monitors or screens with just
one Visualizer. While one monitor or screen displays an external image that can be used for comparison,
another monitor or screen can be used for presenting the image from the Visualizer.
The settings of the Visualizer can be changed in the on-screen menu (see page 20).
VGA (640x480@60Hz) to WXGA+ (1440x900@60Hz)
The output level on VGA and Preview output can be adjusted to match exactly 700mV. This can be helpful
to balance different image brightness e.g. when using external input.
For exact adjustment, please use external measurement equipment.
Range: 85% to 100%
(on-screen extra menu - see page 20)
19
The complete serial protocol can be found on our internet website under:
www.wolfvision.com/support
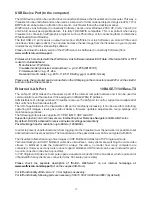
The serial port
(#17)
can be used to control the Visualizer through an external device, such as a room
control system that is used to integrate conference rooms.
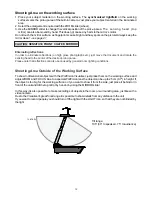
Pins:
2: RX, 3: TX, 5: GND
Baud Rate:
9200, 19200, 38400, 57600 or 115200 (selectable)
databits: 8, stopbit: 1, parity: no
The baud rate can be changed in the on-screen extra menu
(see page 20)
.
RS-232, Serial Control Input
9-pin D-Sub connector
on unit male
(front side)
5
9
1
6

