background image

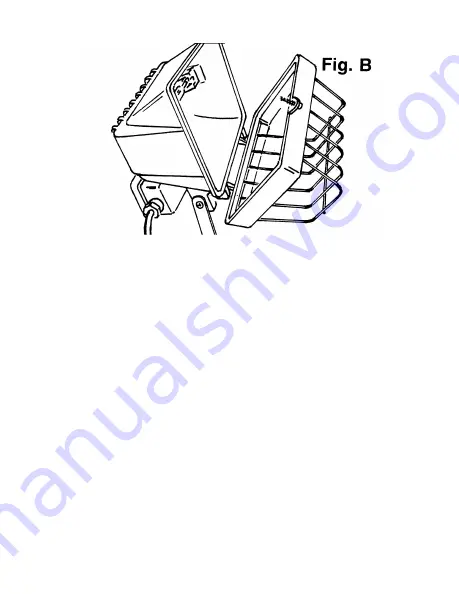
7. The lens cover will now open. To remove the old bulb, simply

push the bulb gently to the right until the left hand side of the
bulb slides out of the electrical socket.

8. Never touch the new bulb with your hands. The oil on your

skin will damage the bulb and greatly shorten the life. When
installing the new bulb use clean gloves or use a cloth to
avoid touching the bulb and getting oil from your hands on the
bulb.  If the bulb does make contact with your skin – you will
need to clean the bulb with alcohol to remove any oil residue
before use. See fig. C.

9. Carefully close the front cover and tighten screw – be careful

not to over tighten.

10. Put the rubber coated handle and hook back into position on

the light and secure in place with the wing nut. 

11. Your light fixture is now ready for use. You can now plug in

your light fixture.  If the light fixture does not work, push in on
the on/off switch; the switch may be in the off position. For
safety, always be sure to use a grounded outlet, which will
mate with the three (3) prong plugs.

4

Summary of Contents for ILLUME 1 5150

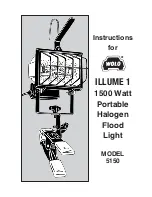
Page 1: ...Instructions for ILLUME 1 1500 Watt Portable Halogen Flood Light MODEL 5150...

Page 2: ...STW STW A STOW STOW A SJW SJW A SJTW SJTW A SJTOW SJTOW A 3 When using the light in wet locations ground fault circuit inter rupter GFCI protection should always be provided on the cir cuit s or outl...

Page 3: ...hot tubs To reduce the risk of electrical shock always plug this light into properly grounded three 3 wired outlet Never remove the ground wire or three 3 prong ground plug from the light fixture Alw...

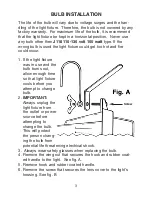
Page 4: ...f the light fixture was in use and the bulb burns out allow enough time so that light fixture cools before you attempt to change bulb 2 IMPORTANT Always unplug the light fixture from the outlet or pow...

Page 5: ...If the bulb does make contact with your skin you will need to clean the bulb with alcohol to remove any oil residue before use See fig C 9 Carefully close the front cover and tighten screw be careful...

Page 6: ...BLY INSTRUCTIONS FOR MOUNTING SPRING CLAMP Do not assembe light while plug is connected to a power source Secure the bracket of the spring clamp to the light using the plastic thumbscrew See fig D 5 F...

Page 7: ...NING This light fixture GETS VERY HOT Never use this light fixture unless the metal safety grill is in place The safety metal grill provides protection in the event that the light fixture tips over as...

Page 8: ...modifications faulty installation of this product or natural causes ANY EXPRESSED WARRANTY NOT PROVIDED HEREIN IS EXCLUDED AND DISCLAIMED THE IMPLIED WARRANTIES OF MERCHANTABILITY AND OF FITNESS FOR A...

Reviews: