46
CLEANFIRE OUTDOOR FURNACE • OWNER'S MANUAL
AIRBOX SEAL
Replace the airbox seal if it becomes damaged or worn to maintain proper
operation of the furnace. See your WoodMaster dealer for replacement
seals.
NOTE: It is best to replace the entire seal. Over time, the seal will compress, and
replacing it in sections may result in the old sections not sealing completely against
the airbox door.
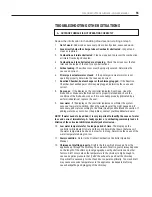
1. Disconnect power to the outdoor furnace.
Do not proceed without testing that power is disconnected. Make sure the power
cannot be reconnected while replacing the airbox seal.
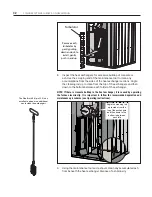
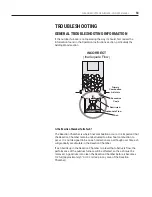
2. Remove the airbox access cover; then open the airbox door. Using a
scraper or similar tool, scrape off the existing seal from the airbox.
3. Clean off any remaining adhesive residue with alcohol or a suitable
solvent.
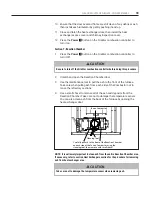
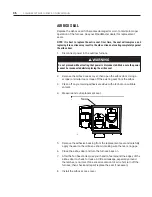
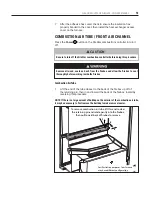
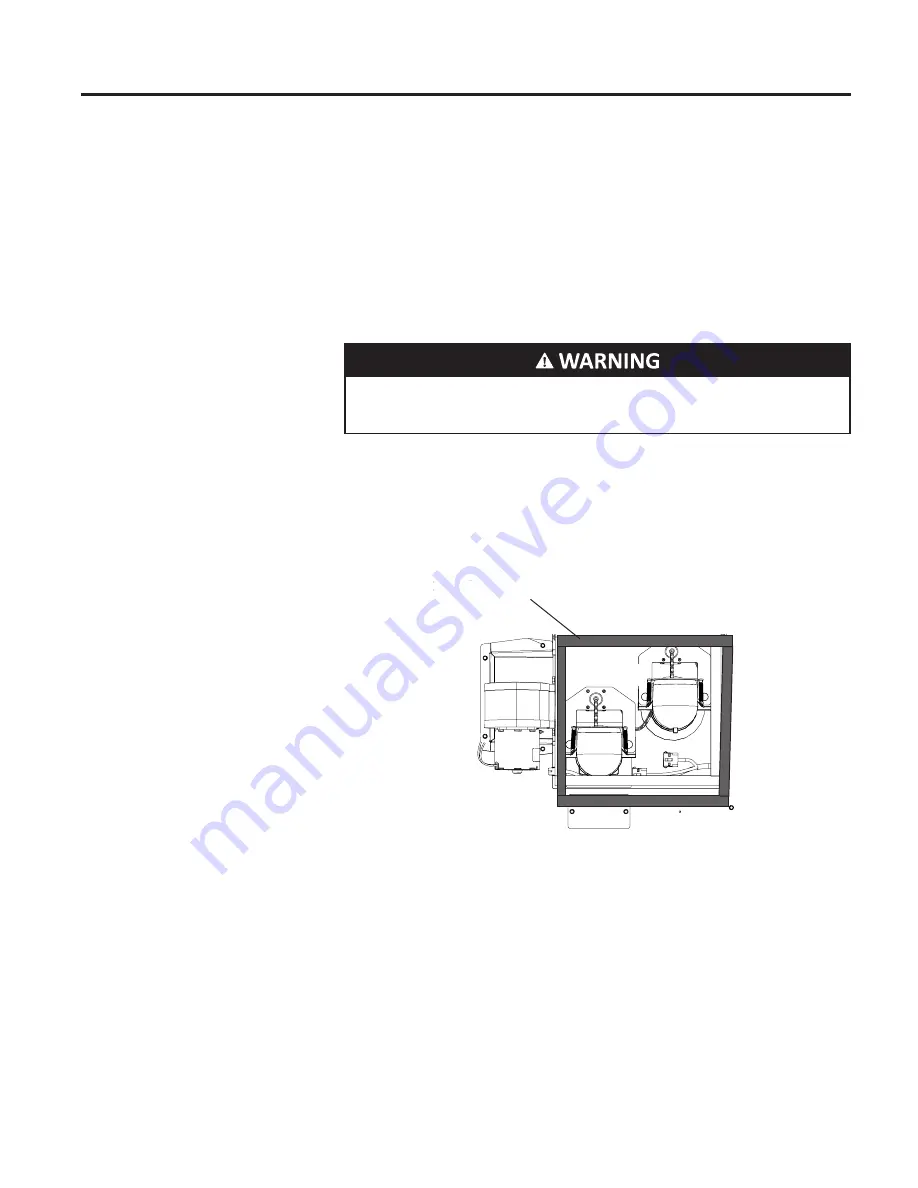
4. Measure and cut replacement seal.
Seal
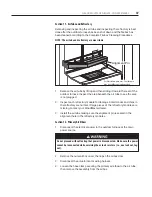
5. Remove the adhesive backing from the replacement seal and carefully
apply the seal to the airbox as shown, making sure there are no gaps.
6. Close the airbox door and turn the furnace back on.
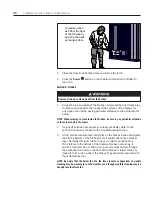
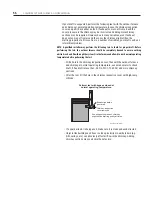
7. After the fan has started, use your hand to feel around the edges of the
airbox door to check for leaks. A little air leakage, especially around
the latches, is normal. If an excessive amount of air is felt, turn off the
furnace; then check and repair/replace the seal if necessary.
8. Install the airbox access cover.

