50
CLEANFIRE OUTDOOR FURNACE • OWNER'S MANUAL
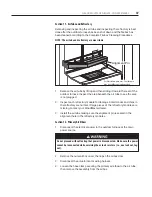
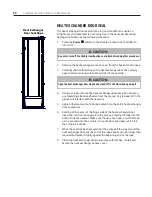
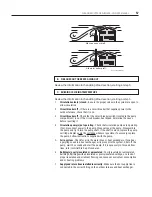
7. Remove the heat deflector from the bottom of the door.
8. Remove the hardware and securing strips.
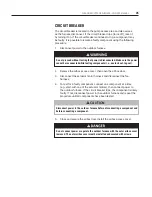
9. Carefully remove the insulation paying close attention to how the
insulation is installed in the door and tucked into the edges of the door.
This will aid in installation of the new insulation.
10. Before installing the new insulation, place it over the opening to make
sure it is the correct size.
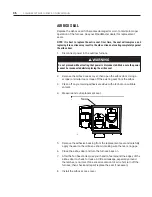
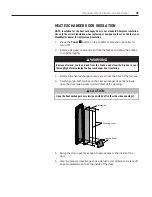
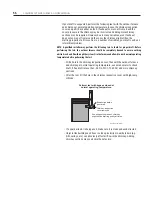
11. Place the new insulation inside the heat exchanger door with the
reflective side facing out (toward you). Be careful not to tear the
reflective material. Ensure that the edges of the new insulation are
tucked into the edges of the door.
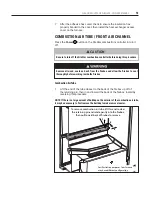
12. Install the securing strips. It may be necessary to adjust the insulation
being careful not to tear it, after the securing strips are installed.
13. Install the heat deflector.
14. Check the insulation again to ensure that it is properly secured and
attached to the inside of the heat exchanger door.
15. Carefully close and latch the heat exchanger door.
NOTE: The first few times the heat exchanger door is opened and closed after
installing new insulation, it could seem more difficult to secure the latches. This is
normal and once the insulation settles, securing the latches will be easier.
16. Install the heat exchanger access cover.
HEAT EXCHANGER ACCESS COVER INSULATION
NOTE: Be sure to check the temperature range for the spray adhesive. It may be
necessary to replace the heat exchanger access cover insulation indoors to allow it
to cure properly.
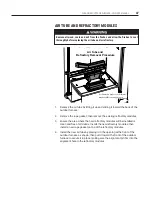
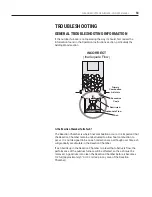
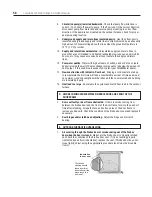
1. Remove the heat exchanger access cover from the back of the furnace.
2. Lay the cover on a piece of cardboard on a flat surface; then, wearing
proper protective equipment, use a scraper to remove the insulation
and any adhesive from the cover.
3. Test fit the new piece of insulation.
4. Using a good quality spray adhesive, follow the instructions on the can
and apply the necessary amount to the inside of the cover.
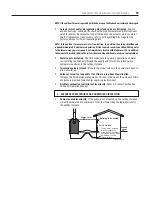
5. Install the insulation in the cover, pressing down in multiple spots to
ensure complete contact with the adhesive. Make sure the insulation is
tucked all the way into the top of the cover.
6. Leave the cover on the flat surface until the adhesive cures according
the adhesive manufacturer's instructions.


