Sawmill Alignment
Complete Alignment Procedure
Sawmill Alignment
HD97doc041910
7-30
7
To adjust the bottom stop blocks (Rev. H7.00+ only):
3.
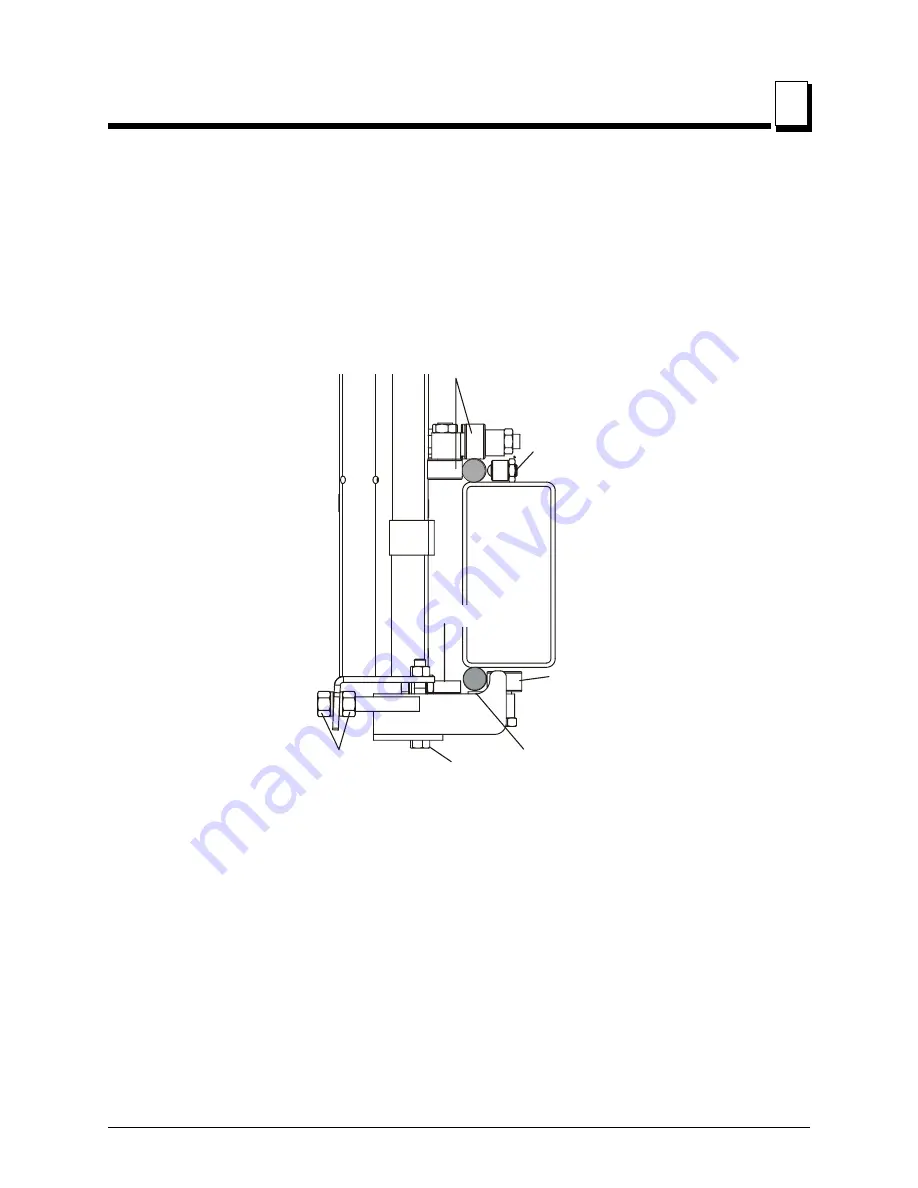
Check the lower stop blocks on the bottom track rail. Make sure that the stop blocks are
adjusted 1/32"-1/16" (.75mm - 1.5mm) from the track rail. Use the vertical bolts to adjust
the stop blocks.
See Figure 7-25.
Tighten the vertical adjustment bolt to move the stop block toward the
track rail. Loosen the bolt to move the stop block away from the track rail.
4.
Check the inside lower rollers. Both inside rollers should touch the rail so that you cannot
spin them by hand. If the rollers are not adjusted evenly and you can spin one, adjust the
horizontal adjustment nuts until the roller cannot be spun by hand. Stop adjusting before
the other roller can be spun by hand. The two inside rollers should bear the weight of the
saw carriage evenly.
5.
Move the carriage forward until the blade is positioned over the rear pivot end rail. Repeat
steps 2 & 3 until all lower rollers are adjusted properly at the front and rear of the sawmill.
6.
Open the adjustable blade guide arm to within 1/2" (15 mm) of full open.
7.
Move the carriage back to the front pivot end rail. Raise the cutting head until the bottom
FIG. 7-25
Inside Lower
Rollers (2)
Stop Block (2)
Upper Rollers (4)
Stop Screw (2)
Vertical
Adjustment Bolt
Horizontal
Adjustment
Nuts
SM0268
Stop Bolt (2)


