TOOLS REQUIRED FOR INSTALLATION
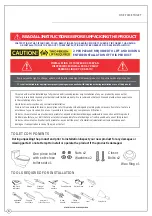
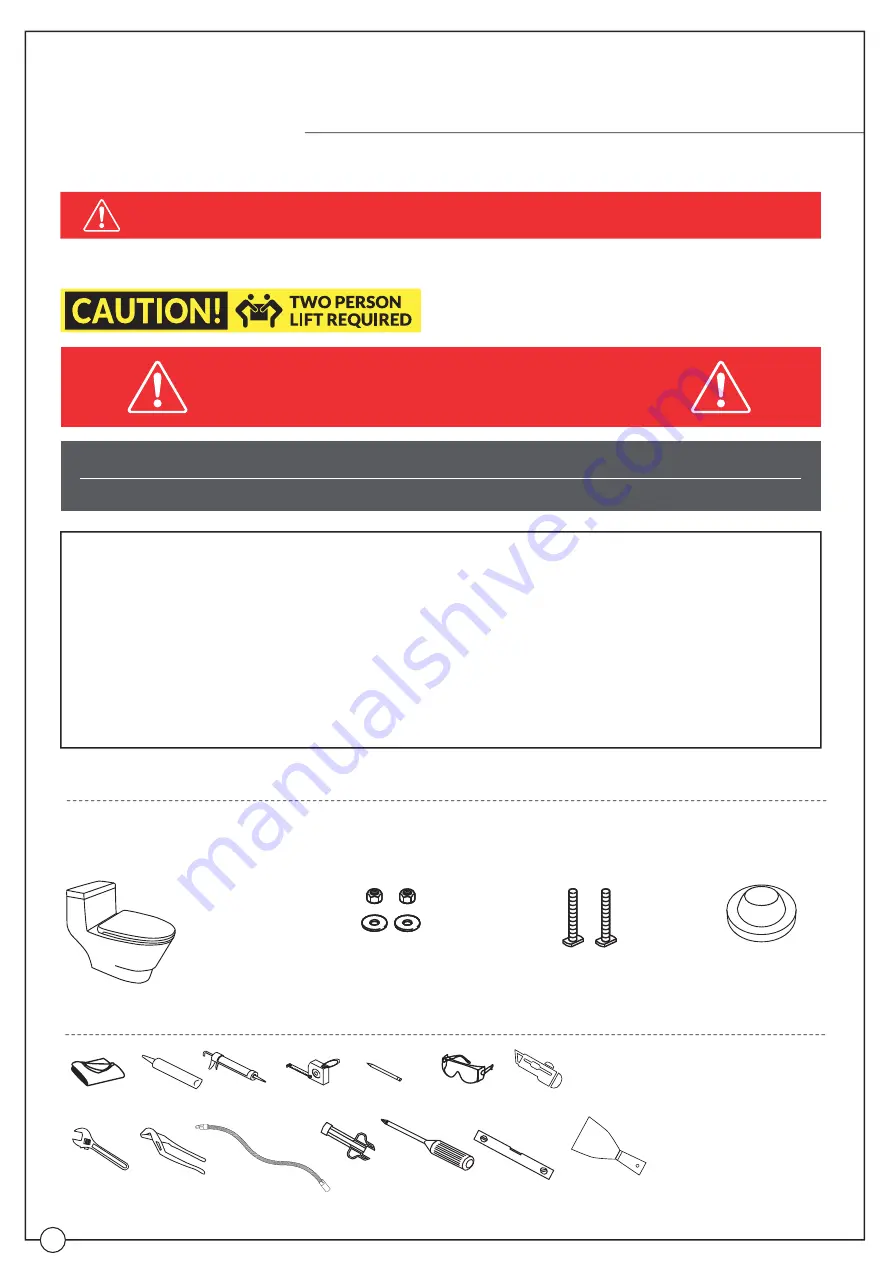
TOILET COMPONENTS
1
ONE PIECE TOILET
One piece toilet
with so
đ
-close
toilet seat
x1
Wax Ring
x1
Washers
x2
Nuts
x2
Closet
Bolts
x2
So
đ
Cloth
or Blanket
Silicone
Silicone/
Caulk Gun
OTHER TOOLS MAY BE REQUIRED
Tape
Measure
Pencil/Marker
Safety Glass
Knife
During unpacking the product and prior to installation inspect your new product for any damages or
missing parts. Do not attempt to install or operate the product if the product is damaged.
Adjustable
Wrench
Channel
Lock Pliers
Adjustable
Socket Extension
Philips
Screwdriver
Hand
Wrench
Level
Pu
ħ
y Knife
READ ALL INSTRUCTIONS BEFORE UNPACKING THE PRODUCT
2 PEOPLE ARE REQUIRED TO LIFT AND DURING
ENTIRE INSTALLATION OF THIS PRODUCT
INSTALLATION OF THIS PRODUCTS BY AN
INEXPERIENCED INSTALLER MAY RESULT
PERSONAL INJURY OR DEATH!
INSTRUCTIONS THAT, IF IGNORED COULD RESULT IN DEATH OR SERIOUS INJURY CAUSED BY INCORRECT HANDLING
OR INSTALLATION OF THE PRODUCT. THESE INSTRUCTIONS MUST BE OBSERVED FOR SAFE INSTALLATION.
We reserves the right to change, update, modify, alter, redesign this manual/product or its policies without prior no
ধ
ce!
We
shall not be liable for any injuries or property damages in connection with this product during installation or use of this product!
This products must be installed by a fully insured and licensed plumber only. Installation of any our product by anyone other
than fully insured and licensed plumber shall void limited warranty. We recommends that such licensed plumber have experience
in the installation of products.
Limited warranty is void on any commercial installation
We are not responsible for local code compliance for this product. Building and plumbing codes may vary from state-to-state in
accordance to your location. We are not resonsible for providing any compliance certifications.
Under no circumstances we are shall not be liable for any and all incidental damages sustained in connection with this product
Neither manufacture, nor distributor, nor retailer is responsible for water damage or flood caused due to use of this product.
Under no circumstances We shall not be liable for any and all fees, cost of installation/reinstallation/removal, subsequent
damage or transportation in case of the product defect

